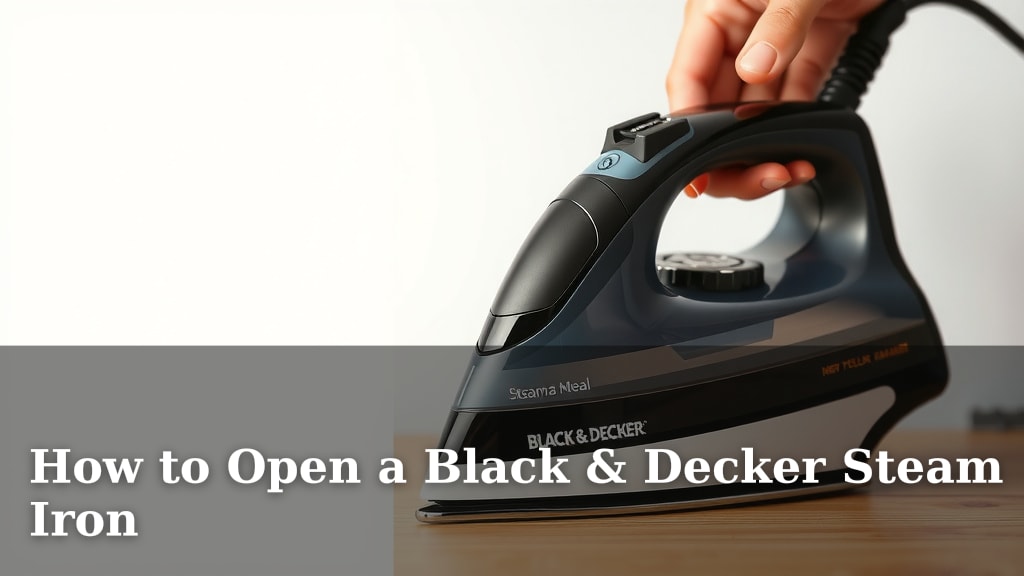
How to Open a Black & Decker Steam Iron
Opening a Black & Decker steam iron is quite simple once you know the basic steps. You’ll typically just need to find the water reservoir cap and lift it open. Make sure you never try to open it while it’s still hot, as this can lead to serious burns. Safety first is always the best approach when dealing with heat.
Many people wonder if there’s a trick to it, but it’s usually just a matter of locating the correct part. Understanding how to properly fill and close your iron helps prevent leaks and ensures it works efficiently. We found that a little knowledge goes a long way in making your ironing sessions smoother and safer.
- Find the water tank cover.
- Gently lift or slide it open.
- Ensure the iron is cool first.
- Close it securely after filling.
Ready to get your iron prepped for use? Let’s walk through the simple process step by step.
Getting Your Black & Decker Steam Iron Ready for Action
Opening a Black & Decker steam iron is usually very straightforward. You’re likely looking to fill it with water or perhaps just check something inside. The main point to remember is safety. Always ensure your iron is completely cool before you attempt to open any part of it. Burns from residual heat can be quite serious.
Locating the Water Reservoir Access
The most common reason you’ll need to open your iron is to fill the water tank. Black & Decker irons typically have a clearly marked fill cap. You’ll usually find this near the top of the iron, often towards the front or center. It might be a small, hinged lid or a plug-like cap.
The Fill Cap: What to Look For
On most Black & Decker models, the water reservoir cover is designed for easy access. It’s often a plastic piece that you can lift or slide. Sometimes, there’s a small indentation or tab to help you get a grip. We found that looking for a slightly different texture or color on the cap can help you spot it quickly. Imagine you’re looking for the cap on a water bottle – it’s that kind of simple opening.
Gentle Opening Techniques
Once you’ve located the cap, the next step is to open it gently. Avoid using excessive force. If it feels stuck, double-check that you’re pulling or sliding in the correct direction. Some caps might lift straight up, while others slide backward or to the side. A little wiggle, but no brute strength, is usually the key.
Ensuring a Secure Closure
After you’ve filled the reservoir, closing the cap securely is just as important as opening it. A properly closed cap prevents leaks during use. Leaks can damage your ironing board or even your clothes. Make sure the cap clicks or settles firmly into place. You want to be sure it’s sealed tight. We found that a quick visual check and a gentle tug can confirm it’s closed properly.
Beyond the Water Tank: Other Access Points?
While the water reservoir is the primary opening you’ll interact with, some users might wonder about other parts of the iron. For instance, you might be curious about the soleplate or any cleaning compartments.
The Soleplate: Generally Not for Opening
The soleplate is the smooth, heated surface at the bottom of the iron. For most Black & Decker steam irons, the soleplate itself is not designed to be opened. Its surface is usually a non-stick material like ceramic or coated aluminum. If the soleplate is dirty, cleaning is typically done on its surface, not by opening it up.
Cleaning the Soleplate
When your soleplate needs a clean, you’ll usually do this with a damp cloth or a specialized soleplate cleaner. Experts recommend cleaning a cool iron to avoid burns (Good Housekeeping). For stubborn residue, a paste of baking soda and water can be effective, but always follow your iron’s manual. You apply it to the cool soleplate and gently wipe it clean. There’s no need to open any part of the soleplate for this.
Self-Cleaning Features and Access
Some steam irons have a self-cleaning function. This feature helps remove mineral buildup from the steam vents. If your Black & Decker iron has this, the access isn’t about “opening” a part in the traditional sense. Instead, you’ll typically fill the reservoir with water and then press a specific “self-clean” button, often located on the iron’s body. Check your user manual for the exact location and procedure. This process flushes out impurities automatically.
A Quick Checklist for Filling Your Iron
To make your ironing prep even smoother, here’s a quick rundown to ensure you’ve got everything covered:
- Confirm Iron is Cool: Always wait until the iron is completely cool to the touch.
- Locate Fill Cap: Find the water reservoir cover, usually at the top.
- Open Gently: Lift or slide the cap without using force.
- Fill Reservoir: Use distilled or demineralized water as recommended.
- Close Securely: Ensure the cap clicks or seals firmly.
- Ready to Iron: Your iron is now prepped and safe to use!
When to Consult Your Manual
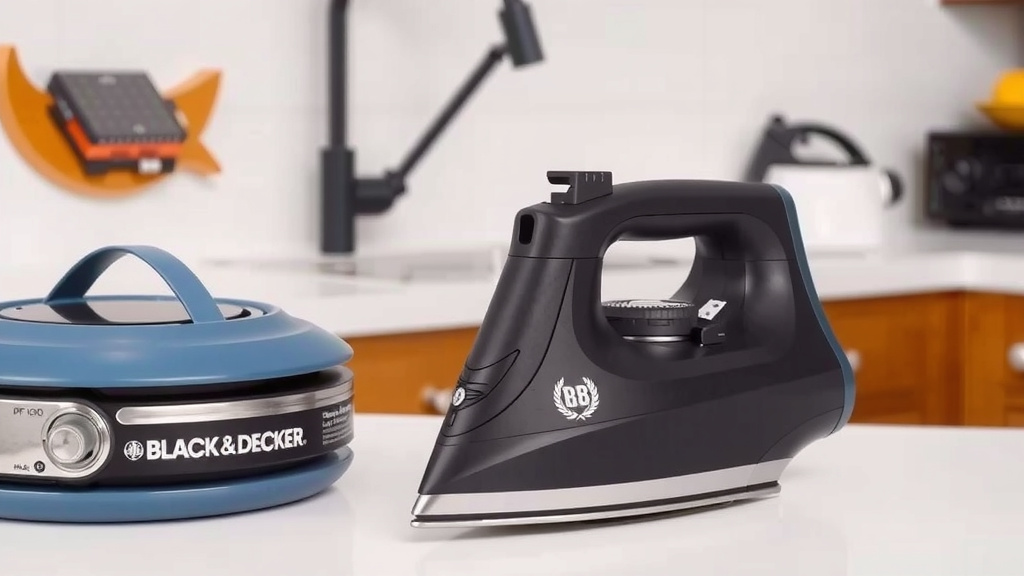
While most Black & Decker steam irons follow similar principles, there can be slight variations between models. If you’re ever unsure about how to open a specific part or perform a certain function, your iron’s user manual is your best friend. It provides detailed instructions tailored to your exact model. You can usually find these manuals on the Black & Decker website if you’ve misplaced yours.
Why the Manual is Your Go-To Resource
The manual is written by the manufacturer and contains all the official guidance. It covers everything from basic operation to troubleshooting and maintenance. For example, it will clearly show you where the water reservoir is and how its cap opens. It also explains what type of water to use, which is essential for steam iron longevity (Consumer Reports).
Finding Model Information
To find the right manual, you’ll need your iron’s model number. This is usually printed on a label on the bottom of the iron or sometimes on the cord. Once you have that number, a quick search on the manufacturer’s support website will typically lead you to the correct PDF document. It’s a small step that can save a lot of guesswork.
Conclusion
You’ve learned that opening your Black & Decker steam iron is a straightforward process focused on accessing the water reservoir. Remember, safety is key – always ensure the iron is completely cool before you begin. By gently locating and lifting the fill cap, you can easily prepare your iron for use. A secure closure afterwards prevents leaks, ensuring a smooth ironing experience.
You’re now equipped to handle the basic steps of getting your steam iron ready. If you ever feel unsure, your user manual is always there to guide you. Enjoy your perfectly pressed clothes!
Frequently Asked Questions
Can I open my steam iron while it’s still hot to add water?
No, you should never attempt to open your steam iron while it is hot. Residual heat can cause serious burns. Always wait for the iron to cool down completely before accessing the water reservoir.
What kind of water should I put in my Black & Decker steam iron?
For best results and to prevent mineral buildup, it’s generally recommended to use distilled or demineralized water in your Black & Decker steam iron. Your user manual will provide the exact recommendation for your specific model.
My iron’s water cap feels stuck. What should I do?
If the cap feels stuck, avoid using excessive force. Gently check if you’re sliding or lifting in the correct direction as indicated on the cap. Sometimes, a slight wiggle can help, but brute strength is not the answer.
How do I clean the soleplate if it gets dirty?
You typically clean the soleplate by wiping it with a damp cloth when the iron is cool. For tougher residue, a paste of baking soda and water can be used. Always consult your manual for specific cleaning instructions to avoid damaging the soleplate.
Where can I find the model number for my Black & Decker iron?
The model number for your Black & Decker iron is usually located on a label on the underside of the iron. Sometimes, it might also be printed on the power cord. This number is helpful for finding your user manual online.