How to Steam Block Crochet With an Iron
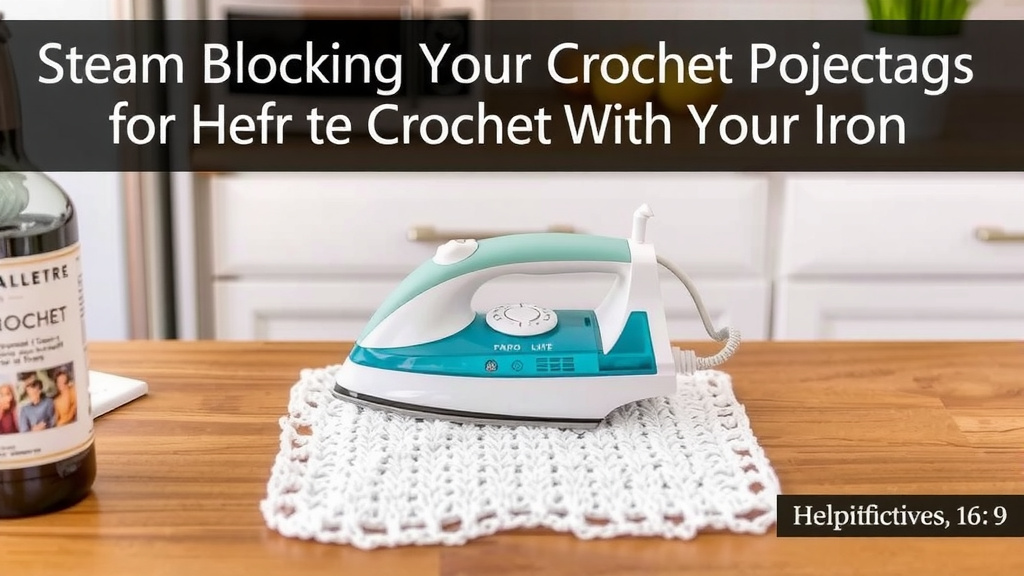
Yes, you can absolutely steam block crochet using a regular household iron! It’s a fantastic and efficient way to shape your crochet projects. By using steam and gentle pressure, you can easily transform your flat pieces into perfectly sized and beautifully finished items.
Many crocheters find this method incredibly helpful for achieving professional-looking results. It’s particularly useful for lace patterns or pieces that need a very specific drape. We found this technique to be a real game-changer for blocking garments and blankets.
- Steam block with your iron for best results.
- Use medium heat and the steam function.
- Never press the iron directly onto wet crochet.
- Let it dry completely before handling.
Ready to give your crochet that polished finish? Let’s walk through exactly how to steam block your crochet with an iron, step by step.
Steam Blocking Your Crochet Projects With an Iron
You can absolutely steam block your crochet pieces using a standard household iron! This method is a wonderful way to shape and set your stitches. It helps to open up delicate patterns and ensure your finished item has the correct dimensions. We found this technique to be especially useful for projects with precise sizing needs.
What You’ll Need for Steam Blocking
Gathering your supplies before you start makes the process much smoother. Having everything within reach means you can focus on blocking your crochet piece without interruption. It’s like preparing your ingredients before cooking – it just makes sense!
Your Crochet Project
Make sure your crochet project is clean. Any dirt or oils can transfer to your iron or be set into the fabric. Hand wash your item gently and allow it to dry completely before you begin blocking. This ensures a fresh start.
Your Iron
Most standard steam irons will work perfectly. You don’t need a fancy or specialized iron. Just make sure it’s clean and in good working order. Look for one with a steam function. This is key for this blocking method.
Blocking Mats or a Padded Surface
You’ll need a surface to place your crochet project on. Blocking mats are ideal because they are firm yet allow pins to be inserted easily. Alternatively, you can use a thick, padded ironing board or even a few folded towels on a table. The goal is a surface where you can pin your work taut.
Rust-Free Pins
Use pins that are made of stainless steel or nickel-plated brass. These are rust-free and won’t leave marks on your wet crochet. Straight pins, T-pins, or blocking pins all work well. You’ll need plenty of them to secure your project’s edges.
Spray Bottle with Water
While your iron provides steam, a spray bottle is helpful for adding extra moisture. You might need it to dampen areas that seem to be drying too quickly. Keep it filled with cool, clean water.
Step-by-Step Guide to Steam Blocking
Let’s get your crochet project looking its absolute best! This process is straightforward and very rewarding. Follow these steps carefully for optimal results.
Step 1: Prepare Your Workspace
Lay out your blocking mats or padded surface in a well-ventilated area. You don’t want to be working in a stuffy room. Ensure you have enough space to spread out your crochet piece to its intended dimensions. Make sure your iron is filled with water and plugged in, but not yet turned on.
Step 2: Pin Your Crochet Project
Dampen your crochet project lightly with your spray bottle. This isn’t soaking it, just making it pliable. Lay it flat on your prepared surface. Gently stretch and shape your crochet to the desired measurements. You can use a measuring tape to check. Start pinning the edges, securing it firmly to the mat. Place pins about 1-2 inches apart. For lace, pay extra attention to blocking out the pattern details.
Getting the Shape Right
This is your chance to really perfect the dimensions. Are you blocking a square blanket that needs to be exactly 36×36 inches? Now’s the time to pin it to those specifications. If you’re blocking a garment piece, align it with any patterns or diagrams you have for its shape. Don’t be afraid to tug gently to get it just right.
Step 3: Set Your Iron Settings
Set your iron to a medium heat setting. Crucially, select the steam function. Avoid using the highest heat setting, as this can damage delicate fibers like acrylic or fine wool. Always check your yarn’s care label for recommended heat settings if you’re unsure. Most natural fibers can handle medium heat well.
Step 4: Apply Steam (The Magic Step!)
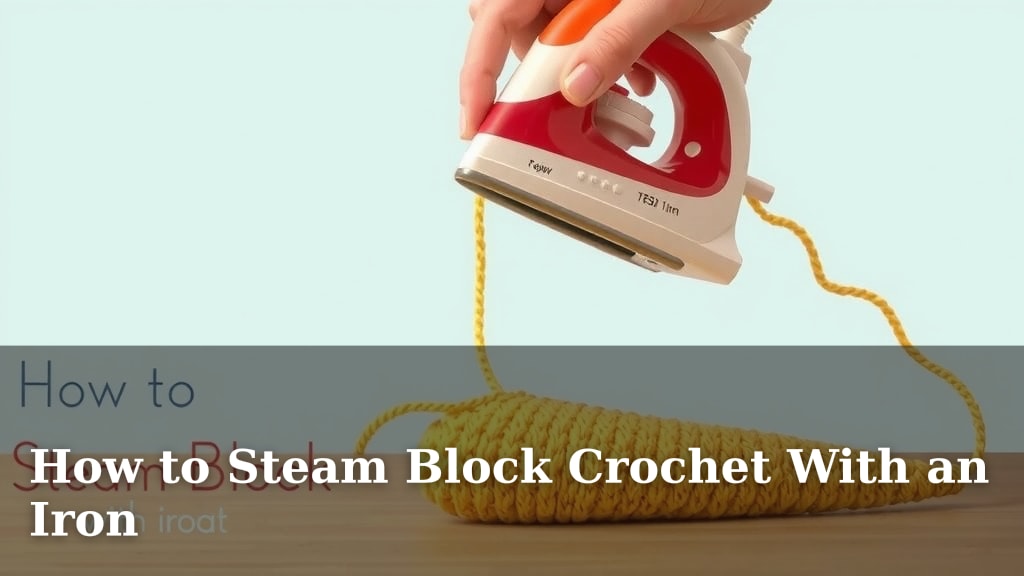
Hold the iron about 1-2 inches above your crochet. Never touch the iron directly to the fabric, especially when it’s wet. Let the steam penetrate the fibers. Move the iron slowly over the entire surface of your project, applying steam generously. You should see the fabric relax and begin to take shape. Spend about 15-30 seconds per section.
Important Safety and Technique Tips
- Never press the iron directly onto the wet crochet.
- Keep the iron moving to avoid scorching or melting fibers.
- Use short bursts of steam, allowing it to work into the yarn.
- Ensure good ventilation as steam will fill the air.
Step 5: Let It Dry Completely
This is a critical step that many people rush! Once you’ve applied steam, leave your crochet pinned in place until it is completely dry. This allows the fibers to set in their new shape. If you remove it while still damp, it may lose its shape. This can take several hours, or even overnight, depending on humidity and how much steam you used.
Step 6: Remove Pins and Admire
Once your project is bone dry, carefully remove all the pins. Your crochet should now hold its blocked shape beautifully. You’ve successfully transformed your work with steam!
Quick Checklist for Steam Blocking Success
- Clean your crochet project first.
- Use rust-free pins and a padded surface.
- Set your iron to medium heat with steam.
- Hold iron 1-2 inches above fabric.
- Never press iron directly onto wet crochet.
- Allow project to dry completely before handling.
Conclusion
You’ve learned how easy it is to steam block your crochet projects using a regular iron. This technique is fantastic for shaping your work precisely and making those stitches pop. Remember to always use medium heat, plenty of steam, and keep the iron hovering above your fabric. Patience is key; letting your project dry completely is non-negotiable for lasting results. Give your next crochet creation this professional finishing touch – you’ll be amazed at the difference it makes!
Frequently Asked Questions
Can I use any type of iron to steam block crochet?
Yes, most standard household steam irons work perfectly for this. You don’t need a special iron, just one that produces steam. Ensure your iron is clean to avoid transferring any residue to your yarn.
What is the difference between steam blocking and wet blocking?
Wet blocking involves soaking your project thoroughly and pinning it. Steam blocking uses the steam from your iron to relax the fibers, with less moisture involved. Steam blocking is generally faster than traditional wet blocking.
How do I know if my crochet project is dry enough to remove pins?
Your project should feel completely dry to the touch and not cool or damp. It should hold its shape without any sagging. It’s better to err on the side of caution and wait a little longer if you’re unsure.
Will steam blocking damage delicate yarns like wool or silk?
When done correctly, steam blocking is generally safe for most yarns. Always check your yarn’s care label for specific instructions. Use a lower heat setting and hold the iron further away if you’re concerned about delicate fibers.
My crochet still looks a bit wavy after steam blocking. What should I do?
You might need to apply steam again, ensuring you’re stretching your project to the desired dimensions while pinning. Make sure you’re using enough steam and holding the iron consistently over the fabric. Allowing it to dry completely is essential for setting the shape.