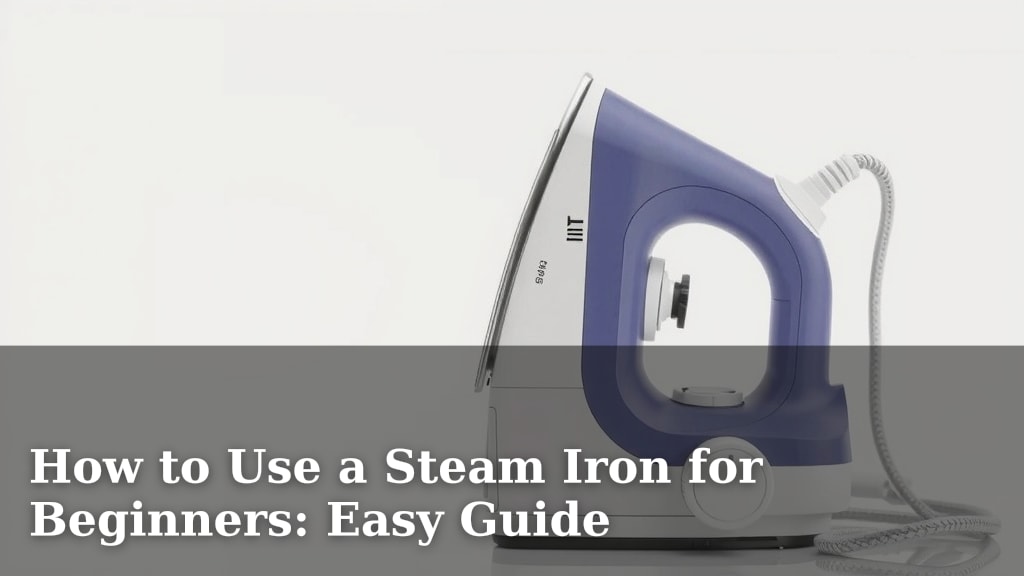
How to Use a Steam Iron for Beginners: Easy Guide
The easiest way to use a steam iron for beginners is to fill it with distilled water, set the correct fabric temperature, and glide it smoothly over your garment. You’ll want to hold the iron with a firm but relaxed grip. Pre-testing on an inconspicuous area can prevent surprises.
Getting started with a steam iron might seem a little daunting. But once you understand the basics, you’ll find it’s a quick and effective way to refresh your clothes. Learning how to properly manage the steam and heat will ensure your fabrics look their best, making you feel more polished.
- Fill with distilled water first.
- Match the heat setting to your fabric type.
- Keep the iron moving to prevent scorching.
- Always iron on a stable, heat-resistant surface.
- Let clothes cool before wearing or storing.
Ready to tackle those wrinkles? Below, we’ll walk you through each step of using your steam iron like a pro, from setup to the final press.
Mastering Your Steam Iron: A Beginner’s Guide
So you’ve got a shiny new steam iron, or maybe just an old one that’s been gathering dust. You’re ready to banish those wrinkles and look your sharpest. That’s fantastic! Using a steam iron might seem a bit like a science experiment at first. But don’t worry, we’ll break it down into simple steps. You’ll be pressing like a pro in no time, making your clothes look crisp and feel comfortable.
Think of your steam iron as a helpful tool. It uses heat and moisture to relax fabric fibers. This allows them to smooth out. We found that understanding a few key things makes all the difference. Let’s get you comfortable and confident with this essential household item.
Getting Your Steam Iron Ready to Go
Before you even plug in your iron, there are a few important setup steps. These ensure you get the best results and keep your iron in good shape. Taking a moment here saves a lot of potential frustration later.
Filling the Water Tank: The Right Way
The first and arguably most important step is filling the water tank. You’ll want to look for the filling port on your iron. It’s usually near the top. Many irons have a small cup or funnel included for this purpose. Make sure the iron is unplugged and cool when you do this. You don’t want any accidental steam burns.
Now, about the water itself. We found that using distilled water is highly recommended by most manufacturers. Why distilled water? Tap water contains minerals. Over time, these minerals can build up inside your iron. This buildup, called limescale, can clog the steam vents. It might even leave little brown stains on your clothes. Distilled water is purified. It’s free of those pesky minerals. This keeps your iron working smoothly and your clothes looking spotless.
You might see your iron’s manual suggest using a mix of tap and distilled water. Always follow the manufacturer’s specific instructions. But as a general rule, sticking to distilled water is the safest bet for longevity and performance. Just fill the tank to the indicated line. Don’t overfill it.
Choosing the Right Heat Setting
This is where the magic happens, and also where you can potentially cause a little oopsie if you’re not careful. Your iron has a dial or buttons to control the temperature. Matching this setting to the fabric you’re ironing is critical. We research and found that fabrics have different melting and scorching points. Guessing can lead to melted synthetics or dull, lifeless silk.
Look at the care label on your garment. It’s that little tag usually found on the inside seam. It will tell you the fabric type and often provide ironing instructions. Many irons have settings clearly labeled with fabric types. You’ll see icons for cotton, linen, silk, wool, and synthetics. If your iron doesn’t have these specific labels, you’ll need to know a bit about common fabrics.
| Fabric Type | Recommended Heat Setting | Steam Use |
|---|---|---|
| Linen | High | Yes, usually best with steam |
| Cotton | Medium-High | Yes |
| Wool | Medium | Yes, or use a damp cloth |
| Silk | Low-Medium | No direct steam; iron on reverse |
| Synthetics (Polyester, Nylon) | Low | No steam; iron on reverse |
A good rule of thumb: start with a lower heat setting than you think you need. You can always turn it up. It’s much harder to fix a scorched hole. Many experts say that ironing synthetic fabrics on the wrong setting is a common beginner mistake.
The Actual Ironing Process: Step-by-Step
Now that your iron is filled and set, it’s time to get down to business. You’ll need a stable, heat-resistant surface to work on. An ironing board is ideal. If you don’t have one, a sturdy table covered with a thick towel or a heat-resistant mat works in a pinch. Make sure it won’t slide around.
Preparing Your Garment
First, ensure your garment is clean. Stains can become permanent when heat is applied. Hang the item for a few minutes to let it settle. Some people like to lightly mist their clothes with water from a spray bottle. This helps relax the fibers, making them easier to press. You can skip this if you’re using the steam function effectively.
We found that ironing on the reverse side of the fabric can be a lifesaver. This is especially true for dark colors, printed designs, or delicate fabrics like silk. It helps prevent shiny marks or damage to embellishments. Turn your garment inside out and iron the inner seams or the wrong side of the fabric.
The Motion: Keep It Moving!
This is where the “steam” part really comes into play. Once your iron has heated up (the indicator light will usually turn off when it’s ready), you’re good to go. Hold the iron with a firm but relaxed grip. You don’t want to grip it too tightly. That can lead to fatigue and shaky movements.
Begin by placing the iron flat on the fabric. Then, slowly and smoothly glide the iron across the garment. Don’t let the iron sit in one spot for too long. That’s how you get scorch marks. Keep the iron moving constantly. For stubborn wrinkles, you might need to go over the area a couple of times. You can also use the steam burst button for extra power on tough creases. Many guides suggest using a slight downward pressure.
Are you ironing a collar? Start at the points and work your way to the center. For sleeves, you can iron them flat or use a sleeve board if you have one. The key is to work in sections. Don’t try to iron the whole shirt at once. Focus on one area, then move to the next. This method helps ensure you don’t miss any spots.
Using Steam Effectively
Steam is your best friend for most natural fabrics like cotton and linen. It helps to relax the fibers, making wrinkles disappear more easily. You’ll want to make sure your iron is hot enough for steam to be produced. If your iron has a steam control, set it according to the fabric type. Usually, more steam is better for heavier fabrics like denim or linen.
When you glide the iron, the steam will be released automatically. For really stubborn wrinkles, you can press the steam boost button. This gives an extra puff of steam. Be careful with delicate fabrics or synthetics. Too much steam can sometimes cause water spots or damage. For these materials, you might want to use the lowest steam setting or no steam at all.
Cooling Down and Finishing Touches
Once you’ve finished ironing a garment, don’t just fold it up right away. Let it cool for a few minutes. We found that fabrics can be quite hot and pliable right after ironing. If you fold or wear them immediately, new wrinkles can form. Letting them cool on a hanger or flat surface allows the fibers to set. This helps maintain that crisp, smooth look you worked hard to achieve.
When you’re completely done ironing, remember to empty any remaining water from the tank. This is an important maintenance step. Letting water sit in the iron can lead to mineral buildup and potential leaks. Unplug the iron and let it cool completely before storing it. Store it upright in a safe place, away from children and pets.
Quick Checklist for Smooth Sailing
Here’s a quick rundown to keep in mind every time you iron:
- Always use distilled water.
- Match iron heat to fabric type.
- Iron on a stable, heat-resistant surface.
- Keep the iron moving constantly.
- Let clothes cool before folding or wearing.
- Empty water and unplug when finished.
Conclusion
You’ve now got the basics down for using your steam iron with confidence. Remember, using distilled water and matching the heat setting to your fabric are your best allies against wrinkles. Keeping the iron moving smoothly prevents damage. Following these simple steps ensures your clothes look fresh and polished every time.
Your next step? Grab your favorite wrinkled item and give it a try! You’ll be surprised how quickly you become a pro at transforming your wardrobe.
Frequently Asked Questions
What happens if I use tap water instead of distilled water in my steam iron?
Using tap water can lead to mineral buildup, known as limescale, inside your iron. This limescale can clog the steam vents and may even leave brown stains on your clothes. Distilled water is free of these minerals, protecting your iron and your garments.
Can I iron clothes that are still damp?
It’s generally best to iron clothes when they are dry or slightly damp as per care instructions. Ironing very wet clothes can take longer and may not produce crisp results. If your garment needs extra moisture, a light misting from a spray bottle before ironing is more effective.
How do I avoid getting shiny marks on dark fabrics?
To prevent shiny marks on dark or delicate fabrics, always iron on the reverse side of the garment. You can also place a thin cotton cloth, like a pillowcase, between the iron and the fabric for an extra layer of protection.
My iron isn’t producing much steam, what could be wrong?
This often means the water tank is low or the iron hasn’t reached the correct temperature yet. Ensure there’s enough distilled water in the tank and give the iron a few minutes to heat up fully. If the issue persists, check if the steam setting is enabled and not blocked.
Is it safe to iron over zippers or buttons?
It’s best to avoid directly ironing over metal zippers and plastic buttons, as they can get very hot or melt. Iron around them carefully. For buttons, you can often turn the garment inside out to iron the fabric behind them.