How to Iron a Shirt With a Steamer: Easy Guide
Yes, you absolutely can iron a shirt with a steamer! In fact, using a handheld garment steamer is a **quick and effective** way to remove wrinkles. It’s often faster than a traditional iron and much more forgiving. You’ll find your shirts look **crisp and presentable** in no time.
While traditional ironing uses direct heat and pressure, a steamer works by using **hot vapor** to relax fabric fibers. This allows wrinkles to fall out easily. Many people prefer steaming for delicate fabrics or when they’re in a hurry. It’s a fantastic tool for a neat appearance.
- Hang your shirt properly.
- Hold the steamer upright.
- Steam from the inside out.
- Keep the fabric taut.
- Don’t over-saturate the fabric.
Ready to ditch those stubborn wrinkles? Let’s walk through exactly how to get your shirts looking their best using a garment steamer, step by step.
“`htmlMastering the Shirt Steamer: Your Wrinkle-Free Guide
So, you’ve got a shirt steamer and a pile of wrinkled shirts staring you down. You’re wondering if this gadget is actually going to live up to the hype. You’re not alone! Many people find steamers to be a lifesaver for quick touch-ups. We’re here to show you just how easy it can be.
Think of your steamer as a gentle but firm friend to your fabrics. It uses hot steam to relax the fibers, making wrinkles vanish. It’s a bit like giving your shirt a warm, steamy shower. This method is often kinder to delicate materials than a hot iron.
Getting Started: Prep Work for Perfect Results
Before you even turn on your steamer, a little prep goes a long way. You want to set yourself up for success. This ensures you get the best possible results without any fuss.
Choosing the Right Spot
Find a place where you can hang your shirt freely. A sturdy doorway or the back of a closet door often works well. Make sure there’s enough space around it so the steam can circulate. You don’t want to steam one side and then have it immediately wrinkle the other.
Hanging Your Shirt Properly
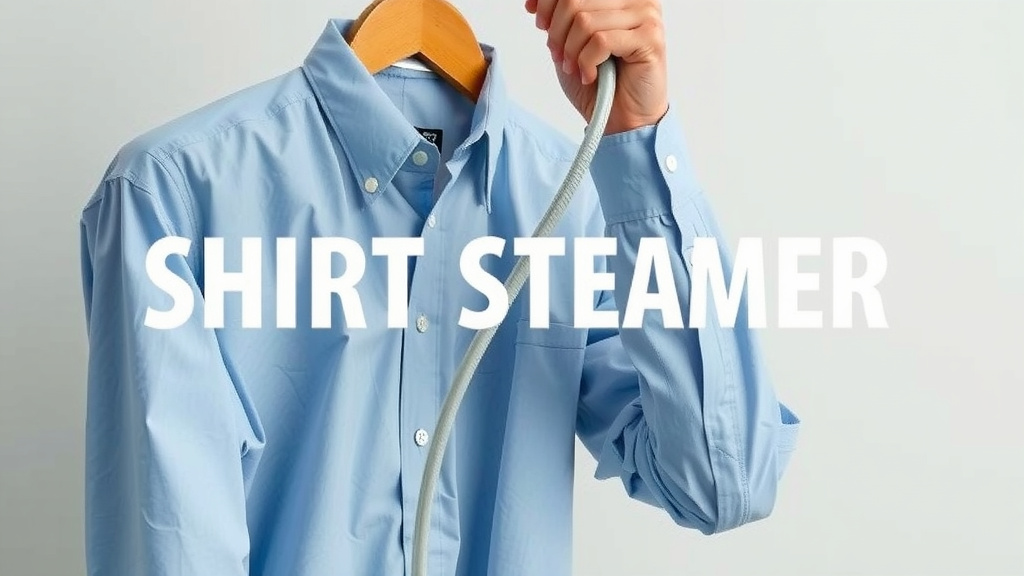
This is more important than you might think! Use a good quality hanger that supports the shoulders of your shirt. Buttons should be fastened, at least the top one. This helps the shirt maintain its shape as you steam. A well-hung shirt is a steamy shirt’s best friend.
Understanding Your Steamer
Every steamer is a little different. Some have larger water tanks, others have different heat settings. Always read your manufacturer’s instructions. You’ll want to make sure you’re filling the tank correctly with water. Using distilled water is often recommended to prevent mineral buildup.
The Steaming Process: Step-by-Step
Now for the main event! This is where the magic happens. Follow these steps, and you’ll be looking sharp in no time.
Filling and Heating
Fill your steamer’s water tank to the indicated level. Never overfill it. Then, plug it in and turn it on. Most steamers take a minute or two to heat up and start producing steam. You’ll see little wisps of steam when it’s ready.
Holding the Steamer Correctly
This is key. Always hold your steamer upright. Tipping it too far can cause hot water to splash out, which is definitely not ideal! Keep the nozzle a few inches away from the fabric. You want the steam to penetrate, not drench.
Working from the Inside Out
We found that steaming the shirt from the inside can be very effective. Start with the inner surfaces of the shirt. This helps to loosen wrinkles from the core of the fabric. Then, you can move to the outside for a final pass. Many experts suggest this approach (Good Housekeeping Institute).
Keeping the Fabric Taut
As you steam, gently pull the bottom edge of the shirt taut with your free hand. This helps the wrinkles to fall out more easily. Imagine you’re ironing out a wrinkle with your fingers as the steam works. A little tension is your friend here.
Targeting Different Areas
Let’s break down how to tackle common shirt areas.
The Collar and Cuffs
These are often the most visible areas. For the collar, start from the underside and work your way outwards. Hold it taut and move the steamer in short, vertical strokes. Do the same for the cuffs. They can be tricky, so a little extra attention here pays off.
The Front and Back Panels
For the larger sections, work in smooth, overlapping strokes. Move the steamer up and down or side to side. Don’t linger too long in one spot, as you don’t want to oversaturate the fabric. A few passes should be enough.
Sleeves
For sleeves, you can either steam them flat or in their natural hung position. If steaming them flat, gently smooth out the fabric before steaming. Again, keep the fabric taut and use smooth, steady strokes. We found that one side at a time works best.
Troubleshooting Common Steaming Issues
Even with the best intentions, you might run into a minor snag. Here’s how to handle them.
Water Spots?
If you notice little water spots, it might be because the steamer wasn’t fully heated or was tipped. Let the steamer heat up completely before you start. Also, ensure you’re holding it upright. If spots appear, you can often just steam over them again once dry.
Stubborn Wrinkles Persist?
For really tough wrinkles, try holding the fabric taut with one hand and gently stretching the wrinkle away from the fabric with the other. Then, pass the steamer over it. Sometimes, a second pass is all it needs. Research suggests that consistent, gentle application works best (Consumer Reports).
Delicate Fabrics
Always test your steamer on an inconspicuous area first, especially with silks or other delicate materials. Keep the steamer a bit further away and use lighter strokes. Many experts advise a distance of 6 inches or more for very fine fabrics (Fabric Care Council).
Quick Checklist for Steaming Success
Here’s a quick rundown to ensure your shirt ends up perfectly smooth:
- Hang shirt securely on a hanger.
- Ensure steamer is fully heated and upright.
- Hold fabric taut while steaming.
- Use smooth, overlapping strokes.
- Don’t let the fabric get too wet.
- Always test on a hidden spot for delicate materials.
Conclusion
You’ve now learned that steaming your shirts is a simple and effective way to achieve a wrinkle-free look. By following these steps, you can easily tackle everything from stubborn collar creases to smooth front panels. Remember to hang your shirt properly, keep the fabric taut, and always hold your steamer upright. With just a little practice, you’ll be amazed at how quickly you can get your shirts looking crisp and presentable. Your next step? Grab your steamer and give it a try on that shirt waiting in your closet!
Frequently Asked Questions
Can I use a garment steamer on all types of fabrics?
Generally, yes, but always exercise caution with very delicate materials like silk or rayon. We found that testing on an inconspicuous area first is a smart move. For these fabrics, keep the steamer a bit further away and use shorter strokes to avoid water spots or damage.
How close should I hold the steamer nozzle to the fabric?
You’ll want to hold the nozzle just a few inches away from the fabric, around 2-6 inches is a good starting point. This distance allows the hot vapor to relax the fibers effectively without oversaturating the material. For very fine fabrics, you might need to hold it a bit further back.
What’s the best way to handle really stubborn wrinkles?
For those tough creases, try holding the fabric taut with one hand while you gently stretch the wrinkle away with your other hand. Then, pass the steamer over that area. Sometimes, a second pass with the steamer is all it takes to smooth them out completely.
Why am I getting water spots on my shirt after steaming?
Water spots often occur if the steamer hasn’t fully heated up yet or if it was tipped too far. Always let your steamer reach its full operating temperature before you start. Make sure you’re holding it in an upright position to prevent hot water from splashing out onto your clothes.
How can I make my shirt look as crisp as ironing?
While a steamer provides a smooth finish, it may not achieve the same sharp creases as a traditional iron, especially on collars or plackets. For a crisper look, focus on keeping the fabric taut as you steam and use firm, steady strokes. If a sharp crease is essential, a quick touch-up with an iron might be necessary for specific areas.