How to Iron a Pleated Skirt Without Steam Iron
Yes, you can absolutely iron a pleated skirt without steam. The trick is to use a slightly damp cloth between your iron and the fabric. This creates enough moisture to help set the pleats beautifully. You’ll want to make sure your iron is set to the appropriate heat setting for your skirt’s material.
Many people worry about damaging delicate fabrics or not getting crisp pleats without steam. But with the right technique, you can achieve professional-looking results. We found that using a spray bottle of water is also a great way to add moisture. Protecting your skirt is key, so a pressing cloth is your best friend here.
- Use a damp pressing cloth.
- Check your iron’s heat setting.
- Work in small sections.
- Press, don’t slide the iron too much.
- Let pleats cool before moving the skirt.
Ready to give your pleated skirt a crisp, fresh look? Let’s walk through the simple steps to get those pleats looking perfect, even without steam.
“`htmlCrisp Pleats Without the Steam: Your Guide to Ironing Skirts
You’ve got a gorgeous pleated skirt that’s looking a little tired. Maybe the pleats have lost their crispness, or perhaps it just needs a refresh. The good news is, you don’t need a fancy steam iron to make it look fantastic again. With a few simple tools and techniques, you can bring those sharp lines back to life right in your own home.
Ironing pleated skirts without steam might sound tricky, but we found it’s entirely doable. The key is to mimic the moisture that steam provides. This helps the fabric fibers relax and then set into their new, crisp shape. Let’s break down how you can achieve professional-looking results, one pleat at a time.
Gathering Your Non-Steam Ironing Arsenal
Before you even think about plugging in your iron, let’s make sure you have everything you need. Having the right supplies on hand will make the whole process smoother and much more effective. Think of this as your “pleat perfection” toolkit.
The Essential Tools You’ll Need
You likely have most of these items already. They’re simple, everyday things that can make a big difference. We’ve found that using what you have at home is often the easiest way to tackle this.
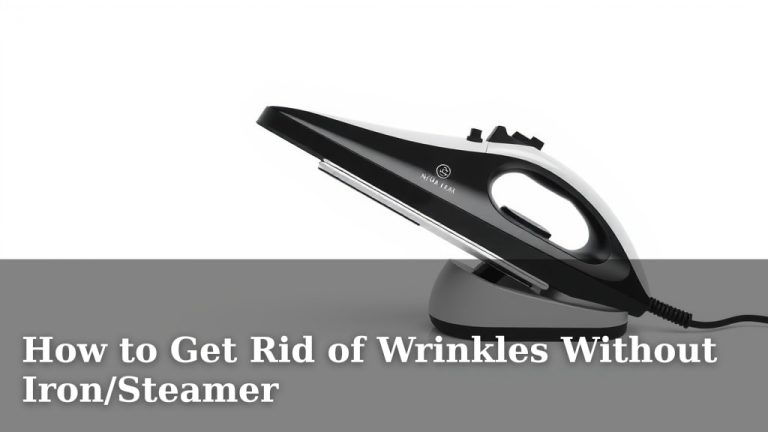
- An Iron: Any standard iron will do. Just make sure it’s clean!
- A Pressing Cloth: This is crucial. A clean cotton pillowcase, a thin cotton tea towel, or a piece of scrap cotton fabric works perfectly.
- A Spray Bottle with Water: This is your steam substitute. Make sure it mists finely.
- A Flat, Stable Surface: Your ironing board is ideal, but a clean, sturdy table covered with a thick towel can also work in a pinch.
- Patience: This isn’t a race. Taking your time ensures better results.
Choosing the Right Heat Setting is Key
Different fabrics react differently to heat. Setting your iron too high can scorch or melt synthetic materials. It can also damage delicate natural fibers. Always check the care label on your skirt first. If there’s no label, do a test patch on an inconspicuous area, like an inside seam allowance.
We found that a medium heat setting is generally safe for most common skirt materials like cotton and polyester blends. For silk or rayon, you’ll want to use a lower setting. Wool might need a slightly higher heat but always with the pressing cloth. Your iron’s manual can offer guidance on specific fabric settings. Getting this right protects your skirt and ensures the best outcome.
Preparing Your Pleated Skirt for Ironing
Preparation is half the battle, especially with delicate fabrics and precise pleats. Taking a few minutes to get your skirt ready will save you a lot of frustration later on. We’ve learned that a few simple steps here really do make a difference.
Wash and Dry (If Necessary)
It’s always best to iron a clean skirt. Any dirt or stains can get “baked” into the fabric by the heat, making them much harder to remove. If your skirt is freshly washed, make sure it’s almost dry. A slightly damp garment is actually easier to iron and helps the pleats set. However, you don’t want it soaking wet; that can lead to other issues.
Setting Up Your Ironing Station
Clear your ironing board or table. Make sure you have enough space to lay the skirt flat without it bunching up. Having good lighting is also helpful so you can see each pleat clearly. Ensure your iron is within easy reach but safely set to its base when not in active use. A tidy space helps you focus on the task.
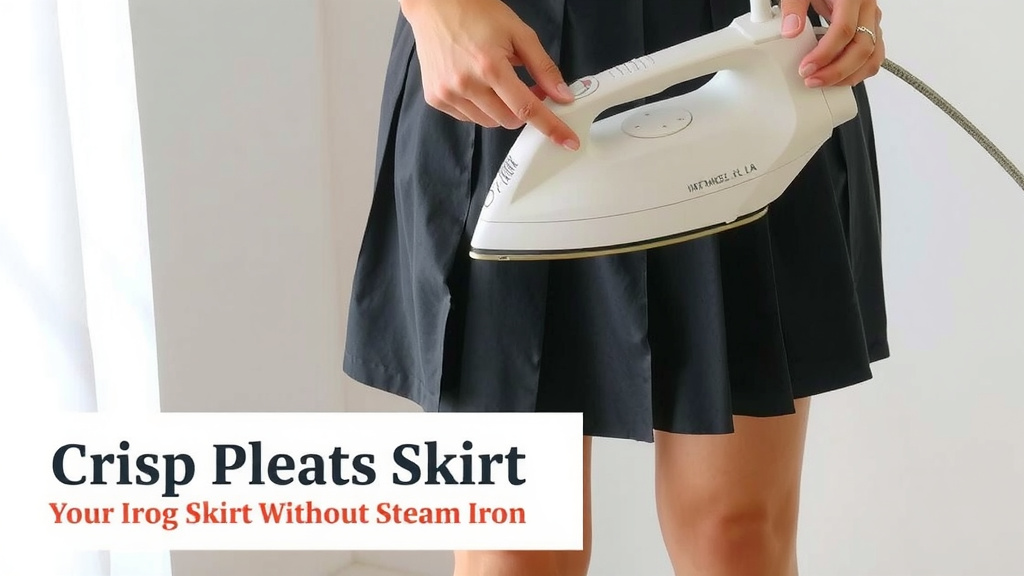
The Step-by-Step Process for Perfect Pleats
Now for the main event! We’ll walk you through how to iron each section of your skirt. Remember, the goal is to create that crisp, sharp look without relying on steam. This method ensures you’re protecting your fabric while achieving great results.
Step 1: Laying Out the Skirt
Carefully lay your skirt flat on your ironing surface. Begin with the waistband and work your way down. Smooth out any major wrinkles by hand. Try to get the fabric as flat as possible before you start ironing.
Step 2: Aligning the First Pleat
This is where the magic happens. You need to recreate the original fold of the pleat. Gently guide the fabric so the folds line up perfectly. Pinch the fabric at the top of the pleat to hold it in place. This ensures the pleat is sharp and even.
Step 3: Introducing Moisture and Heat
Take your spray bottle and lightly mist the area of the pleat you’re about to iron. You don’t want it dripping wet, just slightly damp. Then, place your pressing cloth over the dampened pleat. This cloth is your shield, protecting the fabric from direct heat.
Next, set your iron to the appropriate heat setting for your skirt’s fabric. Many experts recommend starting with a lower to medium heat and increasing if necessary, always with the pressing cloth in place (Cleveland Clinic). Position the iron on top of the pressing cloth. Apply gentle, even pressure.
Step 4: Pressing, Not Sliding
This is a critical distinction. Instead of sliding the iron back and forth like you might with other fabrics, press down on the pleat for several seconds. Lift the iron, move it to the next section of the pleat, and press again. This “dwell time” allows the heat and moisture to set the crease. We found that repeating this pressing motion along the entire length of the pleat is key.
Step 5: Working Section by Section
Continue this process, pleat by pleat. Work your way around the entire skirt, ensuring each pleat is aligned and pressed firmly. It’s often easier to iron one side of the skirt completely before moving to the other. Pay attention to where the pleats start and end, ensuring they are consistent.
Step 6: Allowing Pleats to Cool
Once you’ve ironed a section or a pleat, resist the urge to immediately move or fold the skirt. Let the fabric cool and the pleats set. We found that letting the skirt hang or lie flat for a few minutes after ironing each section helps the pleats stay sharp. Rushing this step can cause the pleats to soften and lose their definition.
Troubleshooting Common Ironing Hiccups
Even with the best intentions, sometimes things don’t go perfectly. Don’t worry; most common issues can be fixed with a little adjustment. We’ve encountered a few snags ourselves, and found these solutions helpful.
When Pleats Aren’t Crisp Enough
If your pleats aren’t holding their shape, it could be due to insufficient moisture or not enough heat. Try lightly dampening the area again, ensuring your pressing cloth is slightly damp too, and press for a little longer. Double-check your iron’s heat setting; it might need to be a touch warmer for that specific fabric type (Consumer Product Safety Commission). Remember to always use the pressing cloth!
Dealing with Shiny Marks or Scorching
Shiny marks or scorch marks are usually a sign that the iron was too hot, or the pressing cloth was too thin or not used correctly. If you see a shiny mark, try covering the area with a damp pressing cloth and pressing gently. For actual scorch marks, it might be permanent damage, unfortunately. Prevention is truly the best cure here, so always test heat and use that cloth!
Handling Different Fabric Types
As mentioned, synthetics like polyester can melt at high temperatures. Silk and rayon are delicate and can scorch easily. Always err on the side of caution with these materials. A lower heat setting and a thicker pressing cloth are your best friends. For sturdy fabrics like denim or heavier cotton, you might be able to use slightly more heat, but the damp cloth and pressing technique remain essential.
Quick Checklist for Pleat Perfection
Here’s a simple rundown to keep you on track:
- Check the Care Label for fabric type and heat recommendations.
- Use a Damp Pressing Cloth – this is non-negotiable!
- Set the Right Heat – test if unsure.
- Align Pleats Precisely before ironing.
- Press, Don’t Slide the iron for crisp lines.
- Let Pleats Cool Completely to set the shape.
Conclusion
You’ve now learned how to achieve perfectly crisp pleats on your skirt without relying on steam. By using a damp pressing cloth and your regular iron correctly, you can revitalize your wardrobe. Remember, patience and the right technique are your best tools. Always check your fabric’s care label and test your iron’s heat setting first. Now go forth and give your favorite pleated skirt that fresh, sharp look it deserves!
Frequently Asked Questions
How damp should the pressing cloth be?
Your pressing cloth should be slightly damp, not dripping wet. This provides just enough moisture to help set the pleats. Wring out excess water thoroughly before placing it over the pleat.
Can I iron directly on the pleats without a pressing cloth?
We strongly advise against ironing directly on the pleats without a pressing cloth. The cloth protects your fabric from direct heat, preventing scorching or shine marks. It’s a non-negotiable step for safe ironing.
What if my skirt is made of a delicate fabric like silk?
For delicate fabrics like silk or rayon, always use the lowest heat setting on your iron. A thicker pressing cloth is also recommended. Mist the area very lightly and press gently, moving the iron often.
How can I make sure the pleats are perfectly aligned?
Carefully lay your skirt flat and gently guide the fabric to match the original fold lines. Pinch the fabric at the top of the pleat to hold it in place before you start pressing. Take your time to ensure each pleat is even.
My pleats aren’t staying sharp after ironing. What am I doing wrong?
This usually happens if the fabric didn’t cool down completely after pressing. Allow the ironed pleats to set and cool on a flat surface or by hanging before moving the skirt. Ensuring enough moisture and pressing time also helps them hold their shape.