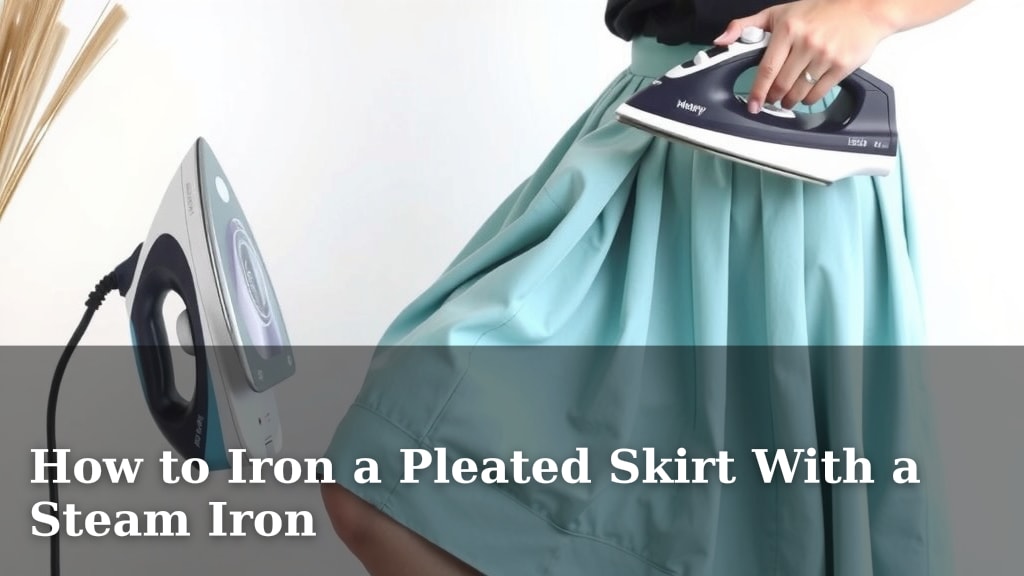
How to Iron a Pleated Skirt With a Steam Iron
Yes, you can absolutely iron a pleated skirt with a steam iron, and it’s often the best way to get crisp, sharp pleats. Using steam helps to relax the fabric fibers, making them easier to shape and hold their form. Just be sure to use the correct heat setting for your skirt’s material to avoid damage. This method is key for getting those perfectly pressed pleats.
Keeping your pleated skirts looking sharp can seem daunting, but with the right technique and tools, it’s totally achievable. We found that a steam iron is your secret weapon against wrinkles and wonky folds. It’s about more than just removing wrinkles; it’s about restoring the skirt’s intended structure. Mastering this will make your skirts look brand new every time you wear them.
- Steam irons are great for pleated skirts.
- Use the right heat for your fabric.
- Pleats need careful pressing to look sharp.
- It’s a simple way to keep skirts neat.
Ready to make your pleated skirt look runway-ready? Let’s walk through exactly how to use your steam iron to achieve those gorgeous, crisp pleats step by step.
“`htmlPressing Your Pleated Skirt Like a Pro
So, you’ve got a gorgeous pleated skirt that’s looking a little less than stellar? Don’t worry, giving it a fresh press with your steam iron is simpler than you might think. We found that a steam iron is your best friend for tackling those sharp folds. It helps to relax the fabric, making it much easier to create those crisp, defined lines that make pleated skirts so elegant.
Getting Your Pleated Skirt Ready for Ironing
Before you even think about touching that iron, a little prep work goes a long way. This makes the whole process smoother and ensures you don’t end up with a wrinkled mess.
Check the Fabric Care Label
This is your skirt’s secret instruction manual. Always, always check the care label first. It will tell you the recommended heat setting for the fabric. Ignoring this is like trying to bake a cake without checking the oven temperature – you’re asking for trouble!
Identify Your Fabric Type
Different fabrics need different approaches. Is your skirt made of delicate silk, sturdy cotton, or a synthetic blend? We found that knowing your material helps you choose the right iron setting. For example, synthetics often require lower heat than cotton. If the label is missing, start with a low heat setting and test it on an inconspicuous area, like an inner seam. This is a smart move, really.
Gather Your Supplies
You’ll need a few things to make this process efficient. Make sure your steam iron is clean. Any residue on the soleplate can transfer to your skirt. You’ll also want a sturdy ironing board. A pressing cloth is also a good idea, especially for delicate fabrics or darker colors to prevent scorching or shine marks. We found that having these items ready makes the task feel less like a chore.
Setting Up Your Ironing Station
A good setup is key to getting those perfect pleats. Think of it as setting the stage for a flawless performance.
Prepare the Ironing Board
Ensure your ironing board cover is smooth and free of wrinkles. A bumpy surface will make it hard to press evenly. If your cover is old and worn, consider replacing it. A fresh, flat surface is a game-changer.
Fill the Steam Iron
Most steam irons work best with distilled water. Tap water can contain minerals that build up over time and clog the iron’s steam vents. This is something many sources suggest for iron longevity (Good Housekeeping Institute). Fill the reservoir according to your iron’s instructions. Make sure not to overfill it.
The Actual Pleating and Pressing Process
Now for the main event! This is where you’ll bring those pleats back to life. Patience is your friend here. We found that working section by section yields the best results.
Start with a Test Press
Before diving in, do a quick test on a small, hidden area. Set your iron to the recommended heat for your fabric type. If you don’t have a label, start low. Hold the iron briefly on the fabric. If there’s no damage or shine, you’re good to go. This small step can save your skirt from a heat-related disaster.
Ironing Each Pleat
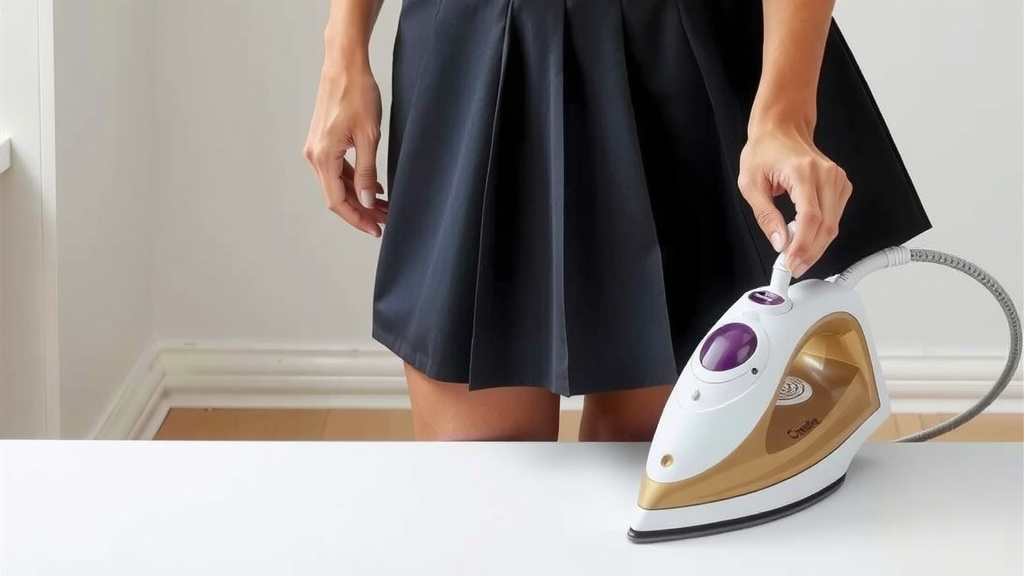
Lay a section of the skirt flat on the ironing board. Carefully align one of the pleats so it lies perfectly flat. Ensure the fabric underneath is also smooth. You want to press along the existing fold line.
Bring your steam iron down onto the pleat. Use the steam burst function if your iron has one. This is where the magic happens. The steam penetrates the fabric fibers, making them pliable. Press down firmly but gently. Don’t drag the iron across the fabric; instead, use a pressing motion. Lift the iron, move it to the next section of the pleat, and repeat.
Many experts recommend ironing one side of the pleat at a time. This helps maintain the sharp crease. For instance, if you have knife pleats, iron down the front of the fold, lift, then iron down the back of the fold. We found this method gives you more control over the sharpness.
Using a Pressing Cloth
If you’re working with delicate fabrics like silk or rayon, or if you notice a tendency for shine marks, use a pressing cloth. Place a clean, dry cloth (like a cotton handkerchief or pillowcase) between the iron and your skirt. This acts as a protective barrier. You may need to use a slightly higher heat setting or press a bit longer with the cloth.
Moving to the Next Pleat
Once one pleat is perfectly pressed, carefully shift the skirt on the ironing board to align the next pleat. Try not to disturb the pleats you’ve already ironed. This is where pinning can be helpful. Gently pin the already-pressed pleats out of the way to keep them from shifting. We found that pinning is especially useful for skirts with many narrow pleats.
Working Around the Skirt
Continue this process, pleat by pleat, until you’ve gone all the way around the skirt. Pay attention to the waistband and hem area as well. Ensure these parts are also smooth and free of wrinkles. Sometimes, the waistband can be tricky, so give it a little extra attention.
Post-Ironing Care for Lasting Pleats
You’ve done it! Your skirt looks fabulous. But don’t just toss it in the closet. A little extra care will keep those pleats looking sharp.
Let it Cool Completely
This is super important. We found that allowing the skirt to cool down completely before hanging or wearing is essential. The fabric fibers are still warm and pliable. If you move it too soon, those beautiful pleats can start to loosen up. Let it hang undisturbed for at least 15-20 minutes. This helps the pleats to set properly.
Proper Hanging Techniques
Hang your skirt on a padded or clipped hanger. Avoid wire hangers, as they can distort the shape. If possible, hang the skirt so the pleats are allowed to hang naturally. Some people even like to fold the skirt very carefully along its existing pleats and hang it this way. However, for most skirts, a good hanger that supports the waistband is sufficient. This prevents new wrinkles from forming.
When to Seek Professional Help
For very delicate fabrics, intricate pleating, or if you’re just not comfortable tackling it yourself, a professional dry cleaner can be a great option. They have specialized equipment and expertise for handling different materials. Many experts suggest dry cleaning for heavily embellished or very sensitive fabrics (Fabric Care Council).
Quick Checklist for Perfect Pleats
Here’s a quick rundown to keep in mind:
- Always check the care label first.
- Use the correct heat setting for your fabric.
- Use distilled water in your steam iron.
- Press each pleat carefully, one side at a time.
- Let the skirt cool completely before hanging.
- Use a padded or clipped hanger.
Conclusion
You’ve now learned how to transform your pleated skirt with the power of steam. Remember, a little preparation and patient pressing can make all the difference. By following these steps, you’re ensuring your skirt always looks sharp and well-maintained. Don’t be afraid to tackle those pleats; your skirt will thank you for it! Next time your favorite pleated skirt needs a refresh, you’ll know exactly what to do to make it look brand new.
Frequently Asked Questions
Can I use a regular iron instead of a steam iron for my pleated skirt?
While you can use a regular iron, a steam iron is highly recommended for pleated skirts. The steam helps relax the fabric fibers, allowing you to create sharper, more defined pleats with less effort. A regular iron might require more passes and potentially a damp cloth to achieve similar results.
How do I prevent my steam iron from leaving shiny marks on my skirt?
To avoid shine marks, always use the correct heat setting recommended for your fabric type. For delicate materials or dark colors prone to shining, use a pressing cloth between the iron and the skirt. We found that a clean cotton handkerchief or pillowcase works well as a makeshift pressing cloth.
What is the best way to store a pleated skirt to keep the pleats in place?
The best way to store a pleated skirt is to hang it on a padded or clipped hanger that supports the waistband. Ensure the pleats are hanging naturally without being crushed. Avoid folding the skirt along the pleats for long-term storage, as this can eventually weaken the crease.
My skirt is made of a synthetic material. What heat setting should I use?
Synthetic fabrics like polyester or nylon generally require a lower heat setting on your steam iron. Always check the care label first. If there’s no label, start with the lowest heat setting and test on an inconspicuous area of the skirt to avoid melting or damaging the fabric.
How often should I steam iron my pleated skirt?
You should steam iron your pleated skirt whenever it looks wrinkled or the pleats have lost their sharpness. For skirts worn frequently, a quick touch-up might be needed every few wears. For special occasion skirts, ironing before wearing ensures they look their best.