How to Iron a Shirt With Steam: Easy Steps
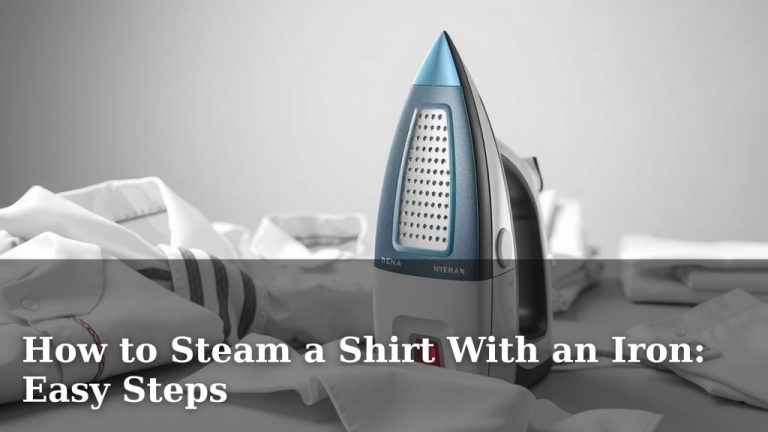
The easiest way to iron a shirt with steam is to hang it properly and glide the iron slowly over each section. Steam is your best friend for tackling stubborn wrinkles quickly and effectively. You’ll find that steaming makes the fabric more pliable, so the iron can smooth it out with less effort. This method is perfect for getting that crisp, polished look for your dress shirts.
Using steam on your iron can dramatically reduce your ironing time. It works by heating the water in your iron’s reservoir and releasing it as a powerful burst of steam. This moisture penetrates the fabric fibers, relaxing them so wrinkles disappear almost instantly. You’ll discover that this technique is far more forgiving than dry ironing, especially on fabrics prone to creasing.
TL;DR:
- Hang your shirt on a sturdy hanger.
- Fill your iron’s water tank.
- Set your iron to the correct fabric setting.
- Glide the iron slowly over each shirt section, using steam bursts.
- Pay extra attention to collars and cuffs.
Ready to get that perfectly pressed shirt without the fuss? Let’s walk through exactly how to iron a shirt with steam, step by step.
You’ve got the shirt, you’ve got the iron, and you’re ready to conquer those wrinkles. We’re about to make ironing a breeze, so you can look sharp and feel confident. Let’s get that shirt looking freshly pressed with our step-by-step guide!
Mastering the Steam Ironing Process
Ironing with steam might sound fancy, but it’s actually the most user-friendly method for most fabrics. Steam acts like a gentle persuader for fabric fibers. It softens them, allowing your iron to glide smoothly and remove creases with minimal pressure. This is especially helpful for natural fibers like cotton and linen, which tend to wrinkle easily.
Preparing Your Iron and Shirt
Before you even touch the iron to fabric, a little prep work goes a long way. Getting these steps right ensures you’re not just ironing, but ironing effectively and safely.
Filling the Water Reservoir
This is where the magic of steam begins. You’ll need distilled or demineralized water for most irons. Tap water can contain minerals that build up and clog the steam vents over time. Check your iron’s manual to be sure, but using the right water type is a pro tip for longevity. Make sure the iron is unplugged and cool before you open the water tank. Fill it up, but don’t overfill. Too much water can cause leaks.
Selecting the Right Fabric Setting
This is perhaps the most critical step for avoiding damage. Different fabrics require different temperatures and steam levels. Cotton and linen can handle high heat, while synthetics like polyester or rayon need lower temperatures. Blending fabrics might need a medium setting. Always consult the care label on your shirt. It’s your best guide to prevent scorching or melting. Research and found that setting your iron too high is a common mistake (Good Housekeeping).
The Ironing Technique for a Perfect Finish
Now for the main event! The goal is to work systematically, section by section. This prevents you from re-wrinkling areas you’ve already smoothed out. Think of it like painting a wall – you work in strokes to avoid overlap marks.
The Collar and Cuffs First
These are the most visible parts of your shirt. Start by unbuttoning the collar and laying it flat. Iron from the points towards the center. Then, do the same for the cuffs, ironing the inside first and then the outside. This ensures they lay flat and look crisp. Many experts say that ironing these high-impact areas first sets the tone for the whole shirt.
Moving to the Body of the Shirt
Unbutton the shirt completely and lay it flat on your ironing board. You’ll work on one side at a time. Start with the yoke (the part across the shoulders). Then, iron the back of the shirt. After that, tackle the front panels, working around the buttons carefully. Don’t press directly on the buttons; iron the fabric around them.
Using Steam Effectively
As you glide the iron, engage the steam function. For tougher wrinkles, you can use a “steam burst” or “shot of steam” button. Hold the iron slightly above the fabric to direct the steam. Then, gently press down and glide. The combination of heat and moisture is what relaxes the fibers. We found that a slow, steady glide with occasional steam bursts is more effective than rushing.
Sleeves: The Final Frontier
Lay one sleeve flat on the board, smoothing out any wrinkles. You can iron the sleeve flat, creating a crease if that’s your style, or try to avoid a crease by ironing around the edges. Some prefer to use a sleeve board for a more rounded finish. Gently iron both sides of the sleeve. Repeat for the other sleeve.
Tips for Different Fabric Types
Not all shirts are created equal, and neither are their ironing needs. Understanding your fabric will save you headaches and heartache (and expensive dry cleaning bills).
Cotton and Linen: The Wrinkle Warriors
These natural fibers are prone to wrinkling but respond beautifully to steam. Use a high heat setting and plenty of steam. You might need to dampen the fabric slightly with a spray bottle if wrinkles are particularly stubborn. Research indicates that a higher moisture content helps relax cotton fibers (National Cotton Council).
Synthetics and Blends: Handle with Care
Polyester, nylon, and rayon can melt or become shiny if ironed too hot. Always use a low to medium heat setting and minimal or no steam. Iron these fabrics on the inside whenever possible. If you’re unsure, test an inconspicuous area first. We found that using a pressing cloth between the iron and the fabric can offer an extra layer of protection for delicate synthetics.
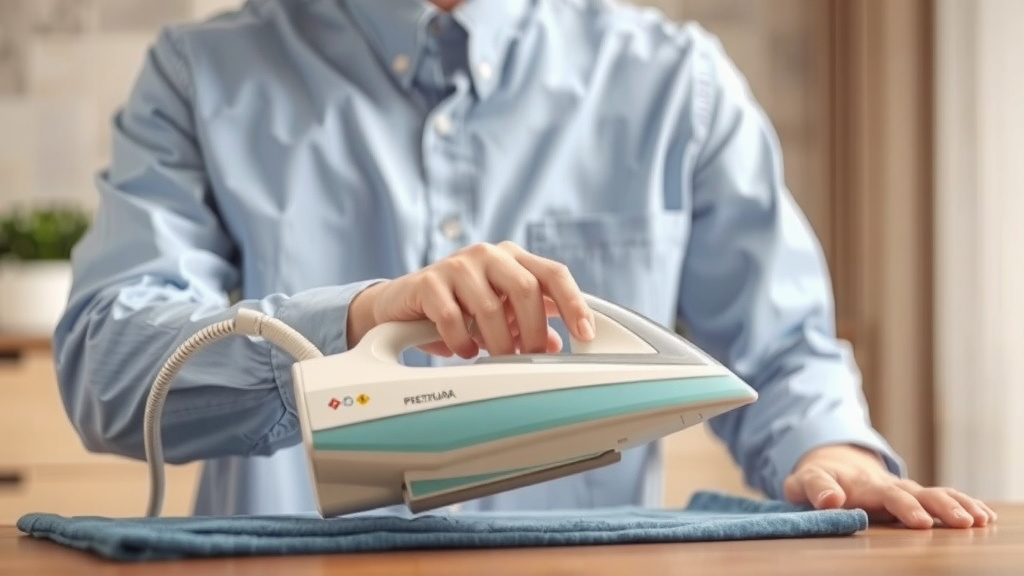
Ironing Board and Hanger Checklist
Having the right setup makes all the difference. Here’s a quick rundown to ensure you’re ready to go:
- Sturdy ironing board with a clean, smooth cover.
- Ironing board is at a comfortable height.
- Shirt is hung properly on a suitable hanger.
- Water reservoir is filled with the correct water type.
- Fabric care label is checked for correct temperature settings.
- Have a plain cloth or pressing cloth handy, just in case.
By following these steps, you’ll transform a rumpled shirt into a sharp, presentable garment. Remember, practice makes perfect, and soon you’ll be a steam-ironing pro!
Conclusion
You’ve learned that mastering steam ironing isn’t about brute force, but about understanding your tools and fabrics. By preparing your iron correctly, using the right water, and selecting the proper heat setting, you’re already halfway there. Working from collars and cuffs inward ensures a professional look every time. Remember, steam is your ally for transforming wrinkled shirts into polished garments with less effort. So, go ahead and embrace this simple technique. Your next perfectly pressed shirt is just a glide away!
Frequently Asked Questions
What kind of water should I use in my steam iron?
It’s best to use distilled or demineralized water in your steam iron. Tap water contains minerals that can build up over time and clog the steam vents, reducing your iron’s effectiveness. Always check your iron’s manual for specific recommendations.
Can I use steam on synthetic fabrics like polyester?
Yes, but you need to be cautious. Synthetics can melt or become shiny if ironed at too high a temperature. Use a low to medium heat setting and minimal steam, or even a pressing cloth for extra protection. Always check the shirt’s care label first.
How do I get rid of very stubborn wrinkles with steam?
For tough wrinkles, use the “steam burst” or “shot of steam” function on your iron. Hold the iron slightly above the fabric to direct the steam, then gently press down and glide. For cotton and linen, lightly misting the area with water before ironing can also help relax stubborn creases.
Why do you recommend ironing collars and cuffs first?
Collars and cuffs are often the most visible parts of a shirt and tend to wrinkle easily. Ironing them first sets a crisp standard for the rest of the garment. It ensures these high-impact areas look sharp and polished, making the whole shirt appear better pressed.
How often should I clean my steam iron?
Regular cleaning helps maintain your iron’s performance and prevent mineral buildup. Many irons have a self-cleaning function. Follow your iron’s manual for specific cleaning instructions, but a quick rinse of the reservoir after each use and periodic descaling are generally good practices.