How to Iron Bed Sheets With a Steamer: Guide
Yes, you absolutely can iron bed sheets with a steamer! It’s a surprisingly effective and fast way to get those wrinkles out. You can achieve smooth, crisp sheets without needing a bulky ironing board.
We know that tackling laundry can feel like a chore. But steaming your sheets offers a convenient alternative to traditional ironing. It’s a method that many people are finding simpler and quicker for achieving wrinkle-free bedding.
TL;DR:
- Steamers work great for bed sheets.
- It’s faster than traditional ironing.
- You don’t need an ironing board.
- Great for a quick refresh.
Ready to learn the best way to use your steamer on your sheets? Let’s walk through exactly how this works step by step.
Steaming Your Bed Sheets for a Wrinkle-Free Finish
Using a steamer on your bed sheets is a fantastic way to achieve smooth, crisp linen. Forget the hassle of an ironing board. Many find this method much faster and simpler than traditional ironing. You can refresh your sheets right on the bed.
Why Choose a Steamer for Your Sheets?
Why make the switch to steaming? Well, for starters, it’s incredibly efficient. Instead of setting up a large ironing board and lugging out an iron, you can simply hang your sheets or leave them on the bed. This saves both time and space. It’s also gentler on certain fabrics, reducing the risk of scorching delicate materials like silk or linen. Many people report better results with less effort.
Speed and Convenience
The most appealing aspect is the sheer speed. You can tackle a queen-sized sheet in just a few minutes. The steam penetrates the fabric quickly, relaxing the fibers and smoothing out wrinkles. No more spending 15-20 minutes per sheet. This is a huge win for busy households. It means you can enjoy fresh, smooth sheets more often.
Fabric Friendliness
Steamers are generally kinder to fabrics than direct heat from an iron. The heat is dispersed more evenly. This is especially important for bedding made from natural fibers like cotton and linen, which can sometimes scorch. For more delicate materials like silk blends, steaming is often the recommended method by manufacturers. It helps maintain the fabric’s integrity and sheen. Research shows that prolonged high heat can weaken textile fibers over time (National Institute of Standards and Technology).
Space-Saving Solution
Let’s be honest, most of us don’t have a dedicated laundry room with ample storage. An ironing board can be bulky and awkward to store. A handheld steamer, or even a garment steamer on a stand, takes up significantly less space. This makes it an ideal solution for apartments, dorm rooms, or any home where space is at a premium. You can easily tuck it away in a closet or drawer.
Getting Started: Your Steaming Setup
Before you begin, make sure you have the right tools and prepare your sheets. A little preparation goes a long way toward achieving those perfect, wrinkle-free results. It’s not complicated, but a few simple steps will make the whole process smoother.
Choosing the Right Steamer
There are two main types of steamers you might consider: handheld and upright garment steamers. Handheld steamers are compact and perfect for quick touch-ups. Upright steamers offer more power and a larger water capacity, making them better for larger items like sheets. Most modern steamers are designed for ease of use. Look for one with a good steam output and a comfortable handle. We found that models with a wider steam head tend to cover more area faster.
Preparing Your Sheets
First, ensure your sheets are clean and slightly damp. If they are completely dry from the dryer, they might take longer to steam. Some people lightly mist them with water from a spray bottle. However, if your sheets are fresh out of the washing machine and still a little damp, that’s even better! Just make sure they aren’t dripping wet. Excess water can make the steaming process take longer and may leave water spots. It’s also helpful to shake out the sheet to get rid of the biggest wrinkles before you start steaming.
Water Type Matters
Many steamer manufacturers recommend using distilled or demineralized water. Why? Tap water contains minerals that can build up inside the steamer over time. This buildup can clog the steam vents and reduce the steamer’s effectiveness. It can also leave mineral deposits on your sheets, which is the opposite of what you want. Using distilled water will help your steamer last longer and keep your sheets looking pristine. Check your steamer’s manual for specific recommendations.
The Steaming Process: Step-by-Step
Now for the main event! Following these steps will ensure you get the best results from your steamer. It’s a straightforward process that requires minimal effort but yields great rewards.
On-the-Bed Method
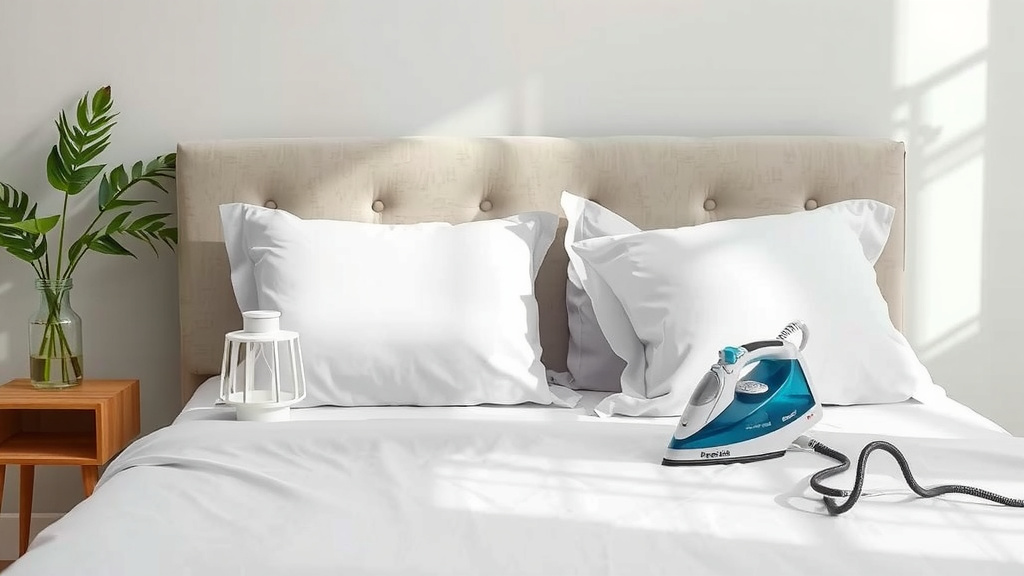
This is the most popular and easiest method. Spread your sheet out as smoothly as possible over your mattress. Start at one corner. Hold the steamer head a few inches away from the fabric. Move the steamer slowly and steadily across the sheet in overlapping strokes. Work your way down the length of the bed. As you steam one section, gently pull the sheet taut with your free hand on the opposite side. This tension helps create a smoother finish. You’ll see wrinkles disappear as the steam works its magic. This method is perfect for a quick refresh before guests arrive.
Hanging Method (for Fitted Sheets or Pillowcases)
For fitted sheets or pillowcases, hanging them can sometimes make it easier to get into all the nooks and crannies. If you have a steamer with a stand, you can hang the sheet on the hook. Alternatively, you can hang pillowcases on hangers. For fitted sheets, you might need to drape them over a shower rod or a sturdy clothing rack. Hold the steamer head a few inches away from the fabric. Move it up and down the hanging sheet, ensuring you cover the entire surface. The steam will naturally flow downwards, helping to release tension in the fabric. This method can be great for achieving a very crisp finish, especially on the elasticized edges of fitted sheets.
Tips for Tricky Areas
Corners and hems can sometimes hold onto wrinkles. For fitted sheet corners, gently pull the fabric taut as you steam around the elastic. For hems, hold the fabric flat with one hand while steaming with the other. If you encounter a stubborn wrinkle, you can pass the steamer over that spot a second time. However, be careful not to over-steam any one area, as excessive moisture could potentially cause issues. Most experts recommend keeping the steamer moving at all times (Consumer Reports).
Maintaining Your Steamer for Longevity
To ensure your steamer continues to perform well, a little regular maintenance is key. This prevents clogs and keeps the steam flowing powerfully. It’s like giving your appliance a spa day!
Regular Cleaning and Descaling
After each use, allow the steamer to cool completely. Empty any remaining water from the reservoir. This prevents mineral buildup. Periodically, you’ll need to descale your steamer. The process varies by model, but it usually involves running a mixture of water and white vinegar or a commercial descaling solution through the steamer. Always refer to your steamer’s manual for specific descaling instructions. Many sources recommend descaling every 1-3 months, depending on your water hardness.
Storage Tips
Store your steamer in a cool, dry place. Ensure the cord is neatly wrapped to avoid damage. If possible, store it upright to prevent any residual water from sitting in the heating element. Keeping it clean and properly stored will ensure it’s ready to go the next time you need to refresh your bedding.
Quick Checklist for Steaming Success
Ready to give it a try? Here’s a quick rundown to ensure you don’t miss a step:
- Fill your steamer with distilled water.
- Ensure sheets are clean and slightly damp (not soaking wet).
- Spread sheets smoothly on the bed or hang them up.
- Hold the steamer head a few inches from the fabric.
- Move steamer slowly in overlapping strokes.
- Gently pull fabric taut with your free hand.
Conclusion
You’ve learned that steaming your bed sheets is a quick, effective, and convenient way to achieve wrinkle-free linens. By following the simple steps, you can ditch the ironing board and enjoy crisp sheets with minimal effort. Remember to use distilled water for best results and to maintain your steamer. Ready to transform your bedding routine? Give steaming a try the next time you wash your sheets!
Frequently Asked Questions
Can I use my steamer on silk or satin sheets?
Yes, you can usually use a steamer on silk or satin sheets. Steam is generally gentler than an iron, reducing the risk of scorching. Always test on an inconspicuous area first to be safe. Keep the steamer moving and don’t let it linger on one spot.
Will steaming remove deep creases from old sheets?
Steaming is excellent for refreshing sheets and removing common wrinkles. Deep, set-in creases might require more effort or a second pass. For very stubborn creases, you might need to combine steaming with gently pulling the fabric taut.
How often should I clean or descale my steamer?
Cleaning and descaling depend on your steamer and water type. If you use distilled water, you might only need to descale every 1-3 months. If you use tap water, you may need to descale more frequently, perhaps monthly.
What happens if I use tap water in my steamer?
Using tap water can cause mineral buildup inside your steamer over time. This buildup can clog the steam vents and reduce its effectiveness. It might also leave mineral deposits on your clean sheets, which you definitely want to avoid.
How far away from the fabric should I hold the steamer head?
Generally, you should hold the steamer head about a few inches away from the fabric. This allows the steam to penetrate the fibers effectively without getting the material too wet. Always check your steamer’s manual for specific recommendations.