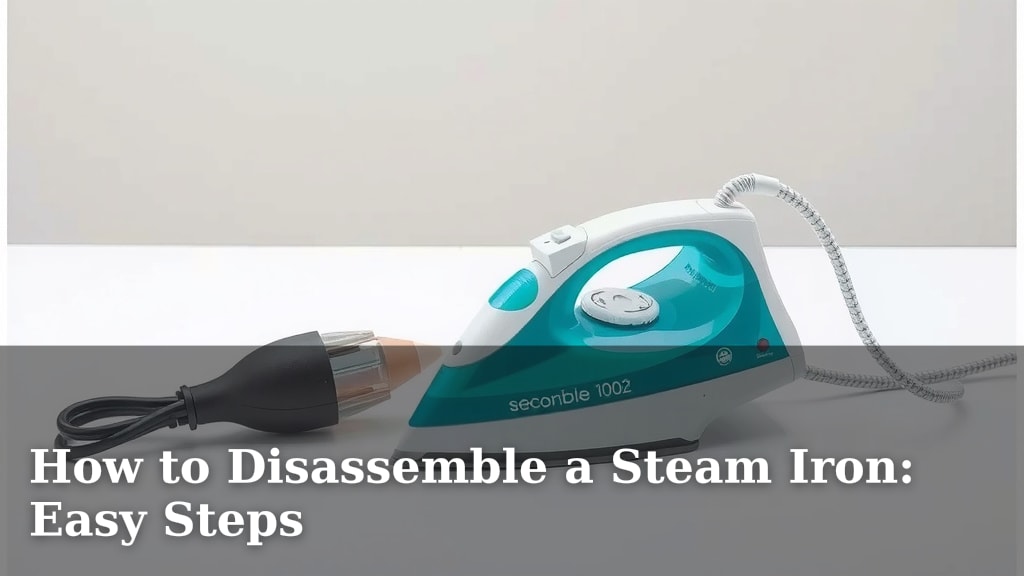
How to Disassemble a Steam Iron: Easy Steps
Disassembling a steam iron is a manageable DIY task with the right guidance. You can safely take apart your steam iron by following a few key steps, starting with ensuring it’s unplugged and cool. This process is often needed for repairs or deep cleaning, and it’s less daunting than it seems if you take your time. We’ll show you how.
Many people wonder if they can fix their own appliances. Research and user experiences show that with patience and the correct tools, you can often tackle common iron issues yourself. Understanding the basic components can help you identify problems and perform necessary maintenance. This guide is designed to demystify the process for your convenience.
- Always unplug your iron first.
- Let the iron cool down completely.
- Gather your tools like screwdrivers.
- Keep track of all screws and parts.
- Consult your iron’s manual if possible.
Ready to see how it’s done? Let’s walk through how to safely disassemble your steam iron, step by step, so you can get it back in working order.
Taking Your Steam Iron Apart: A Step-by-Step Guide
So, you’ve decided to dive into the inner workings of your steam iron? That’s a great move if you’re looking to troubleshoot a problem or give it a super deep clean. Many household appliances can be maintained or even repaired with a little patience and the right approach. Disassembling your iron might sound daunting, but we’re here to walk you through it. Let’s get your iron ready for a closer look.
Preparation Is Key: What You Need Before You Start
Before you even think about unscrewing anything, let’s get you prepared. Safety and organization are your best friends here. Doing this part right means the rest of the process will be much smoother.
Gathering Your Tools
You won’t need a specialized toolkit for most steam irons. Typically, you’ll find Phillips head screws, and sometimes small flathead screws. Research and user experiences show that a standard set of precision screwdrivers is often all you’ll need. Think about the kind you use for electronics or eyeglasses. A magnetic tip can be a real lifesaver, preventing tiny screws from disappearing into the abyss. You might also need a pair of pliers for gently prying apart plastic components if they’re snapped together.
Creating a Workspace
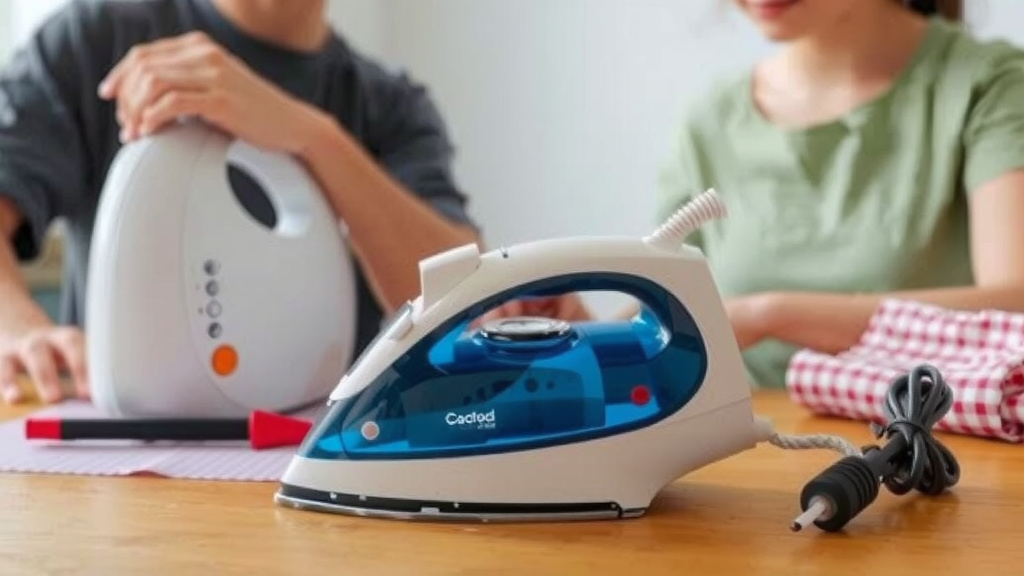
Find a well-lit area where you can spread out. A table or a clean section of floor works well. You want enough space to lay out all the parts and screws without them getting mixed up or lost. Some people like to lay down a towel or a placemat to keep parts from sliding and to offer a bit of protection for your surfaces.
The All-Important Checklist
Let’s run through a quick checklist to make sure you’re ready to go. It’s like getting your ingredients ready before baking!
- Ensure the iron is completely **unplugged and cool**.
- Have your set of precision screwdrivers handy.
- A small container or magnetic tray for screws is a must.
- A clean, well-lit workspace is essential.
- Keep your owner’s manual nearby if you still have it.
- Consider taking pictures as you go.
Disassembly: The Step-by-Step Process
Now, let’s get down to business. We’ll break this down into manageable steps. Remember to take your time and don’t force anything.
Removing the Water Tank and Base Plate
Many steam irons have a removable water tank. Gently pull it away from the main body. Sometimes, it might be secured with a clip or two. For the base plate, which is the metal soleplate you iron with, you’ll often find screws on the underside or along the edges. Carefully remove these screws and set them aside. The plate might be held on by clips as well, so once the screws are out, try to gently lift or wiggle it free. Be mindful of any wires that might be attached.
Accessing Internal Components
Once the base plate is off, you’ll have a better view of the iron’s internal components. You’ll likely see heating elements, thermostat wires, and perhaps the pump mechanism for the steam. Your goal is to expose these without causing damage. There are usually more screws holding the outer casing together. These might be hidden under plastic caps or rubber feet.
Taking Apart the Outer Casing
The plastic housing of your iron is typically held together by several screws. These can sometimes be quite small and tucked away. Look for them along the sides, the back, and sometimes even on the handle. After removing the screws, you might need to gently pry the plastic pieces apart. They often snap together like a clamshell. Many experts advise using a plastic trim tool or a credit card to gently work your way around the seams. This helps avoid scratching the plastic.
Dealing with Clips and Snaps
Not all irons rely solely on screws. Many use plastic clips that snap the housing together. Once the screws are removed, these clips are what hold the two halves of the casing in place. If you encounter resistance when trying to pull the casing apart, try to locate where these clips are. You may need to use a bit of gentle pressure or a thin tool to release them. Research and user experiences suggest that working slowly and deliberately is key to avoiding broken clips.
Identifying Key Components (and Where They Live)
As you expose the inner workings, it’s helpful to know what you’re looking at. Most steam irons have a heating element that gets the soleplate hot. There’s a thermostat that controls the temperature. The steam function involves a water reservoir, a pump (or a gravity-fed system), and steam vents in the soleplate. Understanding these basic parts can help you pinpoint issues. We found that many common problems, like a lack of steam or inconsistent heat, relate to these core components.
Managing Screws and Small Parts
This is where your organization pays off. As you remove screws, place them in your container or tray. If different parts use different size screws, it’s a good idea to keep them separated. Some people like to place screws back into the holes they came from if possible, or draw a simple diagram of where each screw went. This makes reassembly so much easier. Many repair guides stress the importance of screw management, as using the wrong screw can damage the plastic housing or internal components.
A Quick Look at Common Iron Issues and Their Components
Why are we doing this? Often, it’s to fix a specific problem. Let’s see which parts are usually involved.
| Problem Area | Likely Component(s) |
|---|---|
| No steam | Steam pump, water intake valve, steam vents |
| Not heating | Heating element, thermostat, thermal fuse |
| Leaking water | Gasket seals, water tank O-ring, cracked casing |
| Cord issues | Power cord connection, internal wiring |
This table is just a general guide, of course. Every iron is a bit different. But it helps to have an idea of where to look.
Conclusion
You’ve successfully navigated the process of disassembling your steam iron. Remember, taking your time and keeping your screws organized makes all the difference. Understanding the basic components can help you identify potential issues for future maintenance or repairs. With the right preparation and a steady hand, you’ve gained the confidence to tackle this common household task. If you’ve found a specific part that needs attention, you’re now ready to proceed with cleaning or replacement. You’ve got this!
Frequently Asked Questions
Can I disassemble my steam iron without any prior repair experience?
Yes, you can. Disassembling a steam iron is generally a straightforward DIY task. As research and user experiences show, following these steps carefully and having the right tools will allow you to take it apart safely, even with no prior experience. Just remember to be patient and organized.
What are the most common reasons people disassemble their steam irons?
People often disassemble their irons for two main reasons: deep cleaning or troubleshooting specific problems. This might include issues like no steam, inconsistent heating, or water leaks. Accessing the internal components allows for thorough cleaning or inspection of parts like the heating element or steam pump.
Is it safe to take apart a steam iron if it was recently used?
Absolutely not. Safety is paramount. You must ensure your steam iron is completely unplugged and has cooled down fully before you begin any disassembly. Hot surfaces and internal components can cause serious burns. This initial cooling period is non-negotiable.
How can I keep track of all the screws and small parts during disassembly?
Organization is key. We highly recommend using a small container, a magnetic tray, or even an ice cube tray to keep screws separated. Some people also find it helpful to take pictures as they go or place screws back into their original holes if possible. This prevents lost parts and makes reassembly much smoother.
What should I do if a plastic clip breaks while I’m taking the casing apart?
If a plastic clip breaks, don’t panic. While it’s ideal to keep them intact, minor breakage doesn’t always mean the iron is beyond repair. For minor issues, the casing might still hold together with the remaining screws. If it’s a significant break and the casing feels loose, you might need to consider using a strong adhesive or replacing the casing if parts are available.