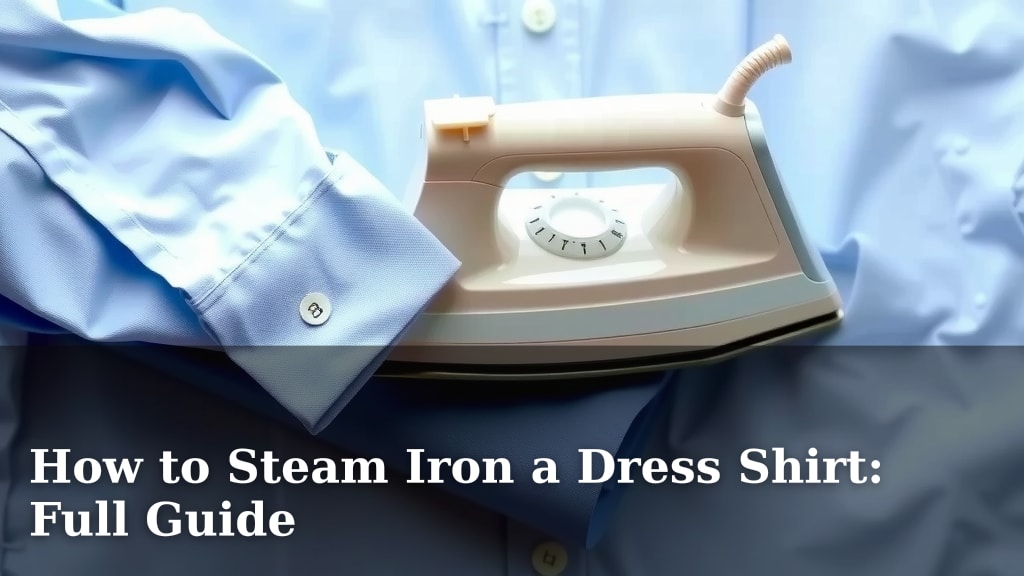
How to Steam Iron a Dress Shirt: Full Guide
The best way to steam iron a dress shirt is to start with a clean shirt and ensure your steamer is filled with distilled water. Proper technique will leave your shirt looking crisp and professional without much hassle. It’s a skill that becomes easy with a little practice.
You might think ironing is old-fashioned, but steaming offers a quicker way to get out wrinkles. Many people find it less intimidating than traditional ironing. We found that knowing a few key steps makes all the difference for achieving smooth fabric. It’s all about the setup and the motion.
- Use distilled water for your steamer.
- Hang the shirt properly on a hanger.
- Keep the steamer moving smoothly over the fabric.
- Be patient, especially with stubborn wrinkles.
- Allow the shirt to dry completely before wearing.
Let’s walk through exactly how to steam iron your dress shirt to perfection, step by step.
Mastering the Art of Steaming Your Dress Shirt
Steam ironing is a fantastic way to get your dress shirts looking sharp. It’s often faster and gentler than traditional ironing. We found that with a few simple steps, anyone can achieve a wrinkle-free finish. Let’s get your shirts looking their best!
Getting Your Steamer Ready for Action
Before you even touch your shirt, make sure your steamer is prepped. This means filling it correctly. Many manufacturers suggest using distilled or demineralized water. Tap water can contain minerals that build up inside your steamer. Over time, this can cause mineral deposits. These deposits can then clog the steam vents or even stain your clothes. Using the right water helps your steamer last longer and work better (Consumer Reports).
We also recommend preheating your steamer. Just like an iron, a steamer needs time to heat up. Most models have an indicator light. Wait for this light to signal that it’s ready. This ensures you get consistent, powerful steam from the start. Rushing this step can lead to weaker steam and more work for you.
The Best Way to Hang Your Shirt for Steaming
The way you hang your shirt makes a big difference. You’ll want to use a sturdy hanger. A plastic or wooden hanger works well. Avoid flimsy wire hangers if possible. They don’t offer enough support. Hang the shirt by the collar, ensuring it’s centered and the shoulders sit properly on the hanger. This allows gravity to help you out. It pulls the fabric taut, making it easier to remove wrinkles.
Make sure the shirt is hanging freely. Don’t let it bunch up or get caught on anything. You want plenty of space around the garment. This gives you room to maneuver the steamer head. It also allows the steam to circulate evenly. We found that a little extra space really speeds up the process.
Step-by-Step Steaming Technique for a Crisp Finish
Now, let’s get to the actual steaming. Keep the steamer head moving. Don’t hold it in one spot for too long. This can oversaturate the fabric. It might even cause water spots. Move the steamer head in slow, deliberate strokes. Work your way across the shirt, section by section.
Tackling the Collar and Cuffs
These areas often get the most attention. Start with the collar. Hold the collar taut with one hand. Use your other hand to direct the steamer. Work from the underside of the collar first. Then, move to the top side. Focus on getting the edges smooth. Next, move to the cuffs. Unbutton them completely. Lay one cuff flat against the side of the shirt. Steam it thoroughly. Repeat for the other cuff.
Smooth the Shirt Front and Back
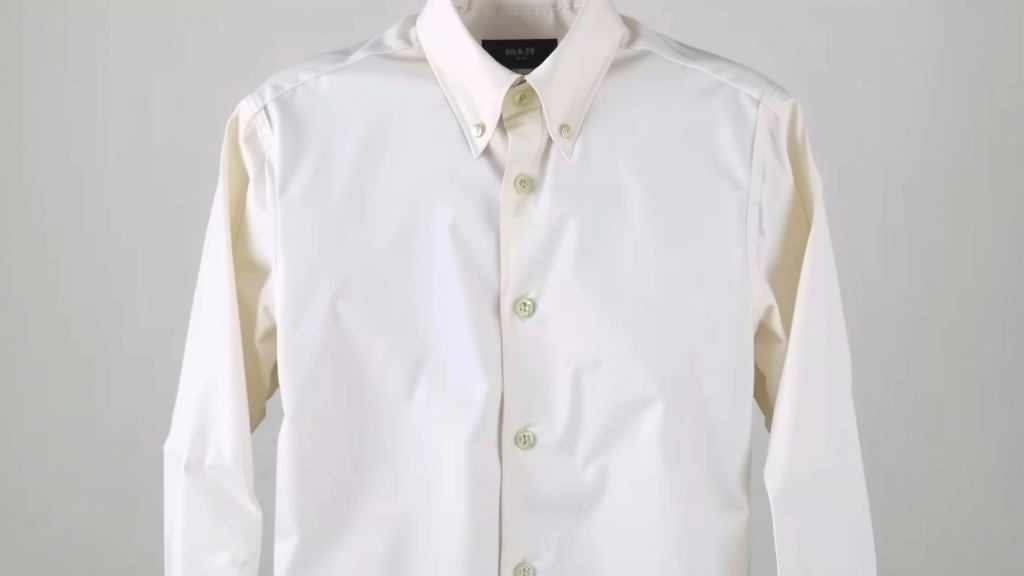
Begin with one side of the shirt’s front. Hold the fabric taut with your free hand. Place the steamer head flat against the fabric. Glide it downwards slowly. Repeat this motion across the entire front panel. Make sure you get into the placket area where the buttons are. Then, move to the back of the shirt. Follow the same process. You want a smooth, even finish across the whole shirt.
Don’t Forget the Sleeves
Sleeves can be a bit tricky. Lay one sleeve flat along the side of the shirt. Smooth out any major wrinkles with your hand. Then, steam the sleeve. Pay attention to the creases. You can create a sharper crease if you like. Gently pull the sleeve taut and steam along the desired fold line. Repeat this for the other sleeve. Many experts suggest this method for a polished look (Good Housekeeping).
Dealing with Stubborn Wrinkles
Sometimes, a wrinkle just won’t budge. For these tough spots, you can hold the steamer head a little closer. You might also need to go over the area a second time. Just be careful not to oversaturate the fabric. Another trick is to gently pull the fabric taut. Stretch the wrinkled area slightly. Then, apply the steam. This combination often works wonders.
We found that patience is key here. Rushing the process won’t help. Give the steam a moment to work its magic. If a shirt is heavily wrinkled from being packed, it might need a bit more attention. Don’t be afraid to repeat a section if needed. The goal is a smooth finish without damaging the fabric.
Allowing Your Shirt to Dry Properly
This is a step many people overlook. After steaming, your shirt will be slightly damp. It’s essential to let it air dry completely before wearing it. If you put on a damp shirt, you’ll just create new wrinkles. Hang it on a hanger in a well-ventilated area. Avoid direct heat sources like radiators. Give it at least 15-30 minutes. Thicker fabrics might need a bit longer.
We recommend having a few shirts ready to go. This way, you can steam one while another is drying. It prevents you from being in a rush. A dry shirt is a crisp shirt. It will hold its shape much better throughout the day.
Quick Checklist for Perfect Steaming
- Fill steamer with distilled water.
- Hang shirt properly on a hanger.
- Preheat the steamer fully.
- Work in sections: collar, cuffs, front, back, sleeves.
- Keep steamer moving; don’t oversaturate.
- Allow shirt to air dry completely.
Conclusion
You’ve learned how to transform your dress shirts with simple steam. Remember, using distilled water and proper hanging are your first steps to success. Working section by section ensures a crisp, professional look. Don’t forget to let your shirt air dry fully before you wear it. With a little practice, you’ll find steaming is a quick and effective way to keep your wardrobe looking its best. Ready to give your favorite shirt a refresh? Grab your steamer and get started!
Frequently Asked Questions
Can I use regular tap water in my garment steamer?
While you might be tempted, it’s best to avoid tap water. Tap water contains minerals that can build up inside your steamer. This buildup can clog the steam vents or even leave stains on your clothes. Always opt for distilled or demineralized water for optimal performance and longevity of your steamer.
How long does it typically take to steam a dress shirt?
Steaming a single dress shirt usually takes between 3 to 7 minutes. This can vary depending on how wrinkled the shirt is and the power of your steamer. Make sure you allow your steamer to fully heat up first. This ensures you get a consistent, strong steam flow from the start.
What should I do if the steamer is spitting water?
If your steamer is spitting water, it might not be fully heated. Allow it more time to reach its optimal temperature. You can also try holding the steamer head a little further from the fabric. Ensure the fabric isn’t oversaturated. Sometimes, a gentle shake of the steamer can also help clear any blockages.
Is it better to steam or iron a dress shirt?
Steaming is generally quicker and gentler on fabrics than traditional ironing. We found it’s particularly good for delicate materials or for getting out wrinkles on a shirt that’s already on a hanger. Ironing can achieve sharper creases but requires more careful technique to avoid scorching. For everyday wrinkle removal, steaming is often preferred.
How can I get a sharp crease in my shirt sleeves with a steamer?
To get a sharp crease with a steamer, lay one sleeve flat. Smooth out any major wrinkles with your hand first. Then, carefully pull the sleeve taut along your desired crease line. Glide the steamer head slowly down this line. Repeat this on both sides of the sleeve for a defined crease.