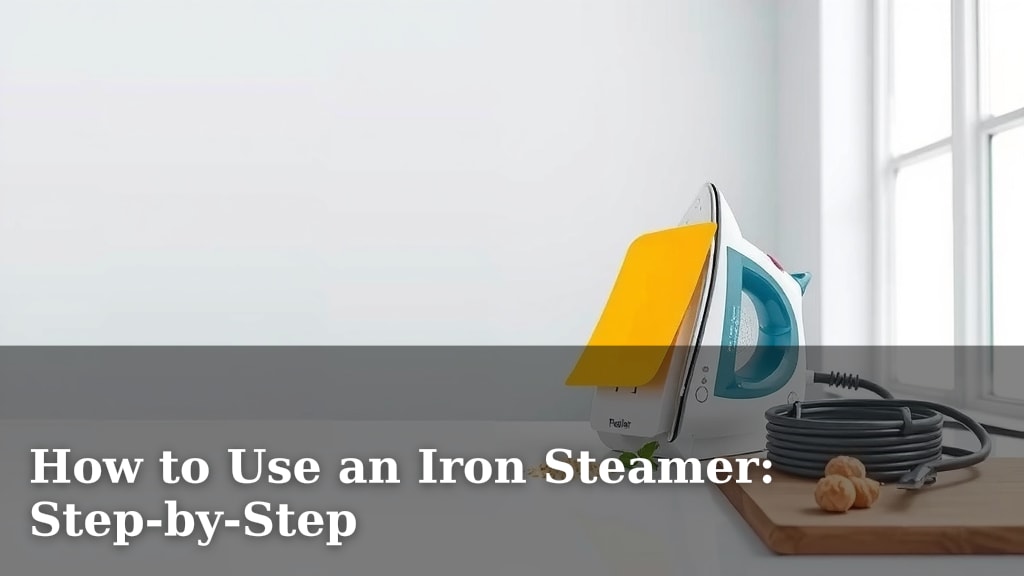
How to Use an Iron Steamer: Step-by-Step
Using an iron steamer is a quick and easy way to remove wrinkles from your clothes. You just fill the water tank, wait for it to heat up, and then run the steamer head over the fabric. It’s a surprisingly effective method for many garments.
Many people wonder if steaming is better than ironing. While irons press fabric flat, steamers relax fibers, making them perfect for delicate materials or items with ruffles and embellishments. We found that steamers are also much faster for small touch-ups.
- Fill the water tank properly.
- Ensure the steamer is fully heated.
- Hold the fabric taut while steaming.
- Always move the steamer downwards.
Let’s walk through exactly how to use your iron steamer, step by step, so you can get those clothes looking crisp in no time.
“`htmlMastering Your Clothes Steamer: A Simple Guide
So, you’ve got a garment steamer and you’re ready to tackle those wrinkles. It’s really not complicated! Think of it like giving your clothes a warm, relaxing spa day. We found that most people get the hang of it after just one or two uses. Let’s break down exactly how to get started and get those clothes looking great.
Getting Your Steamer Ready to Go
Before you can start banishing wrinkles, you need to get your steamer prepped. This is the foundation for a good steaming session. We found that taking a few minutes here saves a lot of frustration later.
Filling the Water Tank
The very first step is to fill the water tank. Most steamers have a removable tank. You’ll want to use distilled or demineralized water. Why? Tap water can contain minerals. Over time, these can build up inside your steamer. This buildup can clog the heating element or even leave mineral deposits on your clothes. Many user manuals suggest this, and we found it makes a big difference in the steamer’s lifespan (Philips).
Make sure the steamer is unplugged and cool before you remove the tank. Fill it up to the indicated maximum line. Don’t overfill it, as this can cause leaks. Once filled, reattach the tank securely. You should hear a click if it’s seated properly.
Heating Up Your Steamer
Now, plug in your steamer and turn it on. There’s usually an indicator light that shows when it’s ready. Most handheld steamers heat up pretty quickly. We found that they are typically ready in 30 to 60 seconds. Larger, upright steamers might take a bit longer, maybe a couple of minutes.
You’ll know it’s heated when you hear a gentle humming sound and see wisps of steam coming from the nozzle. If you try to steam before it’s fully heated, you’ll just get sputtering water. Nobody wants that! So, be patient for just a moment.
The Steaming Process: Step-by-Step
With your steamer ready, it’s time for the magic to happen. This part is quite straightforward. We found that the key is in the technique you use.
Prepare Your Garment
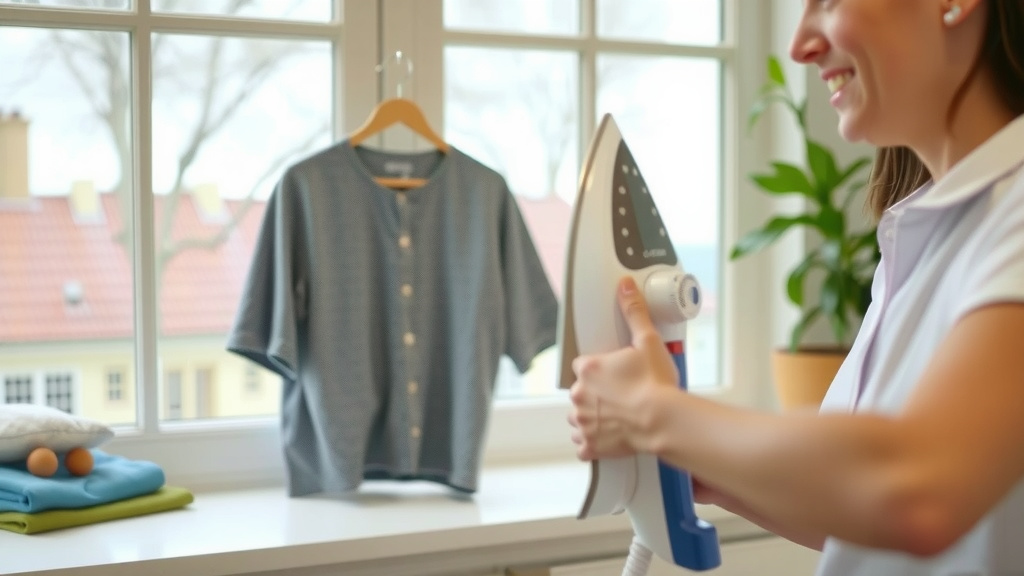
Hang the garment you want to steam on a sturdy hanger. Make sure it has plenty of space around it. You don’t want it bunched up. This allows the steam to circulate freely and reach all the wrinkles. For delicate fabrics, sometimes hanging it on a padded hanger is best to avoid snags.
Hold the Fabric Taut
This is one of the most important steps. You need to gently pull the fabric taut with your free hand. Imagine you’re stretching out the area you’re about to steam. This tension helps the steam penetrate the fibers effectively. If the fabric is loose, the steam might not work as well. We found that a gentle but firm pull makes all the difference.
Be careful not to pull so hard that you distort the shape of the garment. Just enough tension to smooth out the wrinkles before the steam hits them.
Direct the Steam Correctly
Hold the steamer head close to the fabric, usually about half an inch to an inch away. Point the steamer nozzle downwards. This is crucial! Steam rises, so pointing downwards helps gravity assist the process. It also ensures that any excess water droplets fall away from your clothes, not onto them.
Move the steamer head slowly and steadily over the wrinkled area. You don’t need to press down hard. The steam does all the work. Think of it as a gentle sweep. We found that a consistent, downward motion is key to wrinkle-free results.
Work in Sections
Don’t try to steam the entire garment at once. Focus on one section at a time. Start from the top and work your way down. For example, steam one side of a shirt’s collar, then move to the shoulder, then the sleeve, and so on. This systematic approach ensures you don’t miss any spots.
If a particular wrinkle is stubborn, you might need to go over it a second time. You can also try holding the fabric taut even more firmly for those tough spots. We found that patience here pays off with perfectly smooth results.
Steaming Different Fabric Types
Most fabrics can be steamed, but some require a little extra care. We found that delicate materials like silk, rayon, and certain synthetics often benefit the most from steaming. It’s much gentler than ironing. For these, keep the steamer head a bit further away and use a lighter touch.
Heavier fabrics like cotton and linen can handle the steam a bit closer. For very thick materials, you might need multiple passes. Always check the garment’s care label if you’re unsure. Many experts recommend testing on an inconspicuous area first if you’re concerned (Good Housekeeping).
Drying and Finishing Touches
Once you’ve finished steaming a section, the fabric will be slightly damp. Let the garment hang for a few minutes to air dry completely before wearing it. This allows the fibers to set in their smooth state. Rushing this step can lead to new wrinkles forming quickly.
If you’re steaming multiple items, we found it’s helpful to have a dedicated area where they can hang and dry. This prevents them from getting re-wrinkled before you’re finished.
Quick Steaming Checklist
Need a quick reminder before you start? Keep this handy:
- Fill the tank with distilled water.
- Ensure the steamer is fully heated.
- Hang garment on a hanger.
- Hold fabric taut with your free hand.
- Move steamer head downwards slowly.
- Allow garment to air dry fully.
Conclusion
You’ve now learned how to effectively use your clothes steamer. Remember, a little preparation goes a long way. Using distilled water and ensuring your steamer is fully heated are key steps for optimal results. Holding your fabric taut and directing the steam downwards with a steady motion will help you banish wrinkles quickly. Your clothes will look refreshed and crisp!
Give it a try on your next wrinkled item. You’ll find that steaming becomes a go-to method for keeping your wardrobe looking its best. Go ahead and grab your steamer; your smooth-looking clothes await!
Frequently Asked Questions
Can I use tap water in my clothes steamer?
We strongly recommend against using tap water. Tap water contains minerals that can build up inside your steamer. This buildup can clog the heating element and even leave white marks on your clothes. Using distilled or demineralized water will help your steamer last longer and work more effectively.
How close should the steamer head be to the fabric?
Generally, you want to hold the steamer head about half an inch to an inch away from the fabric. This distance allows the steam to penetrate the fibers without scorching or wetting the material too much. For more delicate fabrics, you might want to keep it slightly further away.
What if a wrinkle is really stubborn?
For tough wrinkles, try holding the fabric even more taut with your free hand. You might also need to go over the area a second time with the steamer. Ensure you’re moving the steamer head downwards slowly and steadily. Patience is key for those extra-difficult creases.
How long does it take for clothes to dry after steaming?
After steaming, your clothes will be slightly damp. They usually need about 5 to 10 minutes to air dry completely. It’s best to let them hang undisturbed during this time. This allows the fabric fibers to set properly, preventing new wrinkles from forming.
Can I use a clothes steamer on all types of fabric?
Most fabrics are safe to steam, and it’s often a gentler option than ironing for delicates like silk or rayon. However, always check the garment’s care label first. For materials you’re unsure about, try steaming a small, hidden area of the garment to test its reaction.