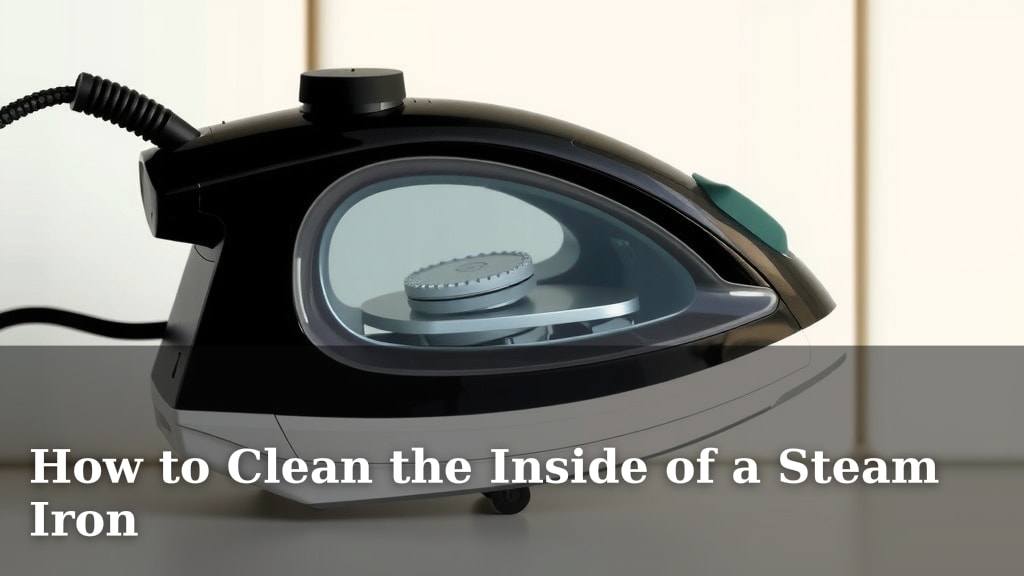
How to Clean the Inside of a Steam Iron
The easiest way to clean the inside of a steam iron is by using a bit of distilled water and white vinegar. You can create a simple cleaning solution to remove mineral buildup and burnt-on residue. This method is generally **safe and effective** for most steam irons and helps ensure your clothes get a smooth press without stains.
Over time, minerals from tap water can clog your iron’s steam vents. This buildup can lead to sputtering, staining, and reduced steam output. Regularly cleaning your iron helps maintain its **performance and lifespan**, preventing stubborn marks from appearing on your favorite garments.
- Distilled water and white vinegar make a great cleaning combo.
- Mineral deposits are the main culprits behind dirty irons.
- Cleaning prevents sputtering and stained clothes.
- A clean iron means better ironing results.
Let’s get your steam iron looking and working like new. We’ll walk through the simple steps to get that soleplate spotless and those steam holes clear.
Keeping Your Steam Iron Pristine and Powerful
You’ve got your ironing board set up, your favorite shirt ready to go, but wait! Your trusty steam iron is sputtering or leaving little brown marks. Don’t worry, cleaning the inside of your steam iron is simpler than you think. We’ll show you how to banish that pesky buildup.
Why Your Iron Needs a Spa Day (Literally)
Over time, minerals in tap water can form deposits inside your iron. These mineral flakes, also called limescale, are the main troublemakers. They can clog up those tiny steam vents. This means less steam, uneven heating, and worst of all, **stains on your clothes**.
Imagine ironing a crisp white shirt, only to find a brown splotch appearing out of nowhere. Ugh! Regular cleaning helps **prevent this frustration**. It also ensures your iron heats evenly and produces the right amount of steam for a smooth finish.
The Scoop on Mineral Buildup
Tap water, while great for drinking, isn’t always iron-friendly. It contains various minerals like calcium and magnesium. When you heat this water, these minerals can crystallize and stick to the inside of your iron. Think of it like the scale that forms inside a kettle.
Many experts and appliance manuals suggest using **distilled water** to combat this issue. Distilled water has had most of its minerals removed. If you’ve been using tap water, your iron might be silently collecting these deposits. It’s like a tiny mineral convention happening inside!
Signs Your Iron Needs a Clean
So, how do you know if it’s time for an internal cleaning? Keep an eye out for a few tell-tale signs:
- Sputtering: Your iron spits out water instead of smooth steam.
- Brown Stains: Little rusty or brown spots appear on the soleplate or your clothes.
- Reduced Steam Output: You’re not getting as much steam as you used to.
- Water Leaks: Water is dripping from the soleplate unexpectedly.
If you’re noticing any of these, it’s a good signal to **give your iron some attention**.
Your DIY Iron Cleaning Toolkit
You probably have most of what you need right in your kitchen. No need for fancy or expensive cleaning products! Here’s what you’ll want to gather:
Essential Cleaning Supplies
- Distilled Water: This is key for both cleaning and future use.
- White Vinegar: A natural descaler that breaks down mineral deposits.
- Clean Cloths or Towels: For wiping and drying.
- Cotton Swabs: Great for getting into those small steam vents.
- An Old Towel or Newspaper: To protect your ironing surface.
Having these on hand makes the whole process smooth. We want to make this as **easy as pie** for you!
Step-by-Step Guide to a Cleaner Iron Interior
Ready to tackle this? We’ll go through it together. This method focuses on using a vinegar and water solution to flush out the internal workings.
Preparing Your Iron
First things first, ensure your iron is **unplugged and completely cool**. Safety first, always! Lay down an old towel or some newspaper on your ironing board or a stable surface. This will catch any drips during the cleaning process.
Creating Your Cleaning Solution
The magic blend is simple: equal parts distilled water and white vinegar. For most standard steam irons, a 1/2 cup of each is plenty. You want enough to fill the water reservoir but not so much that it overflows.
We found that a 1:1 ratio works best for dissolving mineral buildup without being too harsh. Many appliance repair guides recommend vinegar for its **descaling properties** (Good Housekeeping).
The Flushing Process
Carefully pour your distilled water and vinegar mixture into the iron’s water reservoir. Make sure you’re using the designated filling hole. Some irons have a specific fill line; don’t go above it.
Now, plug in your iron. Set it to its **highest heat setting**. You’ll want to let it heat up fully. Once hot, unplug the iron again. Hold the iron horizontally over your protective towel or newspaper.
Gently press and hold the steam button. You should see steam and some liquid come out. You might also see some **discolored water or gunk** exiting the soleplate. Keep doing this until the reservoir is empty. This is the mineral deposit doing its disappearing act!
Rinsing and Repeating (If Needed)
If your iron is heavily clogged, you might need to repeat the flushing process. Once the vinegar solution is out, rinse the reservoir with fresh distilled water. Then, fill it with only distilled water and repeat the heating, steaming, and emptying steps. This helps to **flush out any remaining vinegar residue**.
We found that a second pass with just distilled water ensures no vinegar smell lingers. It’s like giving your iron a nice, clean rinse after its treatment.
Cleaning the Soleplate
While you’re at it, give the outside of the soleplate a good wipe-down. If there are any stubborn burnt-on bits, you can try a paste of baking soda and water. Apply it gently with a soft cloth. **Rub gently** in a circular motion. Then, wipe clean with a damp cloth and dry thoroughly.
Many sources suggest avoiding abrasive cleaners or scrub pads, as they can scratch the soleplate (Consumer Reports). We want a smooth glide, not a scratched mess!
Final Steps and Best Practices
Once you’ve finished the internal flush and soleplate cleaning, let your iron **air dry completely**. Make sure the steam vents are clear. You can use a cotton swab dipped in distilled water to gently clean around the holes if needed.
Fill the reservoir with fresh distilled water. Plug in your iron, set it to a medium heat, and gently press the steam button a few times. This ensures all cleaning solution is gone and prepares it for its next use. You’ve just given your iron a fantastic internal refresh!
Iron Cleaning Checklist
Here’s a quick rundown to make sure you’ve got it all:
- Gather your supplies: distilled water, white vinegar, cloths, cotton swabs.
- Ensure iron is cool and unplugged before starting.
- Mix equal parts distilled water and white vinegar.
- Fill reservoir, heat iron, then unplug and steam out.
- Rinse with distilled water if needed.
- Wipe down the soleplate and let iron air dry.
Conclusion
You’ve successfully learned how to give your steam iron a much-needed internal cleaning. By using a simple mix of distilled water and white vinegar, you can effectively tackle mineral buildup and burnt-on residue. This process not only restores your iron’s performance but also prevents those frustrating stains on your clothes. Remember to perform this cleaning regularly to keep your iron working efficiently and extend its lifespan. Your next ironing session will be smoother and more effective because of it!
Frequently Asked Questions
How often should I clean the inside of my steam iron?
We recommend cleaning your steam iron’s interior every 1-2 months if you use it frequently. If you notice sputtering or staining signs, it’s a clear indicator it’s time for a cleaning, regardless of the schedule. Consistent maintenance keeps your iron performing at its best.
Can I use tap water to clean my iron?
It’s best to avoid using tap water for cleaning and for regular use in your steam iron. Tap water contains minerals that cause the very buildup you’re trying to remove. Always opt for distilled or demineralized water to protect your iron’s internal components.
What if the vinegar and water solution doesn’t remove all the gunk?
If stubborn residue remains after the first flush, you can repeat the process with the vinegar and water solution. For tough spots on the soleplate, a gentle paste of baking soda and water can help, but always rub very carefully to avoid scratches.
My iron smells like vinegar after cleaning. How do I get rid of it?
To eliminate any lingering vinegar smell, fill the reservoir with fresh distilled water and repeat the heating and steaming process. Do this until the water runs clear and the smell is gone. This final flush with plain distilled water is very effective.
Is it safe to use cleaning vinegar instead of white vinegar?
While cleaning vinegar has a higher acidity, standard white distilled vinegar is usually sufficient and a bit gentler for most iron cleaning needs. If you do use cleaning vinegar, dilute it further with distilled water to avoid potentially damaging your iron’s internal parts.