How to Steam Clothes With an Iron: Easy Guide
Yes, you can absolutely steam clothes with a regular iron! It’s a surprisingly easy method for smoothing out wrinkles when you don’t have a dedicated garment steamer. You just need to use your iron carefully on its steam setting and follow a few key steps to keep your clothes safe and looking sharp. This technique is a great go-to for busy mornings.
This method works by using the steam generated by your iron to relax fabric fibers. We found that it’s an excellent way to handle various materials, from delicate blouses to cotton shirts. Just be sure to keep the iron moving to prevent any damage. It’s a smart hack for keeping your wardrobe looking its best without much fuss.
- Use your iron’s steam function.
- Keep the iron moving to avoid scorching.
- Test on an inconspicuous area first.
- Hang clothes to allow steam to work.
- Be gentle with delicate fabrics.
Let’s walk through exactly how to steam your clothes using your iron, step by step, so you can get those wrinkles out with confidence.
Steaming Clothes with Your Iron: A Simple How-To
So, you’re staring at a wrinkled shirt and your trusty garment steamer is nowhere in sight. Don’t panic! You can absolutely use your regular iron to get that steamed look. It’s a trick many people use when they’re in a pinch. We’ve found this method works well for most fabrics, giving them a smooth, fresh finish. It’s all about using the right settings and a gentle touch.
The magic happens because the steam from your iron relaxes the fabric fibers. This allows them to release the wrinkles. It’s much gentler than direct ironing, which can sometimes flatten or even scorch certain materials. Our goal is to get that nicely steamed appearance without any fuss or damage. Ready to give it a try? Let’s get started.
Preparing Your Space and Your Iron
Before you start steaming, setting up your area is key. You’ll need a safe, flat surface to hang your clothes. A sturdy hanger is your best friend here. Think about where you can hang your garment so it stays put while you work. A door hook or a closet rod works wonders. Make sure it’s somewhere you can easily reach without straining yourself.
Filling Your Iron Correctly
This is where the steam comes from! You’ll need to fill your iron’s water reservoir. Always use distilled or demineralized water if your iron’s manual recommends it. Tap water can build up mineral deposits over time, which can clog the steam vents or even stain your clothes. Check your iron’s specific instructions for the best type of water to use.
Most irons have a fill line, so don’t overfill it. Overfilling can lead to leaks. We found that filling it about three-quarters of the way is usually perfect. It gives you enough water for a good steaming session without being too heavy or prone to spills. And always make sure the iron is unplugged when you’re filling it up!
Choosing the Right Heat Setting
This is super important for preventing damage. You want to use a low to medium heat setting on your iron. High heat can scorch fabric, especially delicate ones. For most materials like cotton and linen blends, a medium setting is fine. For synthetics or silks, you’ll want to go even lower.
If you’re unsure, always check the garment’s care label. It will tell you the recommended ironing temperature. If there’s no label, start with the lowest setting and test it on an inconspicuous area. Many experts suggest this caution, especially for newer or unknown fabrics (Good Housekeeping Institute).
The Steaming Process: Step-by-Step
Now for the actual steaming! You’ve got your iron filled, your space prepped, and the right heat setting selected. It’s time to transform those wrinkles into smooth perfection. This technique is all about gentle movement and letting the steam do the heavy lifting. We found it takes just a few minutes per item.
Setting Up the Garment
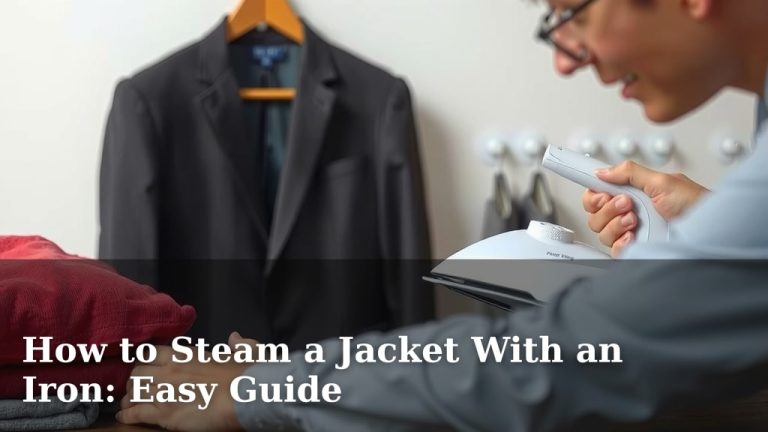
Hang your garment securely on a hanger. Make sure it’s hanging straight so the wrinkles are visible and the fabric is taut. You want the material to be slightly stretched, but not so tight that you’re distorting the shape of the garment. This allows the steam to penetrate the fibers evenly.
Keep a little distance between garments if you’re steaming multiple items. This ensures good airflow and lets the steam work its magic without them getting too damp. A well-hung garment is the foundation for successful steaming. It makes the whole process much easier and more effective.
Applying the Steam (Carefully!)
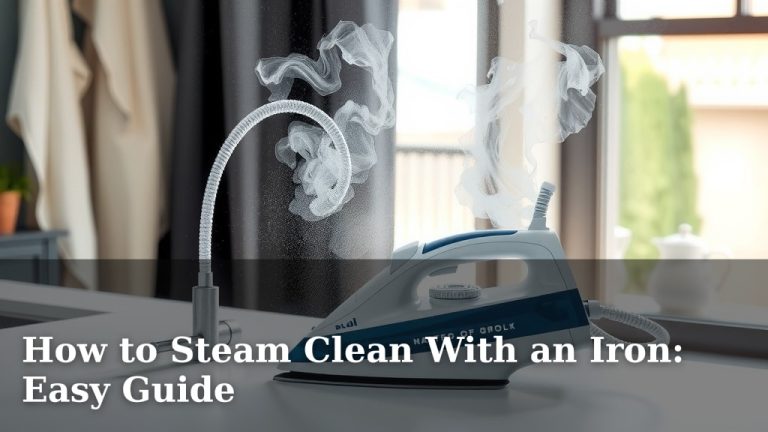
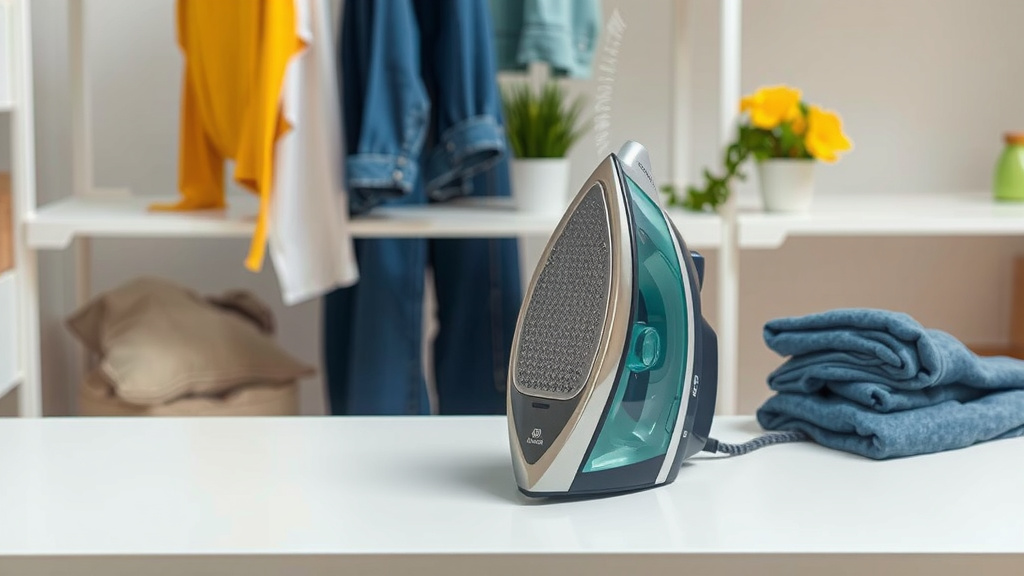
Turn your iron on and select the steam setting. Let it heat up fully. You’ll know it’s ready when it starts producing steam. Now, hold the iron about 1-2 inches away from the fabric. This is crucial! You are NOT pressing the iron directly onto the garment like you would for ironing.
Gently move the iron back and forth over the wrinkled areas. You’ll see the steam rising and smoothing out the wrinkles. Keep the iron moving constantly. Don’t let it rest in one spot for too long. This prevents overheating and potential damage to the fabric. Think of it as a gentle caress with steam.
What About Delicate Fabrics?
For delicate materials like silk, satin, or synthetics, you need to be extra cautious. Always use the lowest heat setting and ensure the steam function is on. Hold the iron even further away, perhaps 3-4 inches. You might even want to turn off the steam and just use the residual heat from the soleplate, moving it quickly over the fabric.
We found that some very delicate fabrics might not do well with any direct heat, even from steam. In these cases, hanging the garment in a steamy bathroom after a hot shower can sometimes be enough. Always test on a hidden spot first, like an inside seam or hem. This is a smart precaution many fabric care guides recommend (FabricCare.com).
Tips for Best Results
To ensure you get the best possible outcome when steaming with your iron, a few extra tips can make all the difference. It’s about optimizing the process for efficiency and fabric safety. We’ve gathered some practical advice that has worked well for us.
The Power of a Test Patch
We can’t stress this enough: always test on an inconspicuous area first. This could be an inside seam, the hem allowance, or a small patch on the inside of the garment. This simple step can save you from potential disaster. You’ll quickly see how the fabric reacts to the heat and steam.
If the fabric pills, discolors, or looks damaged, you know to adjust your settings or technique. You might need to use a lower heat, hold the iron further away, or even skip steaming this particular item altogether. It’s a small effort for peace of mind.
Keep It Moving!
I know we’ve said it before, but it’s worth repeating: keep the iron moving. Holding the iron in one place, even for a few seconds, can lead to scorch marks or shiny spots on your clothing. The steam needs to circulate around the fibers. Imagine you’re painting with steam, covering all the wrinkled areas evenly.
This constant motion is especially important if you’re using a slightly higher heat setting for sturdier fabrics. It ensures the heat is distributed and the steam has time to work its magic without overexposing any single part of the garment. A steady, fluid motion is your goal.
Allow for Cooling and Drying
Once you’ve finished steaming a garment, give it a moment to cool down and dry completely before wearing or hanging it up. While steaming uses less water than washing, the fabric can still be slightly damp. Wearing a damp garment can cause new wrinkles to form. It also makes it harder to spot any missed wrinkles.
Letting the garment hang for a few minutes allows the fibers to settle. This helps the smoothed-out appearance last longer. Think of it as the fabric taking a deep breath after being released from its wrinkles. This final step is often overlooked but is quite important for a crisp finish.
A Quick Checklist for Steaming Success
Here’s a quick rundown to keep handy:
- Hang clothes securely on a hanger.
- Fill iron with distilled water (if recommended).
- Set iron to low or medium heat.
- Turn on the steam function.
- Hold iron 1-2 inches away, keeping it moving.
- Test on an inconspicuous area first.
Conclusion
You’ve learned how to effectively steam your clothes using just your iron. It’s a fantastic method for refreshing garments quickly. Remember to always use distilled water and the right heat setting. Keeping the iron moving and at the correct distance is key to avoiding damage. Give your clothes that freshly steamed look with confidence.
Now that you’re armed with this simple technique, tackle those wrinkles with ease. Your favorite outfits will be ready in no time!
Frequently Asked Questions
Can I use my iron to steam *any* fabric?
You can steam most fabrics, but always be extra cautious with delicate materials like silk or synthetics. We recommend testing on an inconspicuous area first. If a fabric is very fragile, you might need to hold the iron further away or skip steaming altogether.
What’s the best type of water to use in my iron for steaming?
Using distilled or demineralized water is best if your iron’s manual suggests it. Tap water can cause mineral buildup, which may clog steam vents or even stain your clothes. This simple step helps your iron last longer and perform better.
How close should I hold the iron to the fabric when steaming?
You should hold the iron about 1 to 2 inches away from the fabric. You are not pressing the iron down like you would for regular ironing. This distance allows the steam to relax the wrinkles without direct contact.
What should I do if my iron doesn’t have a specific steam setting?
If your iron lacks a dedicated steam setting, you can try turning the heat to a low or medium setting and filling the water reservoir. Some irons allow you to use steam with just a general heat setting. However, if your iron has no steam holes or capability, this method won’t work.
How long should I expect it to take to steam a single garment?
Typically, steaming a single garment takes just a few minutes. The time depends on the size of the item and how many wrinkles it has. Keeping the iron moving steadily will help you work efficiently.