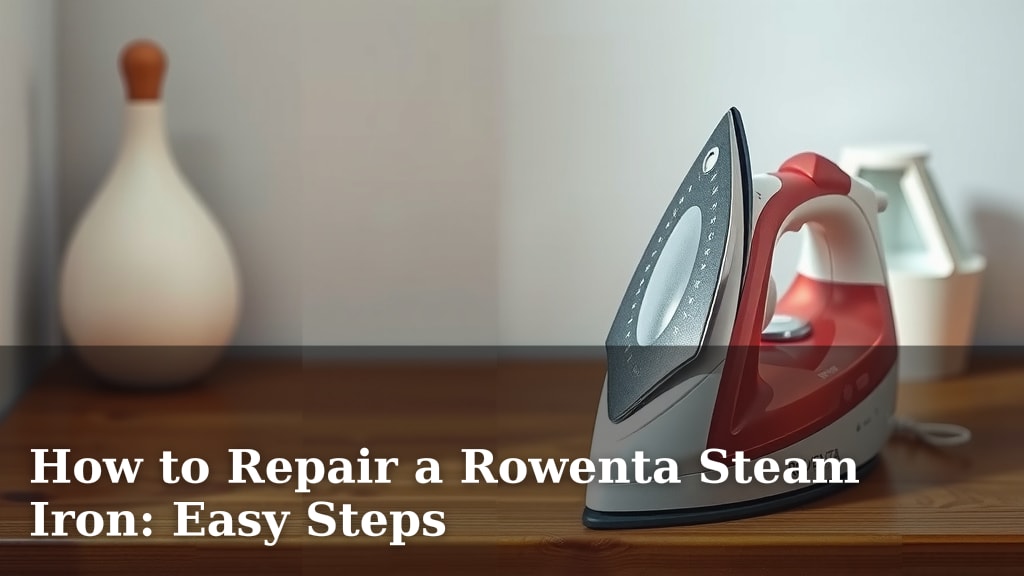
How to Repair a Rowenta Steam Iron: Easy Steps
Yes, you can often repair a Rowenta steam iron yourself with a few simple steps. Most common issues, like mineral buildup or a faulty thermostat, are fixable. You don’t always need to buy a new one to get your favorite iron working again.
Dealing with an iron that’s not performing its best can be frustrating. We know you want crisp clothes without the hassle. Luckily, many Rowenta steam iron repairs are quite straightforward. Many users report success in fixing issues like leaks or poor steam output.
- Common Rowenta iron problems include clogging and heating issues.
- Mineral deposits are often the culprit behind poor steam.
- Cleaning the soleplate and descaling the water tank are key steps.
- Checking the thermostat and power cord can solve heating problems.
Below, we’ll walk you through the easy steps to get your Rowenta steam iron back in working order, saving you time and money.
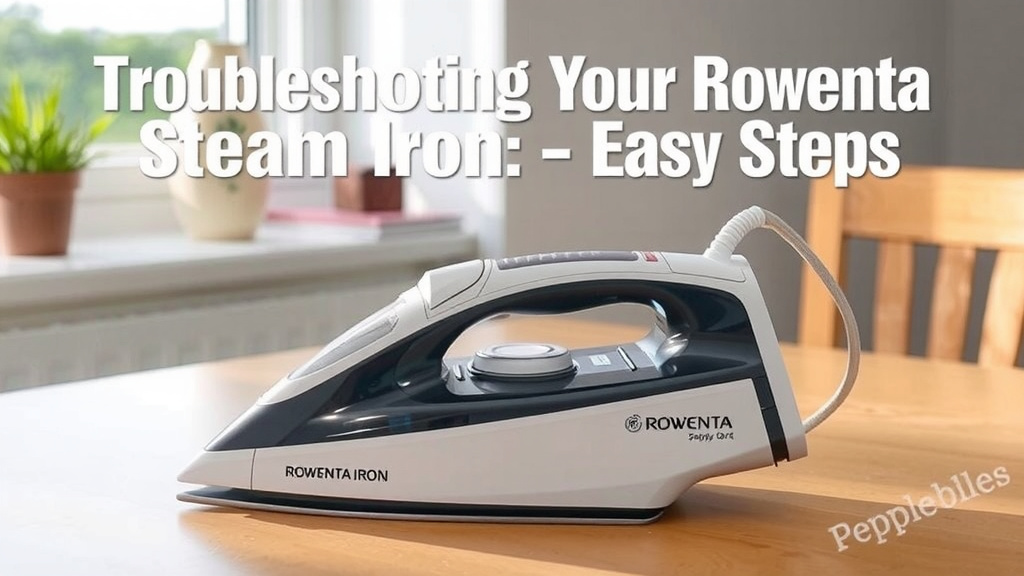
Troubleshooting Your Rowenta Steam Iron: Simple Fixes
Is your Rowenta steam iron acting up? Don’t toss it just yet! Many common issues are surprisingly simple to fix. You can often get your iron working like new with a little bit of elbow grease and this guide. We’ll walk you through the most frequent problems and how to solve them.
Addressing Clogged Steam Vents and Poor Steam Output
One of the most common complaints is weak or no steam. This usually points to mineral buildup inside your iron. Over time, the minerals from tap water can clog the tiny holes in the soleplate. This prevents steam from escaping properly. It’s like a tiny traffic jam inside your iron!
The Power of the Self-Clean Function
Most Rowenta irons have a built-in self-clean or anti-calc function. This is your first line of defense. Consult your iron’s manual to locate this button. Typically, you’ll fill the water tank, heat the iron to its highest setting, and then press and hold the self-clean button. As you do this, you’ll want to gently shake the iron over a sink. Hot, mineral-filled water will stream out of the soleplate. This process flushes out much of the gunk. Doing this regularly can prevent clogs from forming in the first place.
Manual Cleaning for Stubborn Buildup
If the self-clean cycle doesn’t do the trick, a manual deep clean might be needed. You can often use a mixture of equal parts white vinegar and distilled water. Fill the water tank with this solution. Let it sit for about 20-30 minutes. Then, empty the tank and rinse it thoroughly with distilled water. After rinsing, heat the iron to a medium setting without steam. Gently move the iron over an old towel or cloth. This can help dislodge any remaining particles. Finally, run a cycle with just distilled water to rinse out any vinegar residue. Many users find this method effective for stubborn mineral deposits.
Checking Water Level and Settings
It sounds basic, but always double-check your water level. If the tank is too low, the iron won’t produce steam. Also, ensure you’ve selected a steam setting. Some irons have a “dry” mode that looks similar to a steam setting. You want to be on the appropriate steam setting for your fabric. This simple check can save you a lot of frustration.
Resolving Leaking Water Issues
Leaking water is another frequent annoyance. It can leave unsightly water spots on your clothes. This often happens when the iron is not getting hot enough to turn the water into steam. It can also be caused by a cracked water tank or a faulty seal.
Ensuring Proper Heat and Steam Settings
Similar to steam output issues, leaking can occur if the iron isn’t hot enough. The water in the tank needs to reach a high enough temperature to become steam. If you’re using a low setting or iron on delicate fabrics that require less heat, you might get condensation and leaks. Try increasing the temperature slightly. Always wait for the iron to fully heat up before pressing the steam button. A few minutes of heating time is usually sufficient. This allows the internal components to reach the proper temperature.
Inspecting the Water Tank and Seals
Carefully inspect the water tank for any visible cracks or damage. A hairline crack can be hard to spot but can cause significant leaks. Also, check the lid and the seal around the water intake. Sometimes, the seal can become dislodged or worn out. If you find any damage to the tank or seals, it might be time to consider professional repair or replacement. We found that a loose lid is a surprisingly common cause of minor leaks.
Dealing with a Soleplate That Sticks or Stains
A sticking or stained soleplate can ruin your ironing session. It can snag on fabrics and leave marks. This is usually due to burnt-on residue or a buildup of starch and fabric finishes.
Cleaning the Soleplate Safely
For general residue, a soft cloth dampened with distilled water often works. For tougher spots, try a paste made of baking soda and a little water. Apply the paste gently to the cool soleplate and rub with a soft cloth. Wipe clean with a damp cloth and then dry thoroughly. Never use abrasive scrubbers or harsh chemicals, as these can damage the soleplate’s coating. For stubborn burnt-on material, some sources suggest gently rubbing with a soft cloth dipped in undiluted white vinegar. Always ensure the iron is unplugged and completely cool before attempting any cleaning. A clean soleplate glides smoothly.
Using a Protective Cloth or Board Cover
To prevent future sticking and stains, consider using a protective ironing cloth or a specialized ironing board cover. These covers can help shield your iron from direct contact with certain fabrics or finishes. They are especially useful when ironing delicate materials or items with prints that could transfer. Many professional cleaners swear by this simple method.
Troubleshooting Heating or Power Issues
If your iron isn’t heating up at all, the problem could be with the power cord or the thermostat. These are a bit more complex, but sometimes fixable.
Checking the Power Cord and Plug
First, ensure the iron is plugged into a working outlet. Test the outlet with another appliance. Examine the power cord for any fraying, cuts, or damage. If the cord looks compromised, do not use the iron. A damaged cord is a serious safety hazard. In such cases, professional repair or replacement of the cord is necessary.
Understanding Thermostat Issues
The thermostat regulates the iron’s temperature. If it malfunctions, the iron might not heat up or could overheat. Replacing a thermostat is a more advanced repair. It typically involves disassembling the iron’s handle. If you’re not comfortable with electronics, it’s best to leave this to a professional. Many repair guides online show detailed steps, but proceed with caution. A faulty thermostat is often indicated if the iron heats up, but then stops working entirely after a short period. Researching your specific Rowenta model for thermostat repair guides is key.
General Maintenance Checklist for Your Rowenta Iron
Keeping your iron in top shape involves a few routine steps. Make these a habit to avoid future problems and extend its lifespan.
Empty Water Tank: Always empty the water tank after each use. This prevents mineral buildup and leaks.
Use Distilled Water: For areas with hard water, using distilled or demineralized water is highly recommended.
Run Self-Clean Regularly: Use the self-clean function every few uses, especially if you use tap water.
Clean Soleplate: Wipe down the soleplate after use to remove any residue.
Store Properly: Store your iron upright in a cool, dry place. Ensure the cord is loosely wrapped, not tightly coiled.
Check Cord for Damage: Periodically inspect the power cord for any signs of wear and tear.
Conclusion
You’ve learned that many common Rowenta steam iron problems are entirely fixable yourself. From clogged vents to minor leaks and sticky soleplates, a little cleaning and attention can bring your iron back to life. Remember to use distilled water and your iron’s self-clean function regularly. These simple maintenance habits will prevent future issues. If your iron still isn’t performing after these steps, consider professional help or a replacement. But give these easy repairs a try first – you might be surprised by what you can fix!
Frequently Asked Questions
How often should I use the self-clean function on my Rowenta iron?
We recommend using the self-clean function every few uses, especially if you live in an area with hard water. This helps prevent mineral buildup from clogging the steam vents. Consistent use is key to maintaining good steam output.
Is it safe to use vinegar to clean my Rowenta iron?
Yes, a mixture of equal parts white vinegar and distilled water can be effective for manual descaling. Just be sure to rinse thoroughly with distilled water afterward. Never use abrasive cleaners, as they can damage the soleplate.
My Rowenta iron is leaking. What’s the most common cause?
A common cause of leaks is the iron not reaching a high enough temperature to properly turn water into steam. Ensure you’re using an appropriate heat setting and let the iron heat up fully. Also, check for any cracks in the water tank or a loose lid.
What should I do if the power cord on my Rowenta iron is damaged?
If you notice any fraying, cuts, or damage to the power cord, stop using the iron immediately. A damaged cord is a serious safety hazard. In this situation, it’s best to seek professional repair or consider replacing the iron.
Can I really fix a Rowenta iron that won’t heat up?
Heating issues might stem from the power cord or thermostat. While checking the cord is easy, thermostat repair is more advanced. If you’re not comfortable with internal components, it’s safest to consult a repair professional for thermostat issues.