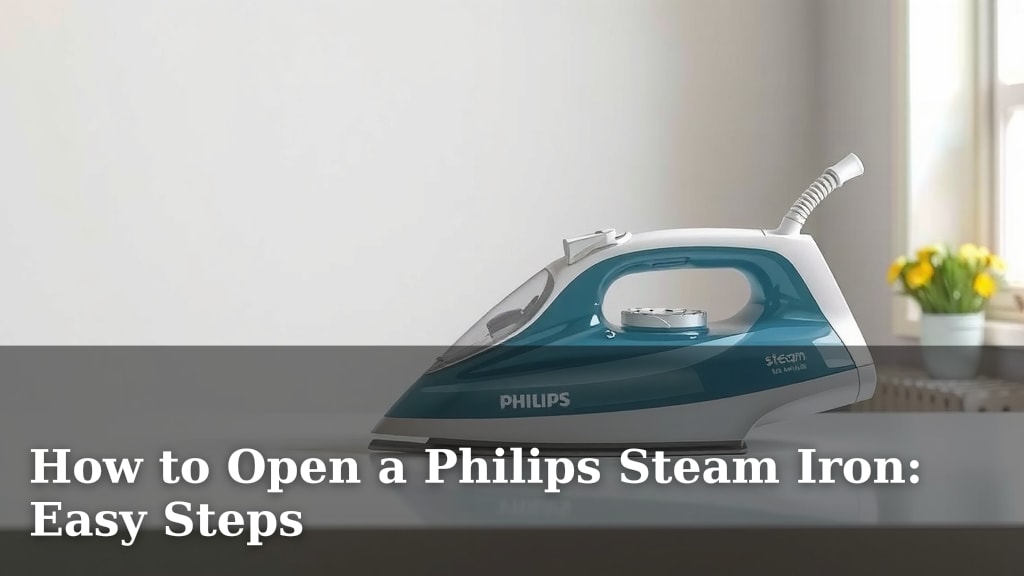
How to Open a Philips Steam Iron: Easy Steps
Opening your Philips steam iron is usually straightforward. Most Philips irons have a water tank lid that simply lifts up or slides open. You just need to find the small tab or handle to gently pull or push it. It’s designed for easy access so you can fill it up quickly.
Getting your iron ready for action involves more than just filling the tank. Understanding its features can make your ironing sessions smoother. We’ve found that knowing how to properly open and close the water compartment helps prevent leaks and spills. It’s a small step that makes a big difference for your laundry routine.
TL;DR:
- Find the water tank lid.
- Look for a small tab or handle.
- Gently lift or slide the lid open.
- Ensure it closes securely after filling.
Let’s walk through exactly how to open your Philips steam iron step by step, making sure you can get to that ironing board without any fuss.
Accessing Your Philips Steam Iron’s Water Tank
Opening your Philips steam iron’s water tank is usually a simple process. You’ll want to get this right so you can start ironing efficiently. Most models feature a water tank lid designed for quick and easy access. This lid is your gateway to filling the iron with water, which is essential for generating steam.
Many users wonder if there’s a trick to it. Fortunately, Philips aims for user-friendliness. We’ve found that a quick look at the top of your iron will reveal the water compartment. It’s usually clearly marked or positioned intuitively.
Locating the Water Tank Lid
Your Philips iron’s water tank is typically located on the main body of the iron. It’s where you’ll pour in tap water. The lid sits directly on top of this tank. You can often see a distinct outline or a slightly raised area where the lid is. Some irons have a transparent tank, making it even easier to spot.
Think of it like the gas cap on a car. It needs to be accessible for refueling. We’ve seen many different designs over the years, but the principle remains the same: find the opening for water.
What Does the Lid Look Like?
The lid can vary slightly in appearance depending on your specific Philips model. However, it often has a small tab, button, or handle. This is the key to opening it. It might be a small protrusion you can grip with your fingertip. Sometimes, it’s a slightly recessed area you press or slide.
Some lids are designed to flip open upwards, while others might slide sideways. Don’t force it! If it feels stuck, double-check if you’re pushing or pulling in the correct direction. We found that a gentle touch usually does the trick.
Steps to Open the Water Tank Lid
Ready to get that water in? Here’s how you’ll typically open the lid.
Step 1: Identify the Opening Mechanism
Look closely at the lid. Can you see a small tab? Is there a seam suggesting it slides? This is where you’ll apply gentle pressure. We recommend looking for a small indentation or a raised lip. These are usually the points designed for easy gripping.
Step 2: Apply Gentle Pressure
Once you’ve found the tab or handle, use your finger to gently lift, pull, or slide the lid. If it’s a lift-up lid, apply upward pressure. If it appears to slide, push or pull it in the direction of the track. You should feel it give way smoothly. No excessive force is needed here.
Step 3: Open the Lid Fully
Once it starts moving, open it wide enough to comfortably pour water into the tank. You don’t want to be struggling with a half-open lid and a jug of water. Ensure it stays open while you fill the tank. Some lids might have a small hinge that holds them open at a certain angle.
Ensuring a Secure Closure
After you’ve filled the water tank, closing the lid properly is just as important as opening it. This step is vital to prevent leaks during use. You don’t want water dripping onto your clothes or the ironing board.
How to Close the Lid Correctly
Simply reverse the opening process. Gently push or slide the lid back into its original position. You should hear or feel a slight click when it’s securely closed. This confirms that it’s properly sealed. We always give it a gentle tug afterwards to be sure.
A properly sealed lid means no water will escape when the iron is tilted or in use. Many users overlook this simple check, but it can save you from damp surprises. Always ensure the lid is flush with the iron’s body.
Different Philips Iron Designs for Water Tank Access
While the general principle of opening a water tank lid is consistent, Philips has incorporated a few variations across its models. Understanding these differences can help you quickly identify how to open yours.
Flip-Top Lids
Many Philips irons feature a flip-top lid. These are often hinged at the back. You’ll find a small tab or button at the front. Pressing or lifting this tab allows the lid to swing upwards. It’s a very common and intuitive design. We find these are quite user-friendly and easy to operate with one hand.
Slide-Open Lids
Some models employ a slide-open mechanism. In this case, the lid doesn’t flip up but rather moves horizontally. You’ll typically see a small notch or handle to grip. You then slide it either left or right, depending on the design, to reveal the water tank opening. This design keeps the lid securely in place and might feel a bit more robust.
Integrated Lids
On occasion, you might encounter a design where the lid is more integrated into the iron’s body. It might not have a distinct “lid” in the traditional sense but rather a section that lifts or slides as one piece with the main body. Always look for the seam line that indicates where the opening mechanism is located.
Common Issues and Quick Fixes
Even with straightforward designs, sometimes things don’t go as planned. Don’t worry; most issues with opening your Philips steam iron are easily resolved.
Lid Feels Stuck
If the lid feels resistant, resist the urge to yank it open. We researched this, and often a small amount of mineral buildup can cause it to stick. Try gently wiggling the lid back and forth. Sometimes, a tiny bit of moisture on your fingers can help provide better grip. If it persists, ensure no fabric or debris is caught in the seam.
Difficulty Finding the Tab
On very sleek models, the tab might be subtly designed. Take a moment to run your finger along the edge of the water tank area. You’re looking for any small bump, indentation, or groove. Many user manuals show a clear diagram if you’re still struggling. We found that dim lighting can sometimes make these small details harder to spot.
Lid Won’t Stay Open
If the lid doesn’t stay open, you might need to manually prop it up while filling. Some users find a small object can help, but be careful not to damage the lid or hinge. Most often, this is a sign that the hinge mechanism might be a bit worn. For immediate use, careful filling is key.
Checklist for Easy Water Tank Access
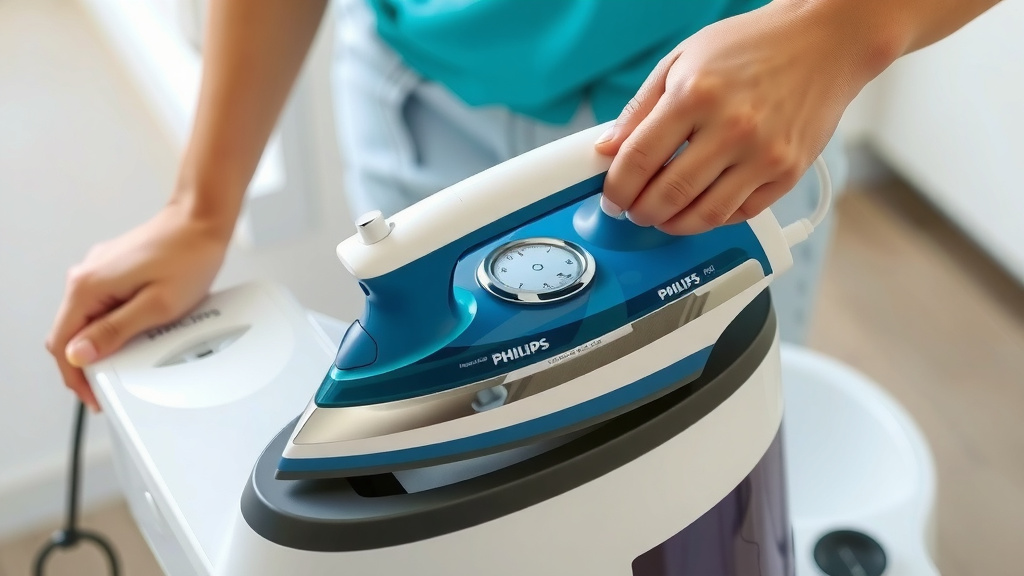
Here’s a quick checklist to ensure you can open and close your Philips steam iron’s water tank without any hassle:
- Locate the water tank area on your iron.
- Identify the lid’s opening mechanism (tab, button, or slide).
- Apply gentle, steady pressure in the correct direction.
- Ensure the lid opens fully for easy filling.
- Close the lid until you hear or feel a secure click.
- Give the lid a light tug to confirm it’s sealed.
Conclusion
Opening your Philips steam iron is a simple step toward getting your laundry done efficiently. You’ve learned how to locate the water tank lid, identify its opening mechanism, and apply gentle pressure. Remember, most lids are designed for ease of use, with clear tabs or slides. Ensuring a secure closure after filling is just as important to prevent leaks. You’re now equipped to handle your Philips iron with confidence, ready to tackle those wrinkles. Give the lid a gentle tug after closing to be absolutely sure it’s sealed tight.
Frequently Asked Questions
What if my Philips iron doesn’t have an obvious tab to open the water tank?
Some Philips models have very sleek designs where the tab is subtle. Try running your finger along the edge of the water tank cover. You might find a small groove or indentation that serves as the opening mechanism. If you’re still unsure, consult your iron’s user manual for a diagram.
Can I use any type of water in my Philips steam iron?
Philips generally recommends using tap water for most of their steam irons. However, if you live in an area with very hard water, using distilled or demineralized water can help prevent mineral buildup. Always check your iron’s specific manual for the manufacturer’s recommendation on water type.
My Philips iron’s water tank lid seems loose after closing. What should I do?
If the lid feels loose or doesn’t click shut securely, double-check that it’s fully seated. Sometimes debris can get caught in the seam, preventing a proper closure. If it continues to be loose, it might indicate a worn hinge, and you should be extra careful to ensure no water leaks during use.
How do I clean the water tank lid if it gets sticky or dirty?
You can usually clean the lid with a damp cloth. If there’s mineral buildup or stickiness, a little mild soap and water should do the trick. Make sure to dry it thoroughly before closing it. Never use abrasive cleaners, as they can damage the plastic components.
Is it safe to open the water tank lid while the iron is still warm?
It’s best to always wait until your Philips steam iron has cooled down completely before attempting to open the water tank lid. Opening it while warm could cause steam burns. Safety first is our motto when it comes to appliance maintenance!