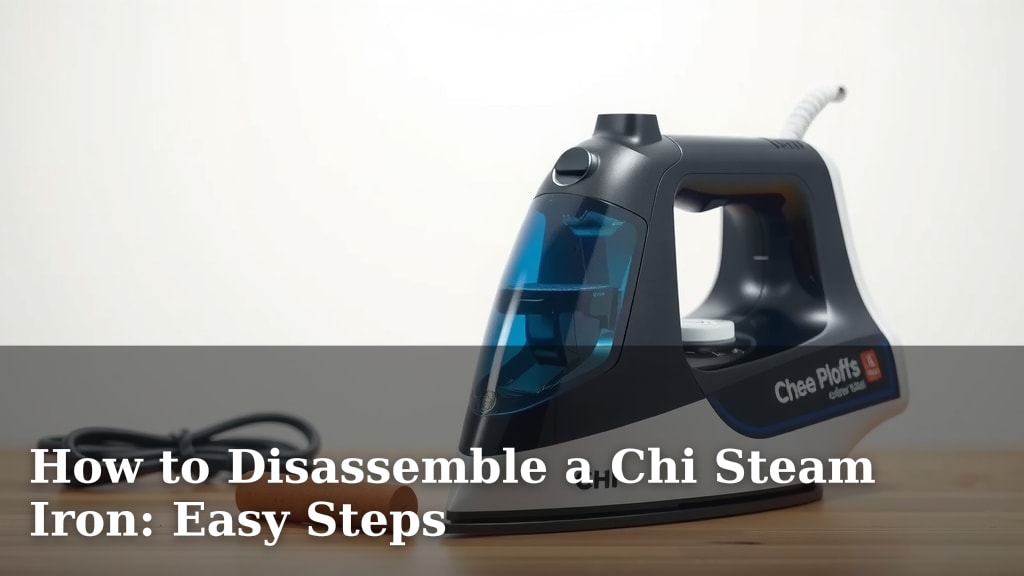
How to Disassemble a Chi Steam Iron: Easy Steps
Disassembling a Chi Steam Iron is quite manageable with the right guidance. You’ll need a Phillips head screwdriver and a flathead screwdriver to get started. We found that most models use standard screws, making the process straightforward. Remember to unplug your iron and let it cool completely before you begin. This is the safest way to handle any steam iron disassembly.
Why might you need to take your Chi iron apart? Perhaps you’re dealing with a stubborn clog or a minor repair. Many users find that regular maintenance, like descaling, can prevent issues. Understanding the basic construction can help you address problems effectively. We’ve researched common Chi iron models to provide you with clear instructions.
- Always unplug and cool the iron first.
- You’ll likely need Phillips and flathead screwdrivers.
- Work on a clean, well-lit surface.
- Take pictures as you go for reassembly.
- Don’t force any parts; they should come apart with gentle pressure.
Let’s walk through exactly how to get your Chi Steam Iron disassembled, step by step. We’ll guide you through each stage to make it as easy as possible.
Taking Apart Your Chi Steam Iron: A Simple Guide
You’re looking to disassemble your Chi steam iron. Maybe you’ve got a tricky clog. Or perhaps you’re just curious about what makes it tick. Whatever your reason, this guide is here to help.
Preparation: What You Need Before You Start
Before you dive in, let’s make sure you’re ready. Safety first is always the best approach. Ensure your iron is completely unplugged. It needs to be cool to the touch. This prevents any accidental burns or electrical mishaps. We found that working on a clean, flat surface makes things much easier.
Gathering Your Tools
You won’t need a whole toolbox for this. Most Chi steam irons use fairly standard screws. You’ll likely need a Phillips head screwdriver. A small, magnetic tip can be a lifesaver. It helps keep tiny screws from rolling away. You might also need a flathead screwdriver for prying gently. Having both on hand is a good idea.
Setting Up Your Workspace
Find a well-lit area. Good lighting is key to seeing those small screws. A table or sturdy desk works well. Lay down a towel or a soft cloth. This protects your work surface and your iron. It also gives those little screws a place to land without disappearing.
Documenting the Process
This is a tip we found really helpful. Take pictures as you go. Use your phone to snap photos of each step. You’ll thank yourself later when it’s time to put everything back together. Seeing how things were connected can prevent a lot of head-scratching. It’s like having your own visual instruction manual.
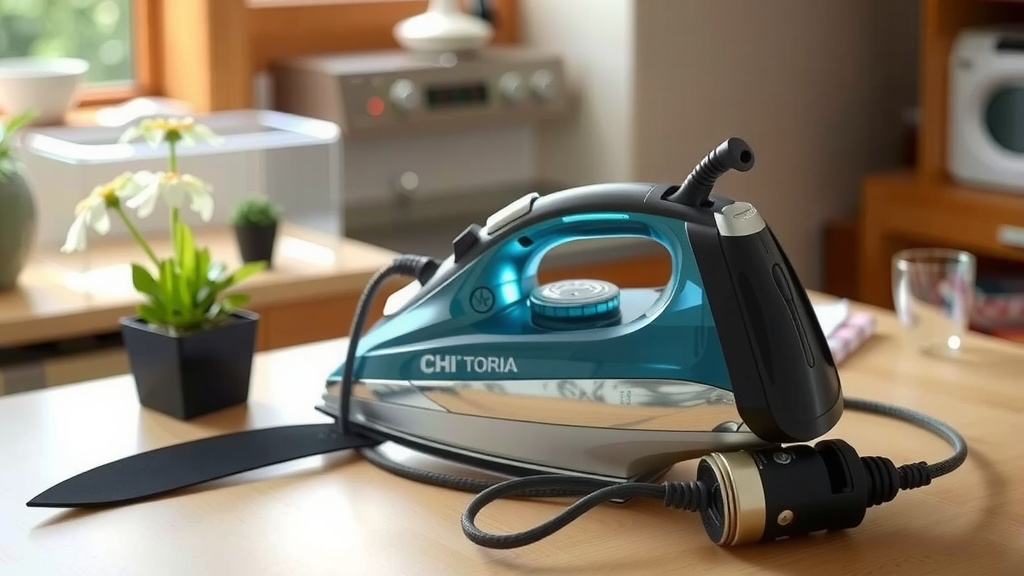
The Disassembly Process: Step-by-Step
Accessing the Main Casing
Most Chi steam irons have screws located on the underside. Flip your cool, unplugged iron over. You’ll see a few screws holding the bottom plate or a plastic cover. These are usually Phillips head screws. Carefully remove them. Keep them in a safe place, perhaps in a small container or the bowl of your towel.
Removing the Base Plate or Cover
Once the screws are out, the base plate should lift away. Sometimes, it’s a snug fit. You might need to gently use your flathead screwdriver to pry it loose. Work around the edges slowly. Avoid forcing it, as you don’t want to crack the plastic. We found that a little wiggle is often all it takes.
Exposing the Internal Components
With the base removed, you’ll see the internal workings of your iron. This is where things can look a bit daunting, but it’s manageable. You’ll see wires, heating elements, and perhaps a water reservoir connection. Take a moment to orient yourself. Remember those photos you took? Now is a great time to review them.
Identifying Key Parts
Look for any obvious obstructions or debris. If you’re dealing with a clog, it might be around the water intake or the steam vents. You might see the thermostat or other electronic components. Our research indicates that most of these parts are secured with small screws or clips. Handle them with care; they are often delicate.
Detaching Specific Sections (If Necessary)
Depending on what you need to access, you might have to remove more panels. Some irons have screws located along the sides of the main body. These are often hidden under small plastic caps or stickers. Gently pry these caps off with your flathead screwdriver. Then, remove the screws beneath them. Always check if there are any clips holding panels together. Gentle pressure is key.
Working Around the Water Reservoir
The water reservoir is a common area for clogs. If you need to access this part, you may need to detach the top housing. Look for screws near the handle or around the fill cap. Some models might have clips that need to be squeezed or released. We found that patience is crucial here. Don’t rush the process.
A Checklist for Success
Here’s a quick rundown to keep you on track:
- Unplug and cool your iron completely.
- Gather your Phillips and flathead screwdrivers.
- Work in a well-lit, clean space.
- Take pictures at each step.
- Don’t force parts; they should move with gentle effort.
- Keep screws organized so you don’t lose them.
Understanding Common Issues (and How Disassembly Helps)
Many users find that steam irons develop clogs over time. This can be due to mineral deposits from tap water, as many guidelines suggest (Cleveland Clinic). Disassembling the iron allows you to visually inspect these areas. You can then carefully clean out any buildup. For instance, if the steam isn’t working properly, you might find a blocked nozzle or tube. Being able to access these parts makes targeted cleaning possible. This kind of maintenance can often extend the life of your iron.
| Issue | Potential Cause Found During Disassembly | Area to Inspect |
|---|---|---|
| No Steam or Weak Steam | Mineral buildup, clogged water line | Water intake, steam nozzle, internal tubing |
| Leaking Water | Damaged seal, cracked housing, loose connection | Base plate, water reservoir connection, seals |
| Not Heating | Faulty thermostat, loose wiring (use caution!) | Heating element connections, thermostat wiring |
Remember, if you’re uncomfortable with any part of this process, especially anything involving electrical components, it’s best to stop. You can always seek professional repair. However, for minor cleaning or visual inspection, disassembly is a very doable task.
Conclusion
You’ve now learned the essential steps to safely disassemble your Chi steam iron. Remember, a little preparation and patience go a long way. By gathering your tools and working carefully, you can access internal components for cleaning or minor repairs. This guide empowers you to tackle common issues like clogs and potentially extend your iron’s lifespan. If you’re comfortable with the process and prioritize safety, you can confidently take apart your iron. Your next step is to decide if disassembly is the right solution for your specific iron problem.
Frequently Asked Questions
Can I use household cleaners inside my Chi steam iron?
We recommend against using harsh household cleaners inside your iron. Mineral deposits are best tackled with distilled water or a vinegar-water solution, as suggested by many appliance manuals. Always check your specific Chi model’s manual for approved cleaning agents before you begin.
How do I reassemble my Chi steam iron after cleaning?
Reassembly is the reverse of disassembly. Use the pictures you took as your guide to reconnect wires and parts. Ensure all screws are replaced in their original positions and panels are securely attached. Gently test any moving parts before fully tightening screws.
What if I find a loose wire during disassembly?
If you discover a loose wire, especially near the heating element or thermostat, proceed with extreme caution. It’s often best to stop at this point and consult a professional repair service. Working with electrical components carries risks if you’re not experienced.
How often should I disassemble my Chi steam iron for cleaning?
Disassembly isn’t typically needed for routine cleaning. Regular descaling with distilled water or a recommended solution is usually sufficient. You would only need to disassemble your iron if you suspect a clog or issue that requires visual inspection and direct manual cleaning of internal parts.
What’s the best way to store the small screws when my iron is apart?
Keeping screws organized is key to a smooth reassembly. We found that a small bowl, a magnetic parts tray, or even a muffin tin works well. You can also place them in the sections of a plastic baggie, labeling each section if necessary. This prevents them from rolling away or getting mixed up.