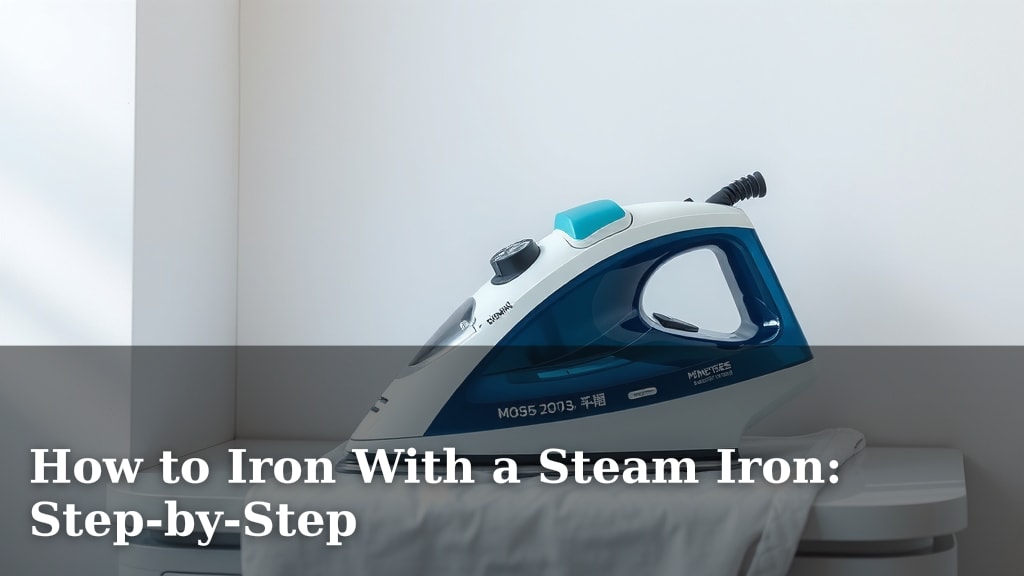
How to Iron With a Steam Iron: Step-by-Step
Learning how to iron with a steam iron is straightforward and makes clothes look their best. You can achieve crisp shirts and smooth fabrics by following a few simple steps. A steam iron uses hot water vapor to relax fabric fibers, making wrinkles easier to remove.
This method is highly effective for most common fabrics like cotton and linen. It’s also a faster way to get professional-looking results at home. Many people find that using the steam function helps tackle stubborn creases you might miss with a dry iron.
- Fill your steam iron with distilled water.
- Set the correct temperature for your fabric.
- Iron in long, smooth strokes.
- Hang clothes immediately after ironing.
Let’s walk through exactly how to use your steam iron step by step to get those perfect pressings.
Your Guide to Ironing with a Steam Iron
So, you’ve got a steam iron and a pile of wrinkled clothes. Don’t worry, it’s simpler than you think! Mastering how to iron with a steam iron can make your clothes look pressed and polished. We’re here to guide you through each step. It’s all about using that powerful combination of heat and moisture to smooth out those pesky creases.
Getting Your Steam Iron Ready to Go
Before you even think about touching your clothes, let’s make sure your trusty steam iron is prepped and ready. This is where the magic really begins.
Filling Your Steam Iron Properly
Did you know that using the right water is key? Most manufacturers recommend using distilled or demineralized water. Why? Tap water has minerals that can build up inside your iron over time. This gunk can clog the steam vents and even stain your clothes. Think of it like giving your iron a clean diet!
Look for a water reservoir on your iron. Usually, there’s a cap or plug you can lift. Gently pour the distilled water in. Don’t overfill it; there’s usually a ‘max fill’ line. Once you’re done, close the cap securely.
Setting Up Your Ironing Board
Your ironing board is more than just a flat surface. It needs to be stable and at the right height for you. You don’t want to be hunched over or stretching too high. We found that a height where your elbow is at a comfortable 90-degree angle when you rest your hand on it is ideal.
Make sure the cover is smooth and clean. Wrinkles on the board cover can transfer to your clothes. Some people even like to place a thin towel over the board cover for extra padding, especially for delicate items.
Understanding Your Steam Iron’s Controls
Modern steam irons have a few dials and buttons. Knowing what they do is half the battle!
Temperature Settings for Different Fabrics
This is super important! Different fabrics need different heat levels. Too hot, and you could scorch your clothes. Too cool, and the wrinkles won’t budge. Most irons have a dial with fabric symbols or names.
We’ve put together a quick guide, but always check the care label on your garment first. It’s your garment’s personal instruction manual!
| Fabric Type | Iron Setting | Steam Setting |
|---|---|---|
| Synthetics (Nylon, Polyester) | Low | Low or Off |
| Silk | Low to Medium | Low or Off |
| Wool | Medium | Medium |
| Cotton | Medium to High | High |
| Linen | High | High |
Remember, these are general guidelines. When in doubt, start on a lower setting and increase it if needed. It’s better to be safe than sorry!
Steam Control Explained
Your steam iron likely has a steam control setting. You can usually choose between no steam, low steam, and high steam. High steam is great for thick fabrics like cotton and linen that have stubborn wrinkles. Low steam is good for lighter fabrics or when you want to be gentle.
Some irons also have a ‘shot of steam’ button. This gives a concentrated burst of steam, perfect for tackling tough creases or the collar of a shirt. Use it sparingly, as it uses a lot of water quickly.
The Step-by-Step Ironing Process
Now for the main event! Let’s get those wrinkles out.
Step 1: Heat Up and Prep
Plug in your iron and set it to the temperature recommended for your fabric. Let it heat up completely. Most irons have an indicator light that turns off when it’s ready. This usually takes a few minutes.
While it’s heating, lay your garment flat on the ironing board. Smooth out any large wrinkles with your hand. This pre-smoothing step makes a big difference.
Step 2: Ironing in Sections
Start with the tricky parts. Collars, cuffs, and plackets (the strip with buttons) are often best ironed first. This prevents you from wrinkling them again as you iron the main body of the garment.
For collars, iron from the points inward to avoid creating new folds. For cuffs, unbutton them and iron the inside first, then the outside. Smooth out the fabric as you go.
Step 3: Using Smooth, Long Strokes
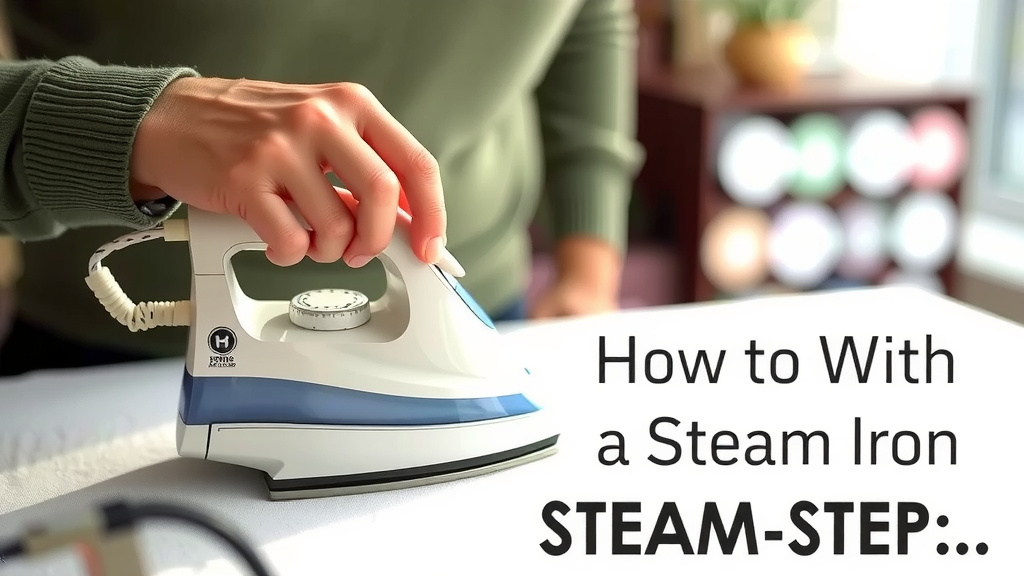
When you’re ironing the larger areas of your garment, use long, even strokes. Move the iron slowly and steadily across the fabric. Don’t let the iron sit in one spot for too long, especially on higher heat settings, as this can scorch the fabric.
Press down gently but firmly. Let the heat and steam do the work. If you’re using steam, you’ll see it puff out. This is the moisture relaxing the fabric fibers, making them easier to flatten.
Step 4: Handling Different Garment Parts
When ironing shirts, tackle the front panels, then the back, and finally the sleeves. For trousers, iron the pockets and waistband first, then the legs. You might need to fold the trousers to iron the seams flat.
For garments with pleats or creases, like skirts or trousers, you might want to use the tip of your iron to carefully guide the fabric into place. Some irons have a pointed tip for this exact purpose.
Post-Ironing Care for Best Results
You’ve done it! Your clothes are smooth and look fantastic. But don’t stop just yet.
Hanging or Folding Promptly
As soon as you finish ironing a piece, hang it up immediately. This prevents new wrinkles from forming while the fabric is still warm and slightly pliable. We found that letting clothes cool completely on a hanger is the best way to maintain that freshly ironed look.
If you must fold, do so neatly and try to avoid creasing the newly ironed areas. For items that are meant to be folded, like sweaters (though be gentle with sweaters!), fold them loosely.
Storing Your Steam Iron Safely
Once you’re done, unplug your iron. Let it cool down completely before storing it. It’s also a good idea to empty any remaining water from the reservoir. This helps prevent leaks and mineral buildup for your next ironing session.
We recommend storing your iron upright in a safe place where it won’t be knocked over. This ensures it’s ready for you the next time those wrinkles appear.
Quick Ironing Checklist:
- Fill with distilled water.
- Set correct fabric temperature.
- Ensure ironing board is stable.
- Iron in smooth, long strokes.
- Hang clothes immediately after ironing.
- Empty iron after use.
Conclusion
You’ve now learned the ins and outs of using your steam iron effectively. Remember, using distilled water and setting the right temperature are your first steps to success. By working in smooth strokes and prepping your garments, you’ll achieve wrinkle-free clothes with ease. Don’t forget the final touch: hanging your freshly ironed items right away keeps them looking their best. Take a deep breath, and get ready to impress yourself with your newfound ironing skills. Your next step is to tackle that pile of clothes with confidence!
Frequently Asked Questions
How often should I empty my steam iron?
It’s best practice to empty your steam iron after each use. This simple step prevents mineral buildup and potential leaks. Allowing the iron to cool completely before emptying ensures your safety.
Can I use tap water in my steam iron if I don’t have distilled water?
While you can use tap water in a pinch, it’s not recommended for long-term use. Tap water contains minerals that can clog your iron’s steam vents over time. This can lead to reduced steam output and even stains on your clothes.
What if my steam iron isn’t producing much steam?
If your iron isn’t producing steam, it’s likely due to mineral buildup. Try using a descaling solution designed for steam irons or running a cleaning cycle if your iron has one. Always ensure you’re using the correct water type to prevent this issue.
Is it okay to iron over zippers or buttons with a steam iron?
It’s generally best to avoid ironing directly over zippers and buttons. These can scratch your iron’s soleplate or even melt if they’re plastic. Iron around them carefully or use a pressing cloth for added protection.
How can I iron clothes that are delicate, like silk or synthetics?
For delicate fabrics, always start with the lowest heat setting and use minimal to no steam. We found that a pressing cloth placed between the iron and the fabric offers extra protection. Iron these items quickly and avoid letting the iron rest in one spot.