How to Do Steam Ironing: Beginner Guide
The easiest way to do steam ironing is by using a steam iron and ironing board. This method effectively removes wrinkles from your clothes with heat and moisture. You’ll be surprised how quickly you can get that crisp, fresh look back on your favorite garments.
Steam ironing works by combining the pressing action of heat with the power of steam. The steam helps to relax the fabric fibers. This makes them much more pliable and easier to smooth out. It’s a gentle yet effective way to care for your wardrobe.
- Fill your steam iron with distilled water.
- Set the correct heat and steam setting for your fabric.
- Iron one side of the garment, using smooth, even strokes.
- Hang garments immediately after ironing.
Ready to give your clothes a professional touch? Below, we’ll walk you through each step of steam ironing so you can achieve wrinkle-free results with confidence.
Mastering Steam Ironing for a Crisp Wardrobe
Steam ironing is a fantastic way to keep your clothes looking their best. It uses a combination of heat and moisture to smooth out wrinkles. This makes your garments look freshly pressed. You can achieve professional results right in your own home. Let’s get you started on this easy process.
Preparing Your Iron and Board
Before you even touch a garment, setting up correctly is key. This ensures safety and effectiveness. A good setup makes the whole ironing process much smoother. You’ll be surprised how much easier it is with everything ready.
Choosing the Right Water for Your Iron
Many steam irons recommend using distilled or demineralized water. Why? Tap water can contain minerals. These minerals can build up inside your iron over time. This buildup can clog the steam vents. It might also leave mineral spots on your clothes. Always check your iron’s manual for specific recommendations. Using the right water extends the life of your iron.
Setting Up Your Ironing Board
Your ironing board is more than just a flat surface. It should be stable and at a comfortable height. You don’t want to be bending over too much. This can strain your back. Make sure it’s set up on a sturdy floor. Some boards have adjustable heights. Find the one that works best for you. A stable board prevents accidents and makes ironing less tiring.
Understanding Your Iron’s Settings
Modern steam irons come with various settings. Understanding these helps you get the best results without damaging your clothes. It’s like learning to drive a car; you need to know the basics first!
Fabric Care Labels: Your Best Friend
Always start by checking the care label on your garment. This tag tells you the fabric type and the recommended ironing temperature. Ignoring these labels can lead to disaster. You might scorch a delicate fabric or not get enough heat for a stubborn wrinkle. Think of the label as your garment’s personal guide.
Heat Settings Explained
Most irons have settings for different fabrics. These usually range from low (synthetics like nylon, polyester) to high (cotton, linen). Here’s a general guide:
| Fabric Type | Recommended Heat Setting | Steam Setting |
|---|---|---|
| Synthetics (Nylon, Polyester) | Low | Low or Off |
| Silk | Low to Medium | Low or Off |
| Wool | Medium | Medium |
| Cotton | Medium to High | High |
| Linen | High | High |
This table offers a good starting point. When in doubt, always start with a lower heat setting. You can always increase it if needed. This is especially true for mixed-fiber fabrics.
Mastering the Steam Function
The steam function is what makes steam ironing so effective. It adds moisture to the fabric. This moisture helps relax the fibers. Heat then smooths them out easily. Some irons have an adjustable steam output. For most cottons and linens, a higher steam setting is best. For delicates, you might use less steam or even just the spray function. Some fabrics, like silk, can be ironed dry with a press cloth.
The Step-by-Step Steam Ironing Process
Now that everything is set up, let’s get to the actual ironing. Follow these steps for a smooth experience.
Filling the Water Reservoir
Carefully fill your iron’s water reservoir. Most irons have a small opening for this. Use the cup that came with your iron, if provided. Pour slowly to avoid spills. Don’t overfill the tank. Most irons have a maximum fill line. Overfilling can cause leaks. Remember to unplug your iron before filling.
Heating Up Your Iron
Place the iron on its heel rest. Plug it in and select your desired heat setting. Let the iron heat up completely. Most irons have an indicator light that turns off or changes color when ready. This usually takes a few minutes. Be patient; ironing with a cold iron won’t work.
Ironing Your Garments: Technique Matters
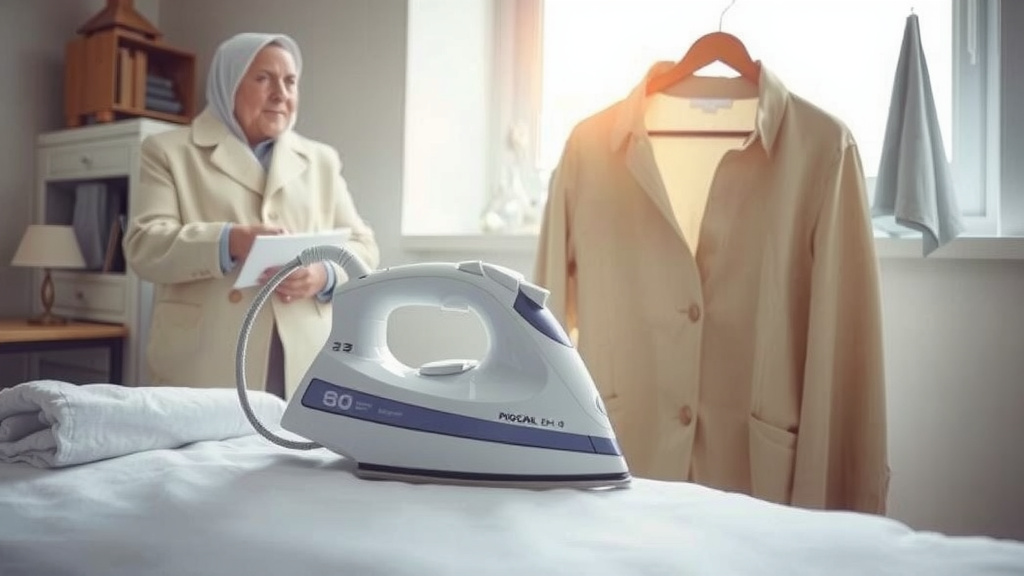
Start with the trickiest parts of the garment first. This often includes collars, cuffs, and plackets. Then, move on to the larger areas like the front panels and sleeves. Iron in smooth, even strokes. Don’t let the iron sit in one spot for too long. Keep the iron moving. For stubborn wrinkles, you can use the steam burst button. Apply gentle pressure. You might find it helpful to iron one side of the garment thoroughly before moving to the other.
Dealing with Collars and Cuffs
Iron collars from the underside first, then the top side. Start from the outer edge and move toward the center. For cuffs, unbutton them completely. Iron the inside first, then the outside. Pay attention to the edges.
Pressing Large Areas
Lay the garment flat on the board. Smooth out the fabric with your free hand. Move the iron in long, sweeping motions. Work your way across the garment. For shirts, iron the back panel, then the front panels. For pants, iron the legs, making sure to align the seams.
A Quick Checklist for Success
Follow these simple points for a smooth ironing session:
- Check fabric care labels.
- Use distilled water.
- Set the correct heat.
- Keep the iron moving.
- Iron in smooth strokes.
- Hang garments immediately.
Finishing Up and Storage
Once you’re done ironing, a few final steps ensure your clothes stay crisp and your iron stays in good condition.
Immediate Hanging is Key
As soon as you finish ironing a garment, hang it up immediately. This prevents new wrinkles from forming. Many fabrics are still warm and pliable after ironing. Hanging allows them to cool and set in their smooth state. This is especially important for shirts and dresses.
Emptying and Storing Your Iron
After the iron has cooled down completely, unplug it. Empty any remaining water from the reservoir. This prevents mineral buildup and potential leaks. Store the iron upright in a safe place. Make sure the cord is wrapped neatly. Proper storage keeps your iron ready for next time.
Conclusion
You’ve now learned the essential steps to master steam ironing! We covered everything from preparing your iron with the right water to understanding fabric care labels and using the steam function effectively. By following these simple techniques, you can easily transform wrinkled clothes into crisp, professional-looking garments right at home. Don’t be afraid to practice! Your wardrobe will thank you for the fresh, smooth finish.
Your next step is simple: grab your iron and give it a try on your favorite shirt. You’ll be amazed at the difference!
Frequently Asked Questions
Can I use tap water in my steam iron?
It’s generally best to avoid tap water. Tap water contains minerals that can build up inside your iron. This buildup can clog steam vents and potentially leave spots on your clothes. Your iron’s manual will usually recommend distilled or demineralized water for the best results.
How do I know the right heat setting for my clothes?
Always check the care label on your garment first. This tag provides specific instructions for the fabric type. If there’s no label or you’re unsure, start with a lower heat setting and gradually increase it as needed. It’s always safer to start low and go slow.
Why should I hang my clothes immediately after ironing?
Hanging clothes right after ironing is important because they are still warm and pliable. This allows them to cool and set in their smooth state, preventing new wrinkles from forming. It helps maintain that crisp, freshly pressed look you just achieved.
What if I don’t have a steam iron? Can I still remove wrinkles?
Yes, you can still remove wrinkles without a steam iron! You can use a regular iron with a spray bottle of water to dampen the fabric before pressing. Alternatively, you can hang your clothes in the bathroom while you take a hot shower; the steam can help relax wrinkles.
How often should I empty my steam iron’s water reservoir?
You should empty your steam iron’s water reservoir after each use, once the iron has cooled down. This prevents mineral buildup over time and stops water from leaking when the iron is stored. It also helps keep the steam vents clear for optimal performance.