How to Steam a Suit With an Iron: Easy Guide
Yes, you can absolutely steam a suit using just an iron! It’s a quick and effective way to remove wrinkles without a dedicated garment steamer. You just need a bit of heat, steam, and a careful touch to get your suit looking sharp again.
Many people think you need fancy equipment for a professional-looking suit. But we found that a simple iron can do the job. It helps restore the fabric’s natural drape and makes you look polished for any occasion. It’s a trick that saves time and money.
- Use your iron on a medium-low setting.
- Hang your suit on a sturdy hanger.
- Hold the iron a few inches away from the fabric.
- Move the iron slowly to release steam.
- Never let the iron touch the suit directly.
Let’s walk through exactly how to get those stubborn wrinkles out and have your suit looking its best, step by step.
Steaming Your Suit Without a Steamer: An Iron-Based Approach
You can absolutely get those pesky wrinkles out of your suit using just your regular household iron. It might seem a bit unconventional, but we’ve found it’s a surprisingly effective method. You just need to be a little careful and know the right technique.
Understanding the Process: Heat, Steam, and Distance
The core idea is to use the steam generated by your iron to relax the fabric fibers. Wrinkles are essentially creases set into the material. When you apply steam, the fibers swell and loosen up. This allows them to return to their natural, smoother state. It’s like giving your suit a mini spa treatment right in your own home.
Why This Method Works So Well
Many fabrics, especially those used in suits like wool or blends, respond very well to steam. Heat and moisture together help to release the tension in the fibers that causes wrinkles. It’s a gentler approach than direct ironing, which can sometimes press creases in more permanently if not done carefully. We found that by holding the iron a safe distance away, you achieve this without the risk of scorching or creating new wrinkles.
What You’ll Need
Gathering your supplies is the first step to success. You’ll want:
- Your suit.
- A sturdy, padded hanger (wire hangers can snag).
- Your iron.
- A spray bottle with clean water (optional, for extra stubborn spots).
Having everything ready means you can move through the process smoothly. It prevents stopping and starting, which can interrupt the steaming flow.
Preparing Your Suit and Your Iron
Before you even think about touching the iron to fabric, some preparation is key. This ensures the best results and protects your suit. It’s all about setting the stage for success.
Setting the Right Iron Temperature
This is arguably the most critical step. You don’t want your iron too hot, or you risk damaging the fabric. Conversely, if it’s too cool, you won’t generate enough steam. We found that a medium-low heat setting is usually ideal for most suit materials. Check your garment’s care label if you’re unsure. It often provides specific ironing instructions.
Many clothing tags suggest an iron setting. For wool, a setting around ‘wool’ or a medium-high heat is common. For synthetic blends, you might need to go even lower. If you don’t have temperature settings, use the lower end of the heat scale. It’s always better to start cooler and increase if needed. You can also test on an inconspicuous area, like an inside seam or hem, before tackling the main parts of your suit.
Hanging Your Suit Correctly
You need your suit to hang straight for the steam to work effectively. Use a good quality hanger that can support the weight of the jacket or trousers without them slipping. A padded or wooden hanger is usually best for this.
Hang your suit in an area where it has space to hang freely. Avoid cramming it into a tight closet. You want the fabric to be able to relax without being pressed against other items. This allows the steam to reach all the wrinkled areas evenly.
The Iron-Steaming Technique: Step-by-Step
Now for the actual steaming part. This is where you’ll see those wrinkles start to disappear. Remember, patience and a gentle touch are your best friends here.
The ‘Hover and Steam’ Method
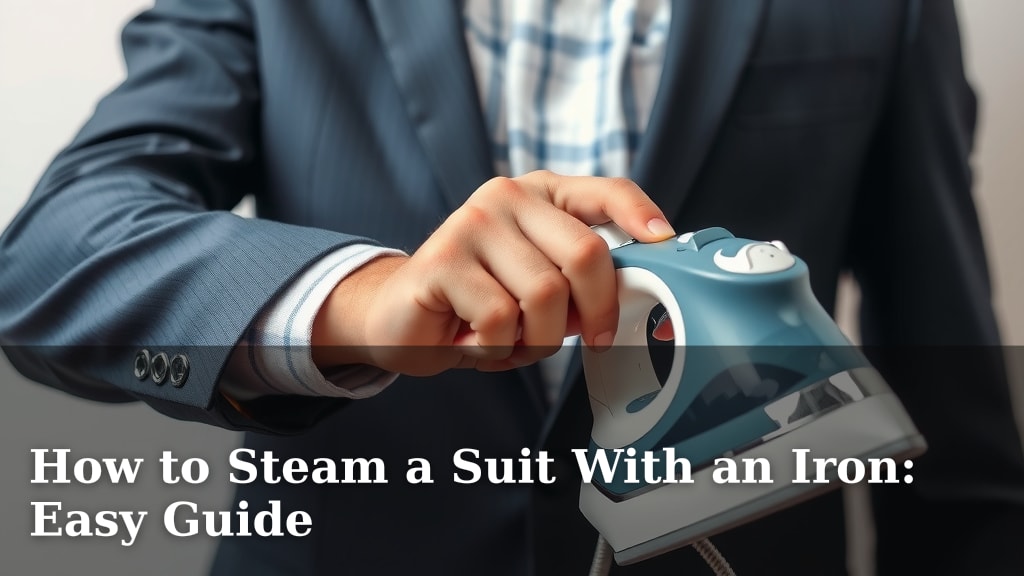
This is the core technique we’re using. You’ll be holding the iron a few inches away from the fabric. The heat and steam escaping from the iron will then do the work.
Step 1: Prepare the Iron. Make sure your iron has enough water. Turn it on to your chosen medium-low setting. Let it heat up completely. You want it producing a good amount of steam.
Step 2: Position the Suit. Hang the jacket or trousers securely. Ensure they are hanging straight and have some space around them.
Step 3: Start Steaming. Hold the iron about 3-6 inches away from the fabric. Move the iron slowly over the wrinkled area. Don’t press down. Just let the steam waft over the material. Many experts suggest moving the iron in a slow, sweeping motion.
Step 4: Be Patient. You might need to hold the iron over a particular wrinkle for 10-15 seconds. If a wrinkle is particularly stubborn, you can gently pull the fabric taut with your other hand as you steam. This helps the fibers relax more effectively.
Step 5: Repeat as Needed. Work your way across the entire garment. Pay attention to areas that look creased. You can also lightly mist particularly stubborn wrinkles with your spray bottle before steaming. Just be careful not to oversaturate the fabric.
Steaming Specific Areas
The lapels, collar, and sleeves of a jacket can be tricky. For these areas, you might need to adjust your angle. Hold the iron slightly to the side and let the steam flow into the creased areas. For trousers, focus on the legs and the seat. Gently pull the fabric flat with one hand while steaming with the other.
What to Avoid During Steaming
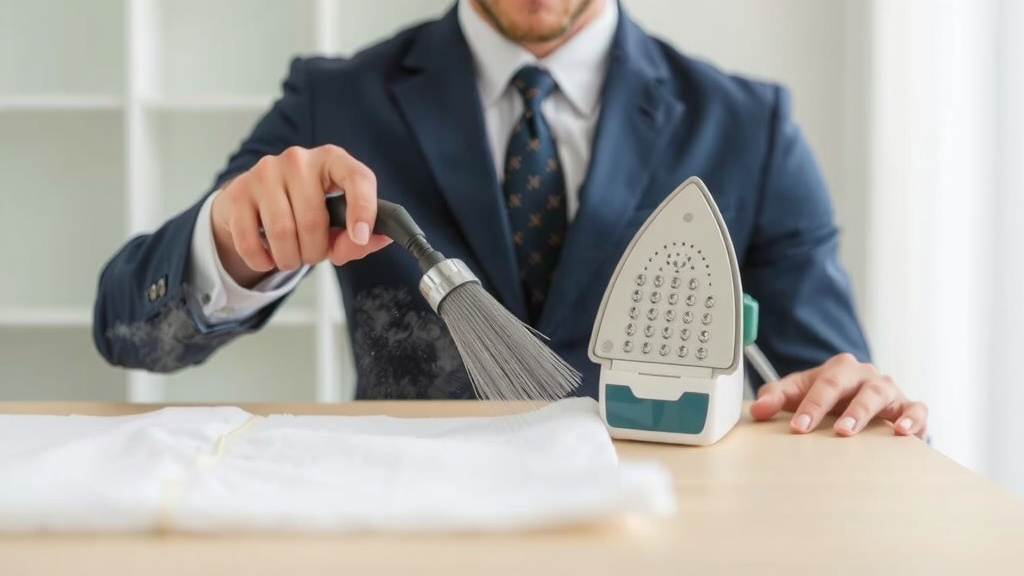
There are a few common mistakes that can ruin your efforts. The biggest one is letting the iron touch the suit directly. This is how you get scorch marks or flattened fabric. Always maintain that safe distance.
Another mistake is rushing the process. If you move the iron too quickly, you won’t give the steam enough time to work. And never use this method on very delicate fabrics like silk unless you’ve tested it extensively. For those, a dedicated garment steamer is often a safer bet.
Post-Steaming Care and What to Expect
Once you’ve finished steaming, there are just a couple more things to keep in mind for the best results.
Letting Your Suit Dry and Settle
After steaming, your suit will be slightly damp. It’s crucial to let it air dry completely. Hang it in a well-ventilated area away from direct sunlight or heat. This usually takes about 30-60 minutes, depending on how much steam you used.
As it dries, the fabric will settle into its smoothed shape. Resist the urge to put it on immediately or store it. Letting it hang allows the fibers to fully recover and ensures the wrinkles stay gone. We found that waiting is a small step with a big payoff for a crisp finish.
When to Use a Dedicated Steamer Instead
While this iron method is handy, it’s not a perfect substitute for a garment steamer in every situation. If you have a suit made of a very delicate or easily damaged fabric, a professional steamer offers more control. They also tend to generate a more consistent and powerful steam. This iron trick is best for everyday wrinkles on sturdy fabrics.
Research suggests that continuous high heat or direct contact can damage certain materials. A garment steamer’s heat is typically less intense and more diffused (Cleveland Clinic). So, for high-value or very sensitive garments, consider that investment.
Quick Checklist for Success
Here’s a quick recap to make sure you’ve got it:
- Check garment care tag for temperature.
- Use a medium-low iron setting.
- Hang suit on a sturdy hanger.
- Hold iron 3-6 inches away.
- Move iron slowly and steadily.
- Let suit air dry completely.
Conclusion
You’ve learned that achieving a wrinkle-free suit doesn’t always require fancy equipment. By carefully using your household iron, you can effectively steam away unwanted creases and restore your suit’s sharp appearance. Remember the key steps: a medium-low heat setting, a sturdy hanger, and maintaining a safe distance between the iron and the fabric. This method is a fantastic way to keep your suit looking polished for any occasion.
Your next step is to try this technique before your next important event. Give your suit that quick refresh it deserves, and enjoy looking your best with minimal effort!
Frequently Asked Questions
Can I really get wrinkles out of a suit without a steamer?
Yes, absolutely! As we’ve shown, your regular iron can work wonders for removing wrinkles on suits. The key is using the steam it produces from a safe distance, allowing the heat and moisture to relax the fabric fibers.
What’s the safest iron temperature for steaming suits?
You’ll want to use a medium-low heat setting. This provides enough steam without risking damage or scorch marks. Always check your suit’s care label for specific recommendations, and test on an inconspicuous area if you’re unsure.
How far away should I hold the iron from the suit fabric?
You should hold the iron about 3 to 6 inches away from the fabric. This distance allows the steam to penetrate and relax the wrinkles without the iron’s direct heat touching and potentially harming the material.
What if a wrinkle is really stubborn?
For tough wrinkles, you can gently pull the fabric taut with one hand while directing the steam from the iron with the other. Some people also find lightly misting the stubborn spot with a spray bottle of clean water before steaming can help.
How long should I let my suit dry after steaming?
After steaming, let your suit air dry completely. This usually takes around 30 to 60 minutes. Hang it in a well-ventilated area, away from direct sun or heat, to allow the fabric to settle into its smoothed shape.