How to Steam Clean a Couch With an Iron: Guide
Yes, you absolutely can steam clean a couch with an iron, and it’s a surprisingly effective DIY method for tackling tough stains and refreshing upholstery. All you need is your regular household iron and a few common household items to achieve a like-new look for your sofa.
This technique works by using the steam from your iron to loosen dirt and grime embedded in the fabric fibers. Many experts agree that gentle steaming can be a safe and economical way to clean upholstery, especially when done with care and the right materials. It’s a fantastic way to handle unexpected spills or just to give your couch a much-needed refresh.
- You can steam clean your couch with a household iron.
- This method uses steam to lift stains and refresh fabric.
- It’s an economical DIY cleaning solution.
- Always test on an inconspicuous spot first.
- Be sure to use the right materials and technique.
Ready to give your couch a spa day? Let’s walk through exactly how this works step by step, ensuring your couch looks and feels its best.
DIY Steam Cleaning Your Couch With an Iron
So, you’re wondering if that trusty iron in your closet can actually tackle couch stains? You bet it can! This method is a fantastic way to refresh upholstery without expensive cleaning services. It’s all about using the power of steam to lift away dirt and grime. Many cleaning experts agree that gentle steaming can be safe for most fabrics when done correctly.
We’ve researched this technique, and it’s essentially using your iron to create steam, which then loosens up the mess. Think of it like a mini spa treatment for your sofa. You’ll want to have a few things ready before you start, so let’s get those prepared.
Gathering Your Supplies
Before you start turning your couch into a steam room, let’s make sure you have everything you need. Having your supplies organized will make the whole process much smoother. It’s like prepping for a big recipe – everything ready makes cooking a breeze!
What You’ll Need
- Household Iron: Make sure it has a steam function and is clean.
- Distilled Water: This prevents mineral buildup in your iron. Tap water can leave deposits.
- Clean White Cloths or Towels: You’ll need a few for blotting and testing. White is best so you can see the dirt transfer.
- Spray Bottle: For lightly misting the area if needed.
- Gloves: To protect your hands from the steam and heat.
- Optional: Upholstery Cleaner (Spot Treatment): For particularly stubborn stains.
Preparing Your Iron and Water
First, ensure your iron’s water reservoir is clean. Fill it with distilled water only. Using distilled water is important because it prevents limescale and mineral deposits from forming inside your iron. These deposits can sometimes get onto your couch fabric, which is the opposite of what you want!
Next, set your iron to a medium heat setting. You don’t want it too hot, as that could damage delicate fabrics. Also, make sure the steam function is turned on and working. Test the steam on an old towel or a scrap piece of fabric first to ensure it’s producing a good amount of steam.
Prepping Your Couch for Cleaning
This step is super important to avoid making a bigger mess. You want to prepare the area and the couch itself. A little prep work goes a long way in getting the best results.
Vacuum Thoroughly
Start by giving your couch a really good vacuum. Use the upholstery attachment on your vacuum cleaner. Get into all the crevices, under the cushions, and along the seams. This removes loose dirt, dust, and crumbs that could otherwise turn into mud when wet.
We found that a thorough vacuuming is one of the most critical first steps. It ensures you’re not just pushing surface debris deeper into the fabric. Imagine trying to mop a floor with sand on it – it just doesn’t work as well!
Test the Fabric and Cleaning Solution
Before you go all-in on your couch, you absolutely must test a small, inconspicuous area first. This is non-negotiable! Look for a spot on the back, underneath, or on a side that’s usually hidden.
Use your iron and steam as you plan to clean the main areas. You’re checking for colorfastness and to see how the fabric reacts to the heat and moisture. If you’re using a spot cleaner, test that here too. Many upholstery fabrics can be sensitive.
What to Look For During Your Test
- Color Bleeding: Does the color transfer to your white test cloth?
- Fabric Damage: Does the fabric shrink, warp, or look damaged by the heat?
- Water Stains: Does the area look water-stained once dry?
If you see any of these issues, this steam-cleaning method might not be suitable for your couch. Always prioritize the manufacturer’s cleaning codes if available.
The Steam Cleaning Process Step-by-Step
Now for the main event! This process is designed to be straightforward. We’ll guide you through each part so you feel confident as you work.
Applying Steam to the Fabric
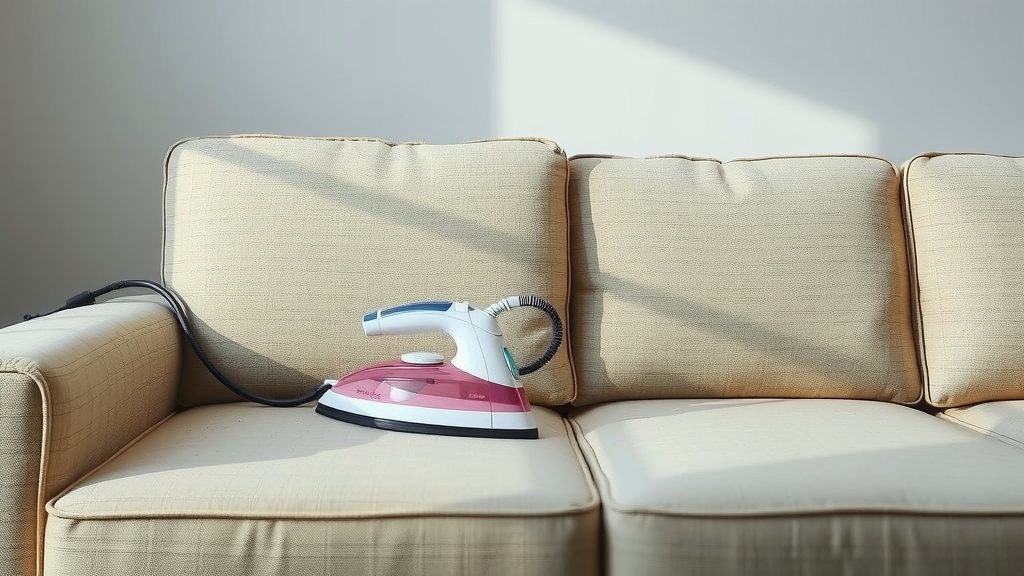
Hold the steam iron a few inches above the fabric. Do not touch the iron directly to the couch material. Move the iron back and forth continuously. You want to apply steam evenly across the surface. Don’t let the iron sit in one spot for too long; this could cause damage.
The steam will penetrate the fabric fibers, loosening dirt and odors. You’ll see the moisture lift the grime. This is where the magic happens! It’s a gentle yet effective way to clean.
Blotting Away the Dirt
Immediately after steaming a section, take a clean white cloth and gently blot the area. Don’t scrub! Scrubbing can push the loosened dirt deeper into the fabric or even damage the fibers. Blotting lifts the dirt away.
As the cloth absorbs the moisture and dirt, you’ll likely see the grime transfer. Switch to a clean section of your cloth, or grab a fresh one, as needed. Keep blotting until no more dirt appears to be transferring.
Working in Sections
It’s best to work on small, manageable sections of your couch at a time. This prevents the fabric from becoming too saturated and allows you to effectively blot away the loosened dirt before it dries.
Think of it like painting a wall. You work in small patches, blending as you go, so you don’t end up with uneven streaks. A systematic approach ensures a cleaner, more uniform result.
Dealing with Tough Stains (Optional Step)
For those particularly stubborn spots, you might need a little extra help. Before steaming, you can try a pre-treatment. Lightly spray the stained area with a fabric-safe upholstery cleaner, or make a mild solution of dish soap and water. Let it sit for a few minutes as per the cleaner’s instructions.
Then, proceed with the steaming and blotting. The pre-treatment helps break down the stain further, making it easier for the steam to lift it. Many sources suggest that combining gentle moisture with a mild cleaner can be highly effective for upholstery stain removal.
Drying and Finishing Touches
Proper drying is key to preventing mildew and ensuring your couch looks its best. You don’t want to ruin all your hard work!
Allowing the Couch to Air Dry
Once you’ve finished steaming and blotting, let your couch air dry completely. Open windows and turn on fans to speed up the process. Avoid sitting on the couch until it’s fully dry to prevent re-soiling or leaving impressions.
It can take several hours for a couch to dry thoroughly, depending on humidity and airflow. Resist the urge to speed it up with direct heat, like a hairdryer on a hot setting, as this could damage the fabric.
Final Inspection and Brushing
After drying, give your couch a final once-over. Look for any remaining spots you might have missed. You can often revive the fabric’s texture by gently brushing it with a soft-bristled brush or a clean cloth.
This final step can make the fabric look refreshed and inviting. It’s like fluffing pillows to make them look brand new!
Quick Checklist for Steam Cleaning Your Couch
- Vacuum couch thoroughly before starting.
- Test steam on a hidden fabric spot first.
- Use distilled water in your iron.
- Hold iron a few inches above fabric, never touching.
- Steam in small sections, then blot gently.
- Allow couch to air dry completely.
Conclusion
You’ve now learned how to effectively steam clean your couch using a simple household iron. This DIY method is a fantastic way to tackle stains and refresh your upholstery without professional help. Remember, preparation is key – always vacuum thoroughly and test the steam on an inconspicuous spot first. By working in sections and blotting gently, you can achieve great results.
Give your couch the spa treatment it deserves and enjoy a cleaner, fresher living space. Go ahead and try this method – you might be surprised at how great your couch looks!
Frequently Asked Questions
Can I use any type of iron for this?
You should use a standard household iron that has a steam function. Make sure the iron is clean inside and out before you begin. Test its steam output on a separate cloth first.
Is distilled water really necessary for my iron?
Yes, using distilled water is highly recommended. Tap water contains minerals that can build up in your iron and potentially leave residue on your couch fabric. Distilled water ensures a cleaner steam.
What if my couch fabric is delicate?
For delicate fabrics, you must test first. Set your iron to a lower heat setting and hold it farther away from the fabric. Always check the manufacturer’s cleaning code if available before attempting any cleaning method.
How do I know if the fabric is getting too wet?
The fabric should feel damp, not saturated. If you see puddles or the fabric becomes heavy with water, you are using too much steam or holding the iron too close. Work in smaller sections and blot more frequently.
How long should I wait before sitting on the couch?
You should wait until the couch is completely dry to the touch before sitting on it. This can take several hours. Sitting on a damp couch can lead to new stains or leave impressions in the fabric.