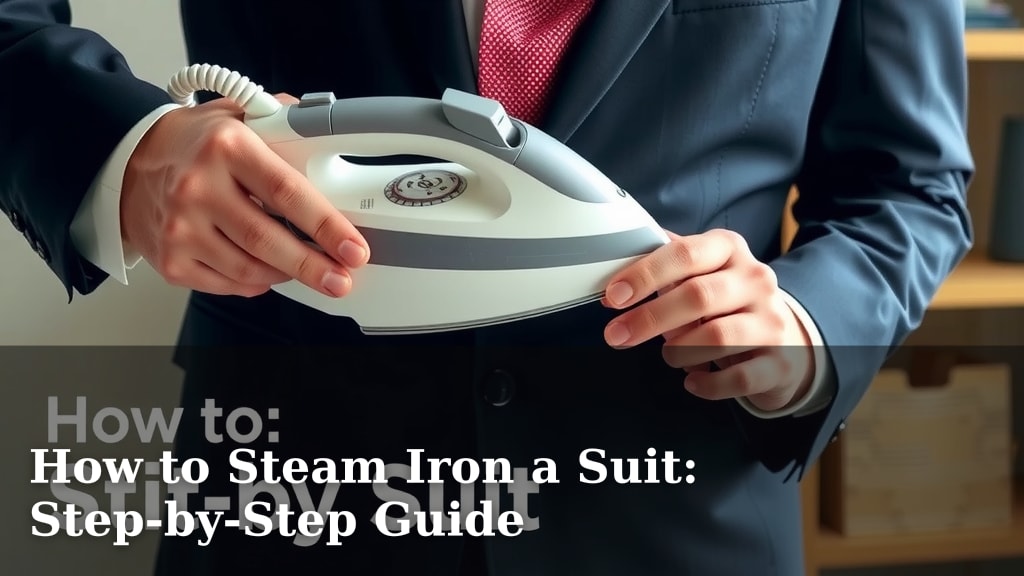
How to Steam Iron a Suit: Step-by-Step Guide
Yes, you can absolutely steam iron a suit to get rid of wrinkles and make it look sharp. It’s a gentle and effective way to refresh your suit fabric without damaging it. Steaming is often better than dry ironing for delicate suit materials.
Properly steaming your suit can dramatically improve its appearance. This method helps remove creases and refresh the look of wool, linen, and other suit fabrics. You’ll find your suit looks much more polished and ready for any occasion.
- Hang your suit on a sturdy hanger.
- Hold the steamer a few inches away.
- Move it slowly up and down the fabric.
- Let the suit dry completely before wearing.
Ready to get that crisp look? Let’s walk through exactly how to steam iron your suit step by step.
Getting Your Suit Ready for the Steamer
Before you even touch that steamer, let’s make sure your suit is prepped. This simple preparation makes all the difference. You want to avoid any surprises when the steam hits the fabric. Think of it like getting your ingredients ready before you start cooking.
Choose the Right Hanger
Your suit needs a good foundation. A flimsy hanger won’t do. You need something sturdy that can support the weight of your jacket and trousers. A wide-shouldered hanger is your best bet. It helps maintain the shape of the shoulders. For trousers, a clamp hanger or a padded bar hanger works well.
Check the Care Label
This is super important. Your suit’s fabric tells you what it likes and dislikes. Always check the care label inside your jacket and trousers. It will tell you if steaming is appropriate. Some delicate fabrics might need professional cleaning. Following these instructions protects your investment.
Prep Your Steaming Area
Find a spot where you have some space. You’ll need room to hang the suit and move the steamer freely. Make sure the area is well-ventilated. You don’t want steam to build up. A bathroom with the fan on works, or an open doorway. Just ensure there’s nothing sensitive nearby that steam could damage.
Your Step-by-Step Suit Steaming Process
Now that your suit is ready, let’s get steaming. This is where the magic happens. You’ll see wrinkles melt away. It’s a surprisingly quick process once you get the hang of it.
Hang Your Suit Properly
This is the first step in the actual steaming. Use that sturdy hanger you picked out. Hang the jacket on one hanger and the trousers on another, or use a multi-garment hanger if you have one. Make sure the suit is hanging straight. No bunching or twisting allowed. This ensures steam reaches all areas evenly.
Fill and Heat Your Steamer
Most steamers require distilled water. Using tap water can lead to mineral buildup. This buildup can clog your steamer and stain your suit. Check your steamer’s manual for specific instructions. Fill the water tank according to the manufacturer’s guidelines. Then, plug it in and let it heat up. Wait until it’s producing a consistent stream of steam. This usually takes a few minutes.
Start with the Jacket
Begin with the jacket because it’s usually the most visible part. Hold the steamer head a few inches away from the fabric. Move the steamer slowly and deliberately up and down the jacket. Don’t press the steamer head against the material. You’re letting the steam do the work. Pay attention to the seams and collars. These areas tend to hold wrinkles.
Working the Sleeves and Shoulders
The sleeves and shoulders need special attention. Gently pull the fabric taut as you steam. This helps smooth out wrinkles. For the shoulders, try to keep the hanger hook flat. Steam from the outside in. Remember, gentle pressure is key. You don’t want to stretch the fabric.
Don’t Forget the Inside
Many people forget the inside lining of the jacket. The lining can also get wrinkled. Turn the jacket inside out. Steam the lining just as you did the outside. This can make the jacket hang better. It’s a small step that leads to a much crisper look.
Steam Your Trousers
Now, move on to your suit trousers. Hang them by the waistband. If you’re using a clamp hanger, hang them upside down. You can also hang them over a bar. Hold the steamer head about the same distance away as you did for the jacket. Steam the entire length of the trousers. Focus on the crease if your trousers have one. Gently pull the fabric taut to help the crease form as you steam.
Let It Dry and Air Out
This is a critical step that many overlook. Once you’re done steaming, your suit will be damp. Do NOT wear it immediately. Hang your suit in a well-ventilated area. Let it air dry completely. This usually takes at least 30 minutes to an hour. Wearing a damp suit can create new wrinkles. It can also potentially damage the fabric. Patience here is a virtue!
Troubleshooting Common Steaming Issues
Even with the best intentions, you might run into a few snags. Don’t worry, most steaming problems are easy to fix. Here are a few common issues and their solutions.
Stubborn Wrinkles
If a wrinkle just won’t budge, try holding the steamer head closer for a moment. Be careful not to over-steam any one spot. You can also try gently stretching the fabric in the opposite direction of the wrinkle. This often helps release it. Sometimes, a second pass is all it takes.
Water Spots
Water spots are usually caused by mineral buildup in the steamer. If you see spots, clean your steamer as recommended by the manufacturer. For a quick fix on the suit, try steaming the affected area again with distilled water. Most spots will disappear with a bit more steam. If a spot persists, you might need to take it to a dry cleaner.
Fabric Pilling or Damage
This is rare if you follow instructions. Steaming is generally gentle. However, if you hold the steamer too close for too long, or if the fabric is extremely delicate, you might see damage. Always keep the recommended distance. If you notice any pilling or damage, stop steaming immediately. Reassess the fabric care label.
Here’s a quick checklist to keep you on track:
- Use a sturdy, wide-shouldered hanger.
- Always check the suit’s care label first.
- Fill steamer with distilled water.
- Hold steamer a few inches away.
- Move steamer slowly and consistently.
- Allow suit to dry completely before wearing.
Conclusion
You’ve learned how to give your suit a fresh, wrinkle-free look using a steamer. Remember, a little prep goes a long way. From choosing the right hanger to using distilled water, these steps ensure you get the best results. Steaming is a gentle way to keep your suit looking sharp for any occasion. So, go ahead and give your suit that polished finish it deserves. Your next step? Hang your freshly steamed suit in a well-ventilated spot and let it dry completely before you put it on!
Frequently Asked Questions
Can I steam iron any type of suit fabric?
Generally, yes, steaming is safe for most suit fabrics like wool and linen. However, always check your suit’s care label first. Some very delicate or synthetic materials might require different care or professional cleaning to avoid damage.
How long does it take to steam a suit?
Steaming a whole suit typically takes about 10-15 minutes, depending on the fabric and the number of wrinkles. The most important part is allowing adequate drying time afterward, which can take 30 minutes to an hour.
What’s the difference between steaming and dry ironing a suit?
Dry ironing involves direct heat and pressure from an iron, which can damage delicate suit fabrics or create unwanted shine. Steaming uses hot vapor to relax fabric fibers and release wrinkles without direct contact, making it much gentler and safer for most suits.
Why should I use distilled water in my steamer?
Using distilled water prevents mineral buildup inside your steamer. Tap water contains minerals that can clog the steam vents, reduce performance, and even leave unsightly spots or stains on your suit fabric.
What should I do if my suit still has wrinkles after steaming?
If some wrinkles are persistent, try holding the steamer a little closer for a few seconds, but avoid over-steaming one spot. Gently stretching the fabric taut while steaming can also help. Sometimes, a second pass over the area is all that’s needed.