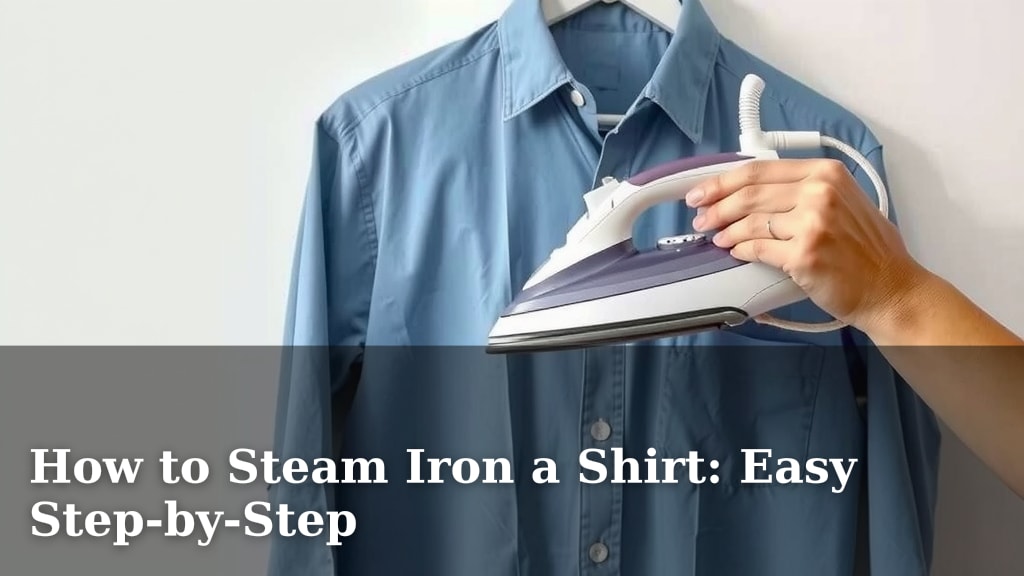
How to Steam Iron a Shirt: Easy Step-by-Step
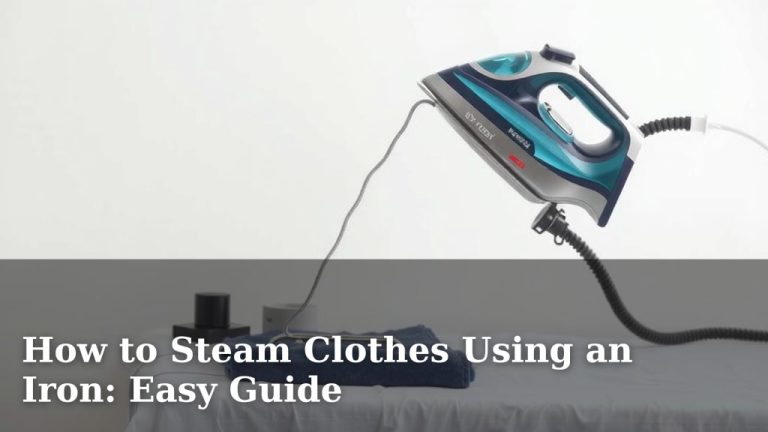
You can easily steam iron a shirt to get crisp, wrinkle-free results. It’s a quick and effective way to make your shirts look their best. With the right technique, you’ll master how to steam iron a shirt in no time.
Steam ironing uses heat and moisture to relax fabric fibers. This process helps remove stubborn creases and makes your clothes look freshly pressed. Many people find steam ironing simpler than traditional ironing, especially for delicate fabrics.
- Hang your shirt.
- Hold steamer upright.
- Steam from top to bottom.
- Keep moving for best results.
Ready to get that perfect press? Let’s walk through exactly how to steam iron your shirt step by step.
Mastering Your Shirt’s Look: A Simple Steam Ironing Guide
You’re ready to make your shirts look their absolute best. Steam ironing is your secret weapon for a crisp, polished appearance. It’s a remarkably effective method for tackling wrinkles. We’ll guide you through each step so you can achieve professional-looking results at home.
Preparing Your Shirt and Steamer
Before you even pick up the steamer, a little preparation makes a big difference. This ensures you get the smoothest finish possible. Think of it like prepping a canvas before painting; a good start leads to a great outcome.
Choosing the Right Hanger
Start by selecting a sturdy hanger. A flimsy one might lead to new wrinkles. It needs to support the shirt’s weight well. Many experts suggest using wooden or thick plastic hangers for this purpose (Good Housekeeping). They provide a stable base.
Checking Your Shirt’s Fabric Care Label
Always check the tag on your shirt. It provides vital information about the fabric. Some materials are more delicate than others. Steam ironing is generally safe, but it’s good to be sure. For instance, some silks or very thin synthetics might require a lower heat setting or a protective cloth.
Filling Your Steamer with Water
You’ll need clean water for your steamer. Using distilled or demineralized water is often recommended. This helps prevent mineral buildup inside your steamer. Over time, this buildup can affect performance. Check your steamer’s manual for specific water recommendations. You don’t want to damage your trusty tool!
The Step-by-Step Steam Ironing Process
Now for the fun part! Let’s get that shirt looking sharp. The key is consistent movement and proper technique.
Step 1: Hang Your Shirt Properly
Make sure your shirt is hung evenly on the hanger. Smooth out any major wrinkles with your hands. This pre-smoothing step helps the steam penetrate better. Ensure the buttons are facing forward, or as you would normally wear it.
Step 2: Hold the Steamer Correctly
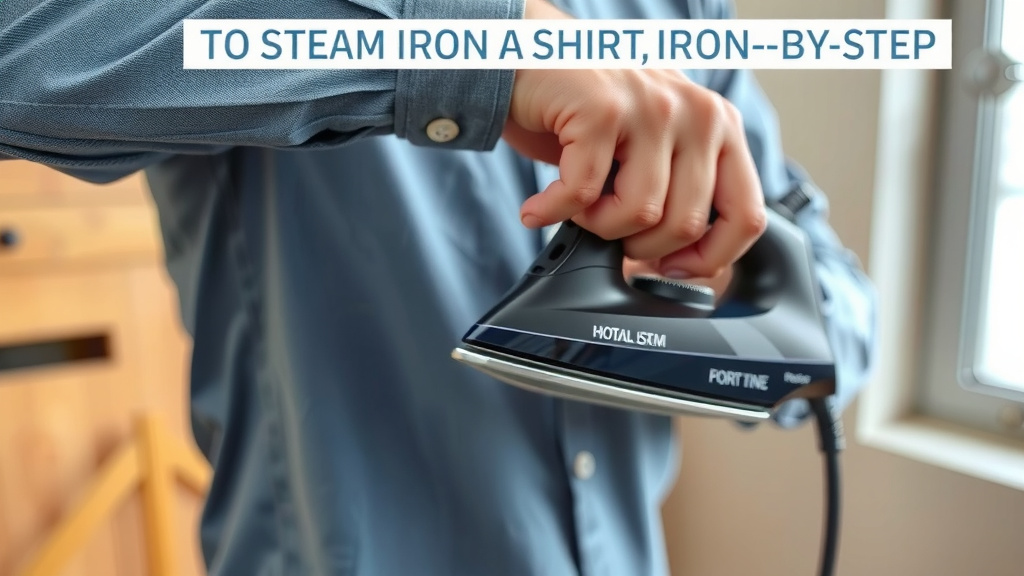
Always hold your handheld steamer upright. Tilting it too much can cause hot water to spurt out. This is a safety precaution you don’t want to skip. Keep the steamer head about an inch or two away from the fabric. You want the steam to do the work, not direct pressure.
Step 3: Start from the Top and Work Down
Begin steaming the collar first. Move the steamer head back and forth across the fabric. Then, move down to the shoulders and the yoke. This top-down approach is efficient. It allows gravity to help pull out remaining wrinkles as you work.
Steaming the Sleeves
Sleeves can be a bit tricky. Lay one sleeve flat on a clean surface, or keep it hanging. Gently pull the fabric taut with your free hand. Move the steamer down the sleeve in smooth, even strokes. Pay attention to the cuff area, as it often shows wrinkles prominently.
Tackling the Shirt Body
Work on the front panels of the shirt. Smooth the fabric with your hand as you go. Steam in vertical or horizontal strokes. Then, move to the back panel. Keep the steamer moving constantly to avoid overheating any one spot. This prevents potential damage to the fabric.
Step 4: Don’t Forget the Details
Use the crevice tool or the edge of the steamer head for areas like the placket (where the buttons are). Gently steam around the buttonholes. You can also carefully steam the cuffs and the bottom hem. These small details make a big difference in the overall look.
Step 5: Allow to Dry Briefly
Once you’ve finished steaming, let the shirt hang for a minute or two. This allows the fabric fibers to settle. They’ve just been relaxed by the steam. Giving them time to cool and dry ensures the wrinkles stay gone.
Troubleshooting Common Steam Ironing Issues
Sometimes, even with the best intentions, you might run into minor hiccups. Here are a few common issues and how to solve them.
| Problem | Solution |
|---|---|
| Water spots on fabric | Ensure your steamer is clean and filled with distilled water. Hold the steamer upright and away from the fabric. Allow the garment to dry completely. |
| Stubborn wrinkles remain | You may need to go over the area again. Pull the fabric tauter with your free hand. Ensure the steamer is producing enough steam. Sometimes a second pass is all it takes. |
| Steamer not producing enough steam | Check if the water reservoir is full. Make sure the steamer is fully heated up. Mineral buildup could also be an issue; consult your manual for descaling instructions. |
Quick Checklist for Perfect Results
Here’s a quick reminder of the key steps:
- Check your shirt’s care label.
- Use a good quality hanger.
- Hold steamer upright and 1-2 inches from fabric.
- Work from the top of the shirt downwards.
- Keep the steamer moving continuously.
- Allow shirt to cool and dry for a minute or two.
Conclusion
You’ve now learned how to steam iron a shirt with confidence. It’s a simple process that makes a big difference. Remember to prepare your shirt and steamer properly for the best results. Following the top-down technique and keeping the steamer moving ensures a crisp finish. Give your shirt a moment to dry, and you’re ready to go. Your wardrobe will thank you for mastering this easy skill. Go ahead and give it a try on your favorite shirt today!
Frequently Asked Questions
Can I steam iron any type of shirt?
Yes, you can steam iron most shirt fabrics. Always check the care label first, especially for delicate materials like silk or certain synthetics. If you’re unsure, test on an inconspicuous area or use a protective cloth between the steamer and the fabric.
How close should the steamer be to the shirt?
You should hold the steamer head about one to two inches away from the fabric. This distance allows the steam to penetrate the fibers effectively without applying direct heat or pressure. Keeping it too close might damage delicate materials.
Why am I seeing water spots on my shirt after steaming?
Water spots usually happen when the steamer isn’t held upright, or if there’s mineral buildup. Make sure you’re using distilled or demineralized water as recommended and that your steamer is clean. Letting the shirt dry fully after steaming also helps.
How can I get rid of really stubborn wrinkles?
For tough wrinkles, you might need a second pass with the steamer. Make sure you are pulling the fabric taut with your free hand while steaming. Ensure your steamer is producing a strong, consistent flow of steam. Sometimes, a bit more attention is all it takes.
Is steam ironing better than traditional ironing?
Steam ironing is often quicker and easier for many people, especially for everyday wear and delicate fabrics. It uses moisture and heat to relax wrinkles without direct contact. Traditional ironing might be preferred for creating very sharp creases on heavier fabrics.