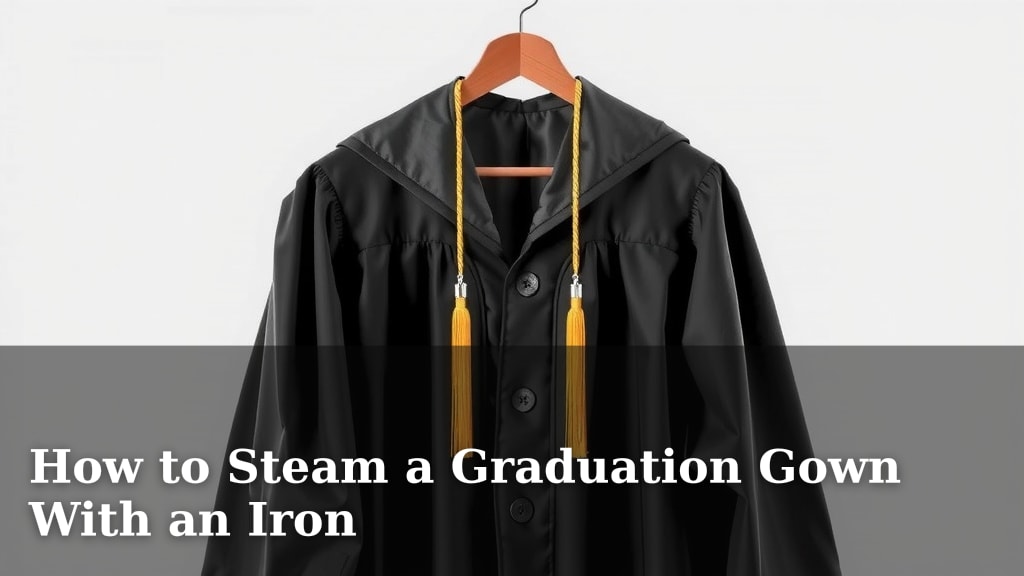
How to Steam a Graduation Gown With an Iron
Yes, you can absolutely steam a graduation gown with a regular iron to get those stubborn wrinkles out. The key is to use the lowest heat setting and keep the iron moving to prevent any damage to your special gown. This method is a quick fix when you need your cap and gown looking sharp for graduation day.
Graduation gowns are often made of synthetic materials that can wrinkle easily. While professional steaming is an option, many people find success with their home iron. We’ve found that a little care and the right technique can make a big difference, ensuring your gown looks its absolute best for photos and the ceremony itself.
- Use a low heat setting on your iron.
- Keep the iron moving constantly.
- Never let the iron touch the fabric directly.
- Hang your gown up properly afterward.
Ready to make your graduation gown look picture-perfect? Let’s walk through exactly how to steam it safely using your iron, step by step.
“`htmlSteaming Your Graduation Gown with Your Household Iron
Yes, you can definitely get those graduation gown wrinkles out using your trusty household iron. It’s a great way to make your gown look sharp for photos and the ceremony. We’ve found that with the right approach, your iron can be just as effective as a professional steamer. Let’s get that gown looking its absolute best.
Preparing Your Graduation Gown for Steaming
Choosing the Right Spot and Supplies
First things first, let’s set up your steaming station. You’ll need a clean, flat surface. A large ironing board works perfectly. Make sure it’s sturdy and won’t wobble when you’re working. You also want good lighting so you can see those pesky wrinkles clearly.
Gather your tools: your iron, a spray bottle filled with clean water, and a towel. The towel acts as a barrier. It protects your gown from direct heat and potential scorching. Having everything ready means you can steam without interruption.
Understanding Your Gown’s Fabric
Graduation gowns are often made from synthetic materials. Think polyester or rayon blends. These fabrics can be sensitive to high heat. It’s important to check the care label, if one is present. This will tell you the fabric type and any specific ironing instructions. Many experts recommend avoiding direct, high heat on these materials.
If there’s no label, err on the side of caution. Assume the fabric is delicate. We found that synthetic fabrics are prone to melting or developing a sheen if ironed too hot. Therefore, a low heat setting is your best friend.
The Steaming Process: Step-by-Step
Setting Up Your Iron for Success
This is perhaps the **most critical step**. Set your iron to its lowest heat setting. Seriously, think ‘low’ or ‘delicate.’ Many irons have settings for silk or synthetics; those are good indicators. Never use the ‘cotton’ or ‘linen’ settings. Those are far too hot for your gown.
Ensure your iron is clean. Any residue on the soleplate can transfer to your gown. We suggest wiping the soleplate with a damp cloth before you begin. If your iron has a steam function, you can use it, but be cautious. Too much steam can saturate the fabric.
The Iron-to-Fabric Barrier Method
Here’s how we recommend keeping your iron from touching the gown directly. Lay a clean, dry towel flat on your ironing board. This towel is your shield. It diffuses the heat. It also provides a soft surface, preventing any rough spots on your board from snagging the fabric.
Now, hang your graduation gown. You can use a sturdy hanger. Drape the gown over the towel on the ironing board. Make sure the area you’re working on is flat and smooth. This creates the perfect setup for wrinkle removal.
Applying Gentle Heat and Steam
Gently hover the iron just above the gown’s fabric. Don’t press down! Keep the iron moving constantly. Think of it like a gentle caress, not a firm press. You want the heat to relax the wrinkles. You do not want to scorch the material.
If you’re using a spray bottle, lightly mist the wrinkled area. Then, hover the iron above it. The combination of mild heat and moisture helps to release the creases. Be patient. This might take a few passes. We found that one small section at a time is most effective.
Working Section by Section
Focus on one small area of the gown at a time. For example, tackle a sleeve, then the front panel, then the back. This methodical approach ensures you don’t miss any spots. It also prevents you from overheating one section.
Gently pull the fabric taut as you work. This helps the wrinkles to smooth out. But don’t stretch it too much, especially if it’s a stretchy material. Just enough to create a smooth surface for the steam to work on.
Special Attention to Details
Pay close attention to seams, collars, and cuffs. These areas can hold deeper wrinkles. Use the tip of your iron for precision. Remember to keep it moving and elevated above the fabric. A little extra care here makes a big difference.

After Steaming: Drying and Storing
Allowing Your Gown to Air Dry
Once you’ve finished steaming, hang your gown up properly. Use a padded or sturdy hanger. Ensure there’s enough space around it for air circulation. Do not put it away immediately. Let it air dry completely.
We found that synthetic fabrics can retain moisture. Letting it dry prevents new wrinkles from forming. It also ensures the fabric is fresh and ready to wear. This drying period might take a couple of hours, depending on how much moisture you applied.
Proper Storage to Maintain Wrinkle-Free Finish
After it’s fully dry, consider how you’ll store your gown. If you have a garment bag, use it. This protects it from dust and potential snags. If not, find a clean, dry spot in your closet where it won’t get crushed.
Avoid folding it tightly if possible. Hanging is best. If you absolutely must fold it for transport, fold it loosely. Placing it in a large, clean bag can help prevent excessive creasing. Think of it as giving your gown its own cozy space.
Quick Checklist for Successful Steaming
- Check gown’s care label for fabric type.
- Set iron to the lowest heat setting.
- Use a towel as a protective barrier.
- Hover iron above fabric; never touch directly.
- Keep the iron moving constantly.
- Allow gown to air dry completely before storing.
| Heat Setting | Fabric Type | Your Gown |
|---|---|---|
| Low / Delicate / Silk | Synthetics (Polyester, Rayon) | Safe Zone! |
| Medium / Cotton | Blends | Use with extreme caution. |
| High / Linen | Natural Fibers (Rare for gowns) | Do NOT use. |
Conclusion
You’ve learned how to safely steam your graduation gown using your household iron. Remember, the key is to always use the lowest heat setting and keep the iron moving. Using a towel as a barrier protects your gown from direct heat and potential damage. With these simple steps, your gown will look sharp and wrinkle-free for your big day.
Take your time with the process, and trust the gentle method. Your perfectly steamed gown awaits! Now, hang it up to dry completely and store it carefully until graduation.
Frequently Asked Questions
Can I use the steam function on my iron?
Yes, you can use your iron’s steam function, but with caution. Ensure your iron is on the lowest heat setting first. A light mist of steam can help relax wrinkles, but avoid over-saturating the fabric, as this can lead to longer drying times.
What if my gown has a shiny finish?
Gowns with a shiny finish are often more sensitive to heat. Always use the absolute lowest heat setting on your iron. We found that keeping the iron further away from the fabric and relying more on the mist from a spray bottle can be safer for these materials.
My iron doesn’t have a ‘low’ setting, only ‘off’ and ‘medium.’ What should I do?
If your iron lacks a dedicated low setting, it’s best to use a different method or test on an inconspicuous area first. You could also try using a thick towel and hovering the iron very high above the fabric, using only the residual heat. However, we strongly recommend finding an iron with a low setting for safety.
How long does it take for the gown to air dry after steaming?
The drying time can vary depending on how much moisture you applied. Generally, allow at least 2-3 hours for the gown to air dry completely. Ensure it’s hung in a well-ventilated area away from direct sunlight to prevent new wrinkles from setting in.
Can I use starch on my graduation gown?
We do not recommend using starch on graduation gowns, especially those made of synthetic materials. Starch can sometimes cause discoloration or leave residue that is difficult to remove. The steaming method discussed is designed to remove wrinkles without the need for additional products.