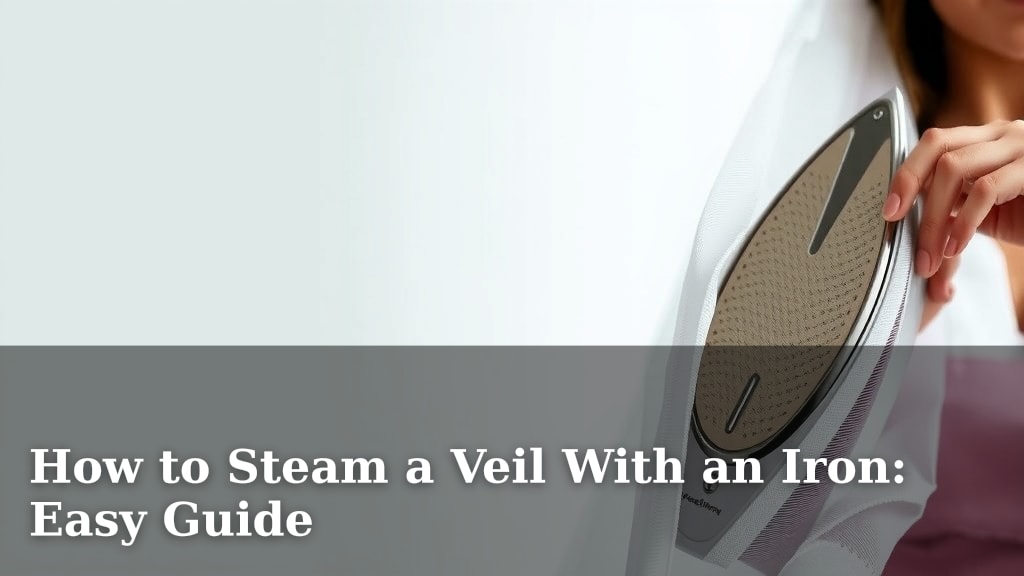
How to Steam a Veil With an Iron: Easy Guide
Yes, you can absolutely steam a wedding veil with a household iron to get rid of wrinkles. It’s a gentle and effective method for ensuring your veil looks its best on your big day. Just remember to keep the iron moving and use a protective cloth for the best results when steaming a veil.
Getting those stubborn creases out of delicate fabric can feel stressful, but don’t worry! We found that using your iron on a steam setting is often the safest and quickest way to refresh a veil. This technique works well for most veil materials, from soft tulle to more structured lace.
- Steam your veil to remove wrinkles.
- Use your iron on a low setting with steam.
- Always use a protective cloth between the iron and the veil.
- Keep the iron moving to avoid damage.
- Test on an inconspicuous area first if possible.
Let’s get your veil looking picture-perfect. Below, we’ll walk you through the simple steps for steaming your veil safely and effectively.
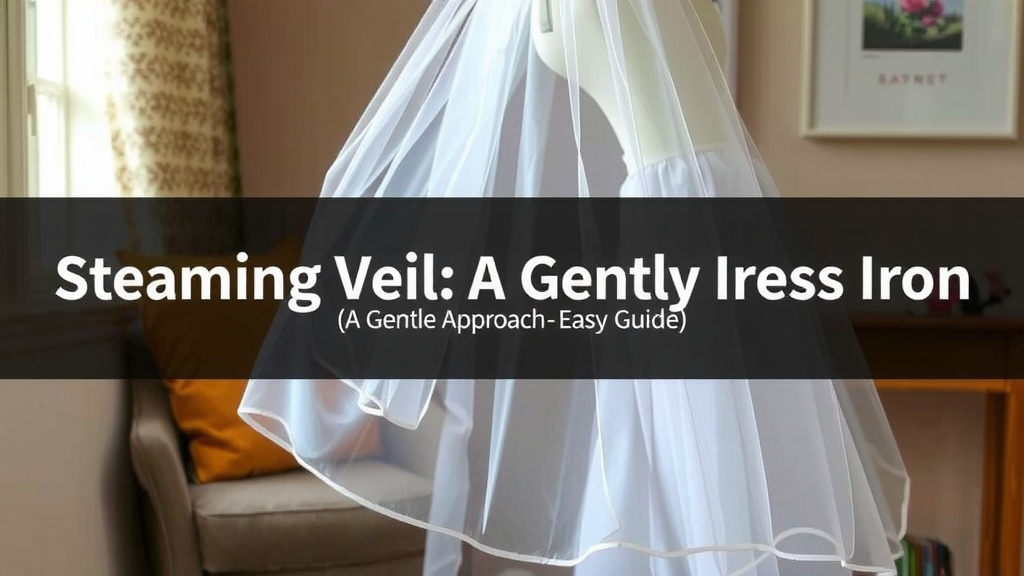
Steaming Your Wedding Veil with an Iron: A Gentle Approach
Worried about wrinkles on your veil? You can absolutely steam it using your household iron. This method is surprisingly simple and effective. We’ve found that with a few precautions, you can get your veil looking pristine for your wedding day.
Gathering Your Supplies
Before you begin, make sure you have everything you need. This will make the process go much smoother. You’ll want your veil, your iron, and a few other items.
What You’ll Need
- Your wedding veil
- A household iron with a steam setting
- A clean, dry towel or pillowcase
- A flat, heat-resistant surface (like an ironing board or a sturdy table)
- A spray bottle filled with distilled water (optional, but helpful)
Preparing Your Veil for Steaming
Setting up correctly is key to avoiding damage. We researched the best practices for handling delicate fabrics like veil tulle. Proper preparation ensures the steam works effectively without harming the material.
Finding a Safe Space
Choose a clear, flat area. An ironing board is ideal. If you don’t have one, a clean table covered with a thick towel works well. You need a stable surface where your veil won’t snag or drag.
Understanding Your Veil’s Material
Most veils are made from tulle or delicate lace. These materials can be sensitive to heat. Always check any care labels on your veil if available. If you’re unsure, proceed with extra caution. We found that understanding the fabric helps tailor the steaming process.
The Steaming Process: Step-by-Step
Now for the actual steaming. It’s not complicated, but it requires a bit of attention. We’ll guide you through each step to make sure your veil comes out beautifully.
Setting Up Your Iron
The heat and steam settings are critical. You don’t want to scorch your veil. This is where careful adjustments come into play.
Iron Settings to Use
Set your iron to its lowest heat setting. Crucially, turn on the steam function. Many guides suggest using steam over dry ironing for delicate fabrics. This helps to relax the fibers and release wrinkles more gently. Avoid using any starch or sizing, as this can cause damage.
Using Distilled Water
If your iron uses tap water, consider using distilled water instead. Tap water can sometimes leave mineral deposits that might show up on your veil. This is a small step that can make a big difference in the final look. We found this tip from several bridal care resources.
The Steaming Technique
This is where the magic happens! Keep these steps in mind for a successful outcome. The goal is to let the steam do the work.
Protecting the Veil
This is perhaps the most important step. You absolutely must use a barrier between the iron and the veil. Lay a clean, dry towel or a pillowcase over the section of the veil you are about to steam. This prevents direct contact, which can melt or snag the fabric. Think of it as a gentle shield.
How to Apply Steam
Hover the iron *above* the protective cloth. Do not press down. Let the steam rise through the cloth and into the veil. Gently move the iron back and forth over the wrinkled areas. Keep the iron constantly moving. You don’t want to hold it in one spot for too long, even with the cloth. This method is similar to how professional garment steamers work.
Working in Sections
Don’t try to steam the entire veil at once. Work in small sections. This allows you to focus on each area and ensure even steaming. Hold the veil taut but not stretched, as you steam each part. You can hang the veil or lay it flat as you work.
What to Do If You Don’t Have a Steam Setting
If your iron doesn’t have a steam function, don’t panic! There are alternatives. We’ve looked into other options for veil wrinkle removal.
The Hot Water Method
Hang your veil in the bathroom while you run a hot shower. Close the door and let the steam from the shower fill the room. The steam should help relax the wrinkles. This might take 10-15 minutes. You can also carefully hold the veil a safe distance over a pot of simmering water, but be extremely cautious to avoid burns. Always keep your face and hands away from the steam.
Post-Steaming Care and Tips
Once you’ve finished steaming, there are a few final things to consider. These steps help ensure the veil stays wrinkle-free.
Cooling and Airing Out
After steaming, let your veil hang and air dry completely. This allows the fabric to set and prevents new wrinkles from forming. Do not fold or pack it away while it’s still damp or warm.
When to Test First
If your veil is made of a very unusual or delicate material, or if you’re feeling particularly nervous, test your steaming method on an inconspicuous part of the veil first. A hem or a small edge that won’t be easily seen is perfect for a test run. This way, you can see how the fabric reacts.
Quick Checklist for Steaming Your Veil
Here’s a quick rundown to keep you on track:
- Set iron to low heat with steam ON.
- Place a protective cloth between iron and veil.
- Hover iron, keep it moving – never press down.
- Steam in small, manageable sections.
- Allow veil to hang and cool completely afterward.
- Test on an unseen area if concerned about fabric.
Conclusion
You’ve learned how to confidently steam your wedding veil using a household iron. Remember, the key is gentle heat and always using a protective cloth. This simple technique can make a huge difference in your veil’s appearance. You’ve got this! Now, your veil is ready for its close-up. Go ahead and hang it somewhere safe until your special day.
Frequently Asked Questions
Can I use a regular iron to steam my veil?
Yes, you can use a regular household iron, but it’s important to use the right settings. Always choose the lowest heat setting and turn the steam function on. Never let the iron touch the veil directly; always use a protective cloth.
What kind of cloth should I use as a barrier?
A clean, dry towel or a pillowcase works perfectly as a protective barrier. It needs to be thick enough to shield the veil’s delicate fabric from direct heat. Ensure the cloth itself is dry before you begin.
How long should I steam each section of the veil?
You don’t need to steam for long periods. Keep the iron moving constantly over the protective cloth for just a few seconds in each small section. The steam works quickly to relax the fabric and remove wrinkles.
What if my veil is very old or has beading?
For very old or delicate veils, or those with embellishments like beading or sequins, extra caution is advised. It’s best to test the steaming method on an inconspicuous area first. Avoid steaming directly over any beading or embellishments, as the heat could damage them.
How do I store my veil after steaming?
After steaming, let your veil hang and air dry completely. This is crucial to prevent new wrinkles from forming. Once fully dry, store it in a breathable garment bag or a clean box, away from direct sunlight or moisture, until your wedding day.