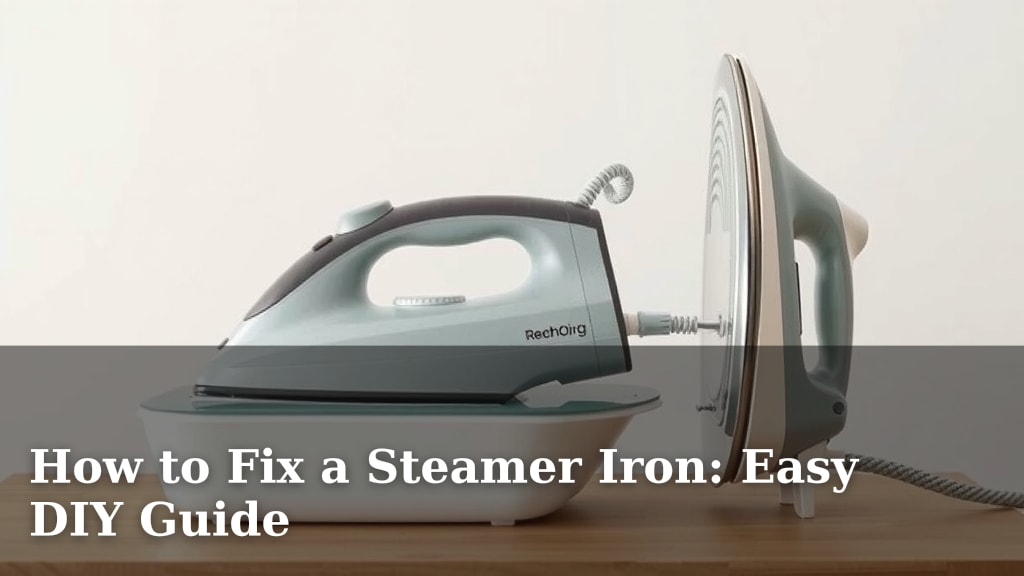
How to Fix a Steamer Iron: Easy DIY Guide
If your trusty steamer iron has decided to stop steaming, don’t panic! You can often fix a steamer iron yourself with a few simple DIY steps. Many common issues, like a lack of steam or sputtering, are caused by simple mineral buildup that you can easily clear out. This guide will help you get your iron steaming like new again, saving you time and money.
A steamer iron is a lifesaver for tackling wrinkles quickly. When it starts acting up, it’s usually a sign of a clogged water tank or steam vents. We’ll walk you through the most effective methods to diagnose and repair these issues. Getting your iron back in working order means smoother fabrics and less frustration for your laundry days.
- Mineral buildup is the most common culprit.
- Cleaning the water tank and steam vents is key.
- Regular maintenance prevents future problems.
- DIY fixes can save you money.
Ready to bring your steamer iron back to life? Let’s walk through the easy fixes step by step.
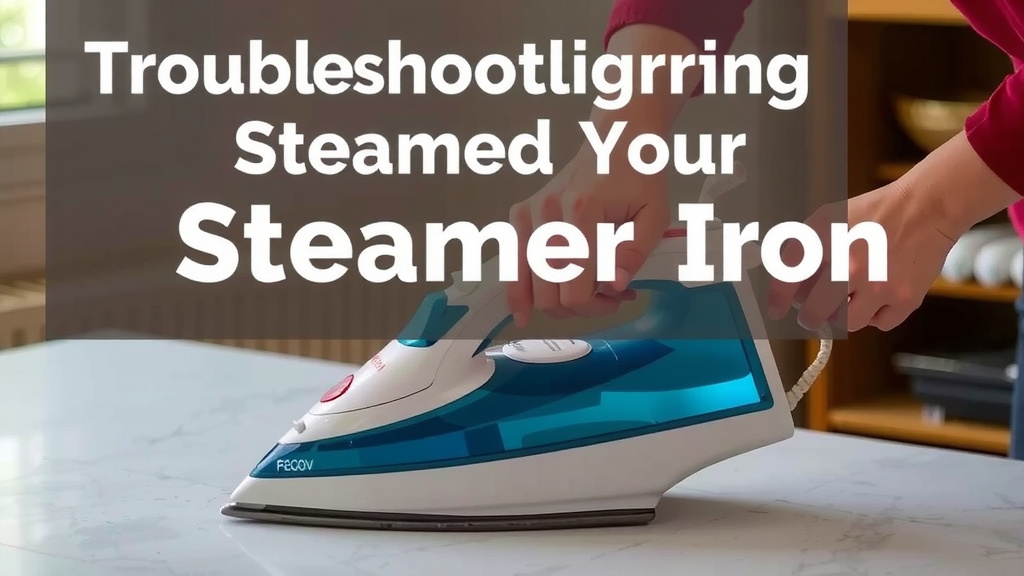
“`htmlTroubleshooting Your Steamer Iron: Easy Fixes
So your trusty steamer iron has stopped producing steam. We’ve all been there, staring at a wrinkled shirt and a stubborn iron. But before you toss it aside, know that most steaming issues are surprisingly easy to fix yourself. Often, it’s just a simple clog causing the problem.
Understanding Why Your Steamer Isn’t Steaming
The most common reason your steamer iron stops working is **mineral buildup**. Minerals from tap water can deposit inside the iron. These deposits block the tiny holes where steam should escape. Over time, this clog prevents steam from being released effectively. It’s like a tiny traffic jam in your iron!
The Role of Mineral Deposits
Tap water contains minerals like calcium and magnesium. When you heat water in your iron, these minerals can solidify. They form scale, which is the enemy of a good steam. This scale can build up in the water tank and the steam vents. It’s a natural process, but one that needs attention.
Other Potential, Less Common Issues
While mineral buildup is the usual suspect, other things can happen. Sometimes the thermostat might be set too low for steam. You might also have an empty water tank, which is a simple oversight. Less frequently, a heating element could be faulty, but let’s focus on the common fixes first.
Step-by-Step Guide to Clearing the Clogs
Getting your iron to steam again is usually a two-part process. You’ll clean the water tank and then tackle the steam vents. Let’s get started!
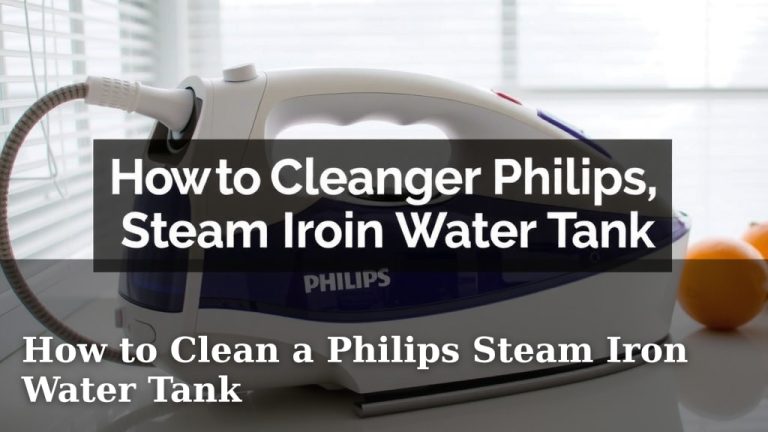
Cleaning the Water Tank
First, you need to empty any old water from the tank. This prevents you from using stale water. Then, we’ll use a cleaning solution to break down any deposits. Many experts suggest using distilled water for filling your iron to prevent future buildup (Cleveland Clinic).
Using Vinegar for a Deep Clean
A simple solution of white vinegar and distilled water works wonders. Mix equal parts of each. Fill the water tank with this mixture. Let it sit for about 30 minutes. This gives the vinegar time to soften any mineral deposits.
Rinsing the Tank Thoroughly
After the soak, empty the vinegar solution. Now, fill the tank with fresh distilled water. Swish it around. Empty it again. Repeat this rinsing process at least two or three times. You want to make sure all traces of vinegar are gone. A lingering vinegar smell isn’t ideal for ironing clothes.
De-Scaling the Steam Vents
Now that the tank is clean, we need to address the steam vents. These are the small holes on the soleplate of your iron. They are where the steam actually comes out.
The Self-Clean Function (If Available)
Many modern steamer irons have a self-clean button. Check your iron’s manual to see if yours does. If it does, follow the instructions for its use. Typically, you fill the tank with distilled water, heat the iron to a high setting, and press the self-clean button. Then, hold the iron over a sink and gently shake it. This flushes out any loose debris. This is often the easiest way to get steam flowing again.
Manual Vent Cleaning with a Damp Cloth
If your iron doesn’t have a self-clean feature, don’t worry! You can still clean the vents manually. Ensure the iron is unplugged and completely cool. Use a damp cloth to wipe away any visible residue around the steam vents. For tougher buildup, you can try dipping a cotton swab in the vinegar and water solution. Gently clean around each vent opening.
Using a Pin or Toothpick (With Caution!)
Sometimes, a vent can be completely blocked by a stubborn piece of scale. If you can see a blockage, you might need to dislodge it. Use a straightened paperclip, a pin, or a toothpick. Carefully insert it into the vent opening. Gently wiggle it to break up the clog. Be very careful not to push the debris further in or damage the vent. This step requires a gentle touch.
Testing Your Iron and Prevention Tips
After performing these cleaning steps, it’s time to test your iron. Fill the water tank with fresh distilled water. Heat the iron to its highest steam setting. Hold it over a sink or an old towel. Press the steam button. You should see a good burst of steam. If it’s still sputtering or weak, you might need to repeat the cleaning process.
Here’s a quick checklist to remember:
- Empty old water first.
- Use a vinegar and distilled water solution.
- Rinse the tank well.
- Try the self-clean function if you have one.
- Clean vents gently with a cloth or swab.
- Test with fresh distilled water.
To keep your steamer iron working its best, we found that regular maintenance is key. Always use **distilled or demineralized water**. This significantly reduces mineral buildup. Empty the water tank after each use. This prevents water from sitting and potentially creating more deposits. Giving your iron a quick rinse or self-clean every month or so can also prevent future problems.
“`Conclusion
You’ve now learned how to revive your steamer iron! Mineral buildup is often the simple cause of lost steam. By cleaning your water tank and vents with a vinegar solution or using the self-clean function, you can restore its power. Remember to always use distilled water in the future. This simple habit prevents future clogs. Your next step is to perform this cleaning routine today. Enjoy wrinkle-free clothes with your like-new steamer iron!
Frequently Asked Questions
How often should I clean my steamer iron?
It’s a good idea to clean your steamer iron about once a month. If you use it very frequently or have hard water, you might need to clean it more often. Regular cleaning prevents stubborn mineral buildup.
Can I use regular tap water in my steamer iron?
While you can use tap water, it’s not recommended for long-term use. Tap water contains minerals that cause scale buildup. Using distilled or demineralized water significantly extends your iron’s lifespan and steaming performance.
What if the vinegar and water solution doesn’t work?
If the vinegar soak doesn’t fully clear the clog, you might need to repeat the process. For very stubborn blockages, gently using a pin or toothpick on the steam vents (while the iron is cool and unplugged!) can help. Always be careful not to damage the vents.
My iron is still spitting out dirty water after cleaning. What should I do?
This usually means there’s still debris inside. Try running another self-clean cycle or repeating the vinegar soak and rinse. Make sure you’re rinsing the tank thoroughly to remove any loosened mineral deposits before testing again.
Is it safe to use cleaning solutions other than vinegar?
Most manufacturers recommend using plain water or a vinegar-water solution. Some irons may have specific cleaning tablets or solutions recommended in their manual. Avoid harsh chemical cleaners, as they could damage the iron’s internal components or leave residue on your clothes.