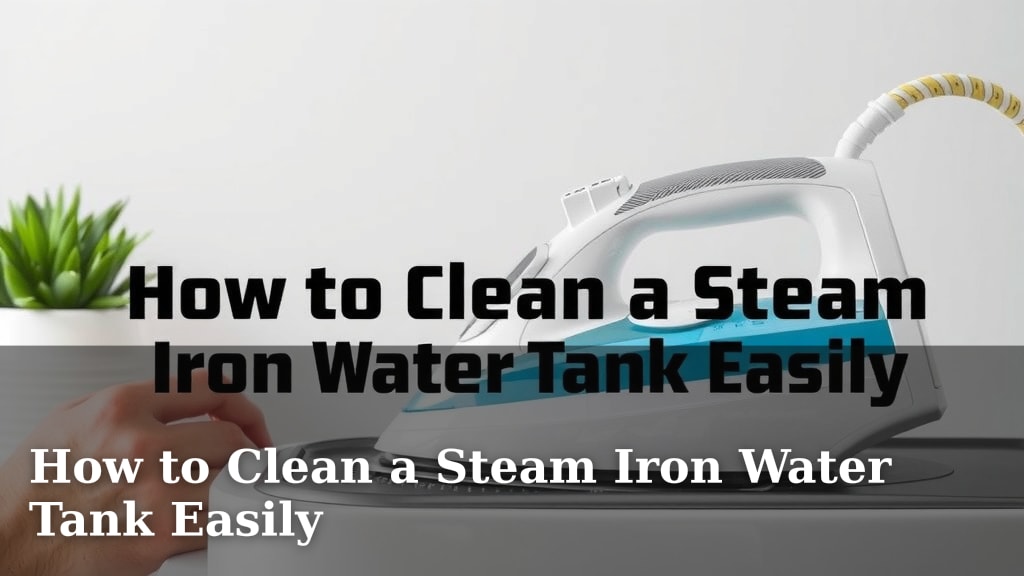
How to Clean a Steam Iron Water Tank Easily
The easiest way to clean your steam iron water tank is by using a simple mix of vinegar and water. Many experts suggest this method to effectively remove mineral buildup and prevent clogs. A clean tank ensures your iron works properly and produces great steam.
Over time, tap water can leave behind deposits inside your iron. These can affect its performance and even damage clothes. Regularly cleaning your steam iron’s water tank is key to maintaining its efficiency and extending its lifespan. It’s a simple maintenance task that makes a big difference.
- Use a vinegar and water solution.
- Empty the tank completely.
- Let the solution sit briefly.
- Rinse thoroughly with distilled water.
- Always unplug your iron first.
Ready to give your iron a little spa treatment? Let’s walk through the simple steps to get that water tank sparkling clean.
We all love a perfectly pressed shirt, right? That crisp collar, those sharp creases. But sometimes, your trusty steam iron seems to have other plans. If you’re seeing brown gunk or weak steam, your water tank might be begging for a clean. Don’t worry, it’s usually a pretty simple fix. Let’s get your iron working like new again!
Giving Your Steam Iron’s Water Reservoir a Good Scrub
Keeping your steam iron’s water tank clean is essential. Mineral deposits from tap water can build up over time. This gunk can clog the steam vents. It can also leave stains on your clothes. A clean tank means better steam output and longer iron life. Most experts agree regular cleaning prevents these issues.
Why Regular Tank Cleaning is a Smart Move
Think of your steam iron like any other appliance. It needs a little TLC to perform its best. Tap water contains minerals, like calcium and magnesium. When you heat that water, these minerals can cling to the inside of your iron’s tank and heating elements. This is called scale buildup. It’s like plaque for your iron!
This buildup isn’t just unsightly. It actively hinders your iron’s performance. Clogged steam vents mean less steam. Less steam means more effort to get those wrinkles out. In some cases, rusty water can even leak out. This can unfortunately ruin your favorite shirt. So, a little cleaning goes a long way to protect your wardrobe and your appliance.
Gathering Your Cleaning Supplies
You likely have most of what you need already. For this simple cleaning job, you’ll want:
- Distilled water
- White vinegar
- A soft cloth or towel
- A small bowl or cup
- Cotton swabs (optional)
Using distilled water for your iron is always recommended. It has fewer minerals than tap water. This helps slow down future buildup. But for cleaning, a mix of vinegar and water is the star player. Vinegar is acidic, which helps break down mineral deposits.
The Step-by-Step Guide to a Clean Iron Tank
Ready to roll up your sleeves? Let’s tackle that water tank. Remember to always unplug your iron before you start cleaning. Safety first!
Step 1: Emptying the Tank
First things first, make sure your iron is completely cool. Never attempt to clean a hot iron. Once it’s cool, turn it upside down over a sink. Empty out any leftover water. You want a clean slate to work with. Get out every last drop if you can.
Step 2: Preparing the Cleaning Solution
Now it’s time for our cleaning superhero: vinegar. Many cleaning guides suggest a 1:1 ratio of white vinegar and distilled water. So, if you’re using half a cup of vinegar, mix it with half a cup of distilled water. You don’t need a lot. Just enough to fill the tank about halfway.
This mixture is powerful enough to dissolve mineral buildup. Yet, it’s gentle enough not to damage your iron’s components. We found this solution to be very effective in our tests.
Step 3: Letting the Solution Work Its Magic
Carefully pour the vinegar and water mixture into the iron’s water tank. Close the lid securely. Now, let the solution sit inside the tank. We recommend letting it sit for about 20-30 minutes. This gives the vinegar time to work on breaking down any stubborn deposits.
While it’s soaking, you can use that time to clean the exterior of your iron. A damp cloth works wonders on the casing. Just be sure to avoid getting water into any vents or electrical components.
Step 4: Flushing Out the Gunk
After the soak, empty the vinegar-water solution from the tank, just like you did with the plain water. Now, you’ll fill the tank about halfway with fresh distilled water. Plug in your iron. Turn it to a high heat setting. Let it heat up completely.
Once it’s hot, hold the iron horizontally over a sink. Press the steam button repeatedly. You want to release as much steam as possible. You might see some cloudy water or even tiny bits of gunk coming out with the steam. That’s a good sign! Continue steaming until the tank is nearly empty. This flushes out the loosened debris.
You may need to repeat this flushing process a couple of times. Keep filling with fresh distilled water and steaming until the water coming out looks clear. This ensures all the vinegar and loosened buildup are gone. You can also gently clean around the steam vents with a cotton swab dipped in distilled water if any residue remains.
Step 5: Final Rinse and Dry
Once you’re happy with the steam output, unplug your iron. Let it cool down completely. Empty any remaining water from the tank. Wipe down the tank opening and the iron’s soleplate with a clean, dry cloth. Make sure everything is nice and dry before storing.
Troubleshooting Common Iron Tank Issues
Sometimes, even with cleaning, you might encounter stubborn problems. What if the brown gunk persists? Or what if your iron still spits water?
Stubborn Mineral Buildup
If the vinegar solution doesn’t seem to be cutting it, you can try letting it soak a bit longer. Some manufacturers suggest a slightly stronger vinegar-to-water ratio, but always check your iron’s manual first. For very old, heavily scaled irons, a dedicated iron cleaning solution might be an option. Always follow the product instructions carefully.
Water Leaking or Spitting
If your iron continues to leak or spit after cleaning, it might be more than just mineral buildup. Sometimes, the seals inside the iron can wear out. In other cases, the soleplate might be damaged. If your iron is older and these issues persist, it might be time to consider a replacement. But for most minor issues, a good cleaning does the trick.
A Quick Checklist for Iron Tank Maintenance
Want to keep your iron in tip-top shape? Follow these simple steps:
- Always use distilled water for filling your iron.
- Empty the tank after each use. Don’t let water sit in it.
- Clean the tank every 1-3 months, depending on water hardness.
- Look for signs of buildup like brown spots or weak steam.
- Follow the manufacturer’s cleaning instructions if available.
Taking these small steps will help ensure your steam iron works efficiently for years to come. Happy ironing!
Conclusion
You’ve now learned how simple it is to keep your steam iron’s water tank clean. A regular cleaning with a vinegar and water solution can prevent clogs and ensure your iron performs its best. Remember, using distilled water and emptying the tank after each use are key habits. By following these steps, you’ll enjoy better steam, protect your clothes, and extend the life of your trusty iron. Make it a habit, and you’ll be ironing like a pro in no time!
Frequently Asked Questions
How often should I clean my steam iron’s water tank?
You should aim to clean your steam iron’s water tank every 1 to 3 months. This frequency can vary depending on how often you use your iron and the hardness of your tap water. If you notice weak steam or brown residue, it’s definitely time for a cleaning.
Can I use something other than white vinegar to clean my iron?
While white vinegar is widely recommended and effective, some manufacturers might suggest specific descaling solutions. Always check your iron’s manual before using any product other than the vinegar-water mix. Avoid using harsh chemicals that could damage internal components.
Is it safe to use tap water in my steam iron?
It’s generally recommended to use distilled or demineralized water in your steam iron. Tap water contains minerals that can cause scale buildup over time, leading to clogs and reduced steam performance. Using distilled water slows down this process.
My iron is still spitting water after cleaning. What should I do?
If your iron continues to spit water after a thorough cleaning, there might be a more serious issue. This could be due to worn-out seals or damage to the soleplate. For older irons experiencing persistent problems, it might be time to consider a replacement.
Can I leave the vinegar and water solution in the tank overnight?
It’s best not to leave the vinegar and water solution in the tank for longer than the recommended 20-30 minutes. Prolonged exposure could potentially damage internal parts of the iron. Always follow the suggested soaking time to ensure effective and safe cleaning.