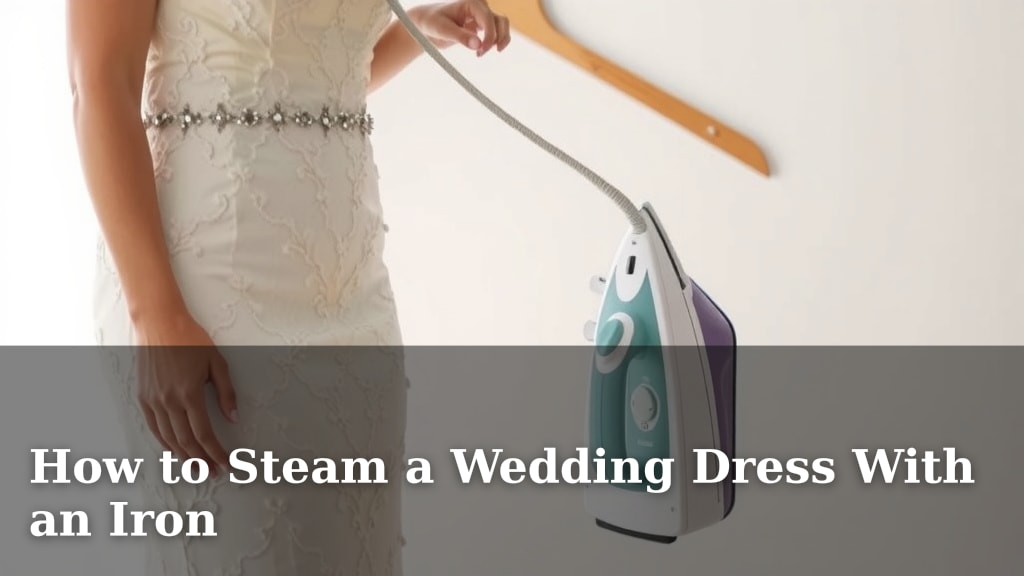
How to Steam a Wedding Dress With an Iron
Yes, you can absolutely steam your wedding dress with a regular household iron! It’s a cost-effective and surprisingly effective way to remove wrinkles before your big day. You just need to be a bit careful and follow the right steps to keep your dress looking perfect and pristine.
We know that your wedding dress is incredibly special. Keeping it looking its best is a top priority. While professional steaming services exist, many brides want to handle this task themselves for peace of mind and to save money. Thankfully, using an iron for steaming is a method that many have used successfully, provided you take precautions against heat damage. It’s all about achieving that smooth, polished look without any stress.
- Yes, you can steam a wedding dress with an iron.
- Always use the lowest heat setting possible.
- Keep the iron moving constantly to prevent scorching.
- Test a small, inconspicuous area first.
- Use a pressing cloth or towel between the iron and fabric.
Ready to make your wedding dress look its absolute best? Let’s walk through exactly how to steam it using your iron safely and effectively.
Steaming Your Wedding Dress Safely with an Iron
You’ve dreamed of this day and your dress! Now, you want it to be absolutely flawless. Wrinkles happen, but thankfully, you can tackle them with a common household iron. It’s a budget-friendly method that can save your dress from looking less than perfect. Let’s make sure your gown is picture-ready.
Preparing Your Wedding Dress for Steaming
Before you even think about heat, proper preparation is key. You don’t want to accidentally damage delicate fabrics or embellishments. Taking a few minutes to prepare will save you a lot of worry later.
Identify Your Dress Fabric
Different fabrics react differently to heat. Knowing what your dress is made of is the first critical step. Most wedding dresses are made from silk, satin, chiffon, lace, or a blend. You can usually find this information on the care label. If not, a quick look at the fabric’s sheen and feel can give you clues.
Test a Hidden Area
This step is non-negotiable! Always, always, always test your steaming method on an inconspicuous spot first. Think about an inner seam, a hem allowance, or a place hidden by another layer of fabric. This small test will show you how the fabric reacts to the heat and moisture. You’re looking for any signs of scorching, discoloration, or damage. If the fabric looks good, you can proceed.
Gather Your Supplies
Having everything ready makes the process much smoother. You’ll need your iron, of course. A spray bottle filled with distilled water is also helpful. Some people prefer using a clean, white cotton towel or a pressing cloth. You might also want a sturdy ironing board or a clean, flat surface covered with a thick towel.
The Correct Ironing Technique for Wedding Dresses
Now for the main event! Using your iron correctly means keeping it moving and at the right temperature. The goal is steam, not direct, scorching heat.
Setting Your Iron Properly
This is where many people go wrong. You need to set your iron to its lowest heat setting. Some irons have a “silk” or “delicate” setting, which is perfect. If yours doesn’t, just use the absolute lowest heat possible. You want the iron to get warm enough to create steam, but not hot enough to melt or burn your dress. Many experts suggest using the steam function on your iron, but ensuring the direct heat is minimal.
Using Steam Effectively
The magic is in the steam! You can use the steam function on your iron if it has one. If your iron doesn’t produce steam well, a spray bottle of distilled water is your best friend. Lightly mist the wrinkled area of the fabric. The moisture will help the fibers relax when the heat is applied. Remember, distilled water is best to avoid mineral buildup or stains on your dress.
Understanding Steam vs. Direct Heat
When you iron directly on fabric, you’re applying intense heat. Steaming uses hot water vapor to relax fabric fibers. You want to create that steam action. You can achieve this by holding the iron slightly above the fabric, allowing the steam to penetrate. If you must touch the fabric, do so very gently and briefly. Never let the hot soleplate of the iron sit on the fabric.
The Ironing Motion: Keep it Moving!
This is crucial for avoiding damage. Constant motion is your motto. Never let the iron rest in one spot, even for a second. Glide the iron smoothly over the fabric. If you’re using the steam function, the movement helps distribute the steam evenly. If you’re using a spray bottle, misting just before you iron helps the steam work its magic as you move the iron.
Protecting Delicate Fabrics and Embellishments
Some areas of your dress might be more sensitive than others. Lace, beading, sequins, and delicate embroidery need extra care. For these areas, it’s often best to use a pressing cloth. A clean, thin cotton towel or a dedicated pressing cloth acts as a barrier between the iron and your dress. You can also try steaming from the underside of the fabric. For beading or sequins, try to steam around them rather than directly over them.
A Simple Checklist for Success
Follow this quick checklist to ensure you’re on the right track:
- Test on an hidden spot first.
- Set iron to the lowest heat.
- Use steam or a light mist of distilled water.
- Keep the iron moving constantly.
- Use a pressing cloth for delicate areas.
- Never let the iron sit on the fabric.
Troubleshooting Common Steaming Issues
Even with careful planning, you might run into a minor hiccup. Don’t panic! Most issues are easily fixed.
Dealing with Stubborn Wrinkles
If a wrinkle just won’t budge, try a little more steam. You can lightly mist the area again and use a gentle pressing motion. Some sources suggest hanging the dress and steaming from a slightly further distance to allow more moisture to penetrate. Patience is key here.
Accidental Scorching or Stains
Oh no! If you notice a slight mark, don’t rub it. Try gently steaming the area again. Sometimes, the mark is just a temporary impression. If it’s a scorch mark, it might be permanent, especially if the fabric is synthetic. This is why testing first is so important. For a light water stain from the iron, let it dry completely; often, it will disappear on its own. If not, a professional cleaner might be your next step.
| Fabric Type | Heat Setting Recommendation | Extra Precautions |
|---|---|---|
| Silk | Lowest setting, use steam | Test first, consider pressing cloth |
| Satin | Lowest setting, use steam | Can show water spots, use distilled water |
| Chiffon | Lowest setting, use steam | Very delicate, pressing cloth recommended |
| Lace | Lowest setting, very gentle steam | Avoid direct pressure, use pressing cloth |
| Polyester/Blends | Low to medium-low, use steam | Check care label, test first |
Conclusion
You’ve learned that steaming your wedding dress with a regular iron is totally achievable! Remember, the keys to success are gentle heat, constant motion, and a little bit of steam. By preparing your dress properly and testing in a hidden spot, you can confidently tackle wrinkles. Your gown will look just as stunning as you imagined for your special day. Take a deep breath, follow these steps carefully, and enjoy a beautifully smooth dress.
Frequently Asked Questions
Can I use any iron to steam my wedding dress?
Yes, most standard household irons can work for steaming. The most important factor is your iron’s ability to reach a very low heat setting and produce steam. Always check your iron’s manual if you’re unsure about its steam function or lowest heat setting.
What’s the difference between ironing and steaming a wedding dress with an iron?
Ironing involves direct contact with a hot soleplate, which can easily damage delicate fabrics. Steaming uses hot water vapor to relax wrinkles. When using an iron for steaming, your goal is to create that vapor without letting the hot metal directly touch or scorch your dress.
How do I know if I’m using the right amount of steam?
You’ll know you’re using the right amount if you see wrinkles gently falling out. The fabric should feel slightly damp but not soaked. If the fabric feels very wet or you see water spots forming, you’re likely using too much water or holding the iron too close.
What if my wedding dress has beads or sequins?
For beaded or sequined areas, extra caution is needed. It’s best to steam from the underside of the fabric or hold the iron further away. You can also place a pressing cloth between the iron and the embellishments. Avoid letting the iron’s soleplate touch these delicate decorations directly.
How soon before the wedding can I steam my dress?
It’s wise to steam your dress no more than a day or two before the wedding. This gives you time to notice any unexpected reactions from the fabric and allows the dress to settle. Hanging it properly afterward will also help maintain the smooth finish.