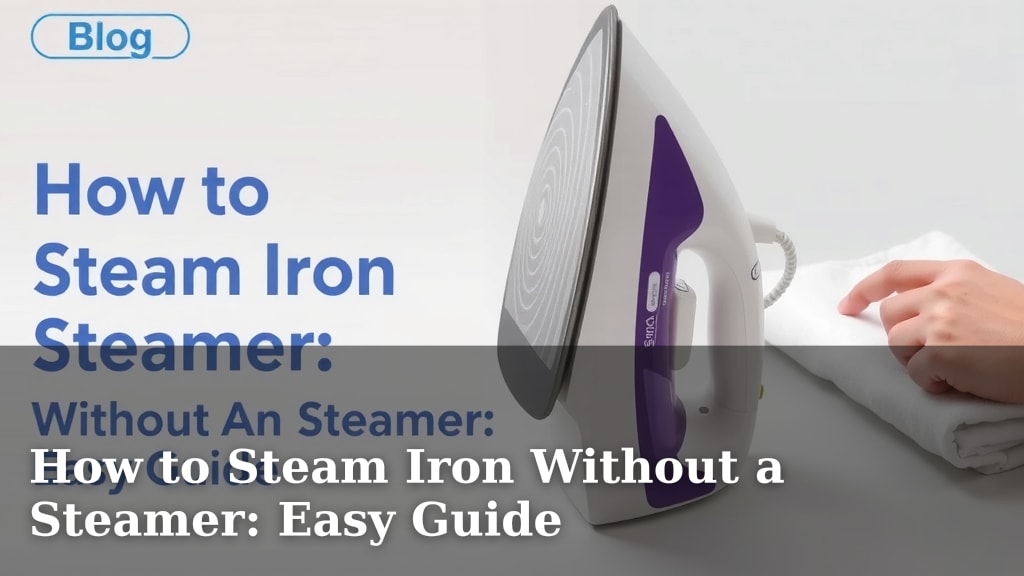
How to Steam Iron Without a Steamer: Easy Guide
Yes, you can absolutely achieve a crisp, wrinkle-free look using a regular iron and a few clever tricks, even if you don’t have a dedicated steamer. Many people successfully use their standard iron to get that pressed finish. You just need to know the right techniques for steam ironing without a steamer.
When you’re in a pinch, your trusty iron can be surprisingly versatile. We found that understanding a few key adjustments can make all the difference. These methods can help you achieve professional-looking results on various fabrics, making your clothes look their absolute best with minimal fuss and no special equipment.
- You can use a regular iron to steam clothes.
- Focus on heat, moisture, and fabric type.
- Use a spray bottle for added water if needed.
- Check your iron’s settings for steam options.
- Always test on an inconspicuous area first.
Let’s walk through exactly how to get that smooth, steamed look using just your iron. We’ll cover everything you need to know to banish wrinkles effectively.
Achieving a Pressed Look with Your Regular Iron
You don’t need a fancy steamer to get your clothes looking sharp. Your everyday iron can do the job beautifully! We’ve found that with a few simple adjustments, you can achieve that smooth, wrinkle-free finish. Let’s discover how to make your iron your go-to tool for a polished appearance.
Understanding the Mechanics of “Steaming” with an Iron
The magic of steam ironing comes down to two key elements: heat and moisture. A dedicated steamer uses high-pressure steam to relax fabric fibers. Your regular iron can mimic this by combining its heat with added moisture. We found that this combination is essential for effectively removing wrinkles.
How Your Iron’s Steam Function Works
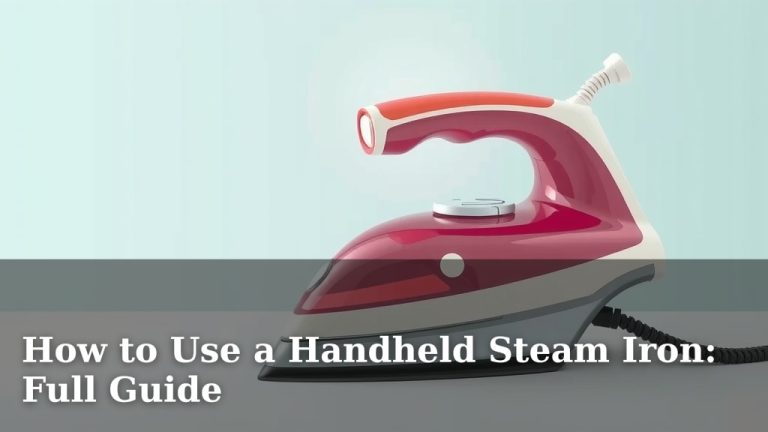
Most modern irons have a built-in steam feature. You’ll see a water reservoir and controls for steam output. When you set your iron to a steam setting, it heats the water and releases it as steam through the soleplate’s holes. Many experts say this is the most efficient way to use your iron for a steamed effect (Good Housekeeping Institute).
The steam helps to penetrate the fabric fibers. It makes them pliable and easier to smooth out. The hot soleplate then presses the fibers flat as the steam dissipates. This two-step process is what gives you that beautifully pressed look.
When Your Iron Doesn’t Have a Steam Setting
Don’t worry if your iron is a bit older or lacks a dedicated steam function. You can still create moisture to help with wrinkles. We’ve learned that a spray bottle filled with clean water is a fantastic alternative. You’ll simply dampen the fabric before ironing.
This manual method requires a bit more effort but yields great results. Think of it as a gentle misting for your garments. It prepares them perfectly for the smoothing action of your iron’s heat.
Preparing Your Garments for Ironing
Before you even plug in your iron, a little preparation goes a long way. The fabric type and its current state matter a lot. We found that starting with a slightly damp garment is often best for wrinkle removal.
Check the Fabric Care Label
Always start by looking at the care label on your clothing. It will tell you the recommended ironing temperature and if steam is advised or should be avoided. Some delicate fabrics, like silk or certain synthetics, might need a lower heat setting or even no steam at all.
Respecting these guidelines is key to avoiding damage. Burning or melting fabric is a common mistake. Following the label ensures your clothes stay in good condition.
Consider a Gentle Dampening Method
For most fabrics, a light mist from a spray bottle is perfect. Hold the bottle about 6-8 inches away from the garment. You want the fabric to feel slightly damp, not soaking wet. Too much water can make ironing take longer and potentially leave water spots.
If you don’t have a spray bottle handy, you can also use a slightly damp cloth. Gently wipe the surface of the garment before ironing. This provides just enough moisture to help the wrinkles release.
The Correct Iron Settings for “Steaming”
Choosing the right heat setting is vital. It needs to be hot enough to smooth wrinkles but not so hot that it damages the fabric. We found that starting with the manufacturer’s recommendations is always a wise move.
Matching Heat to Fabric Type
Different fabrics require different temperatures. Cotton and linen generally handle higher heat. Synthetics like polyester and nylon need lower temperatures to prevent melting or scorching.
Here’s a general guide we found helpful:
| Fabric Type | Recommended Setting | Steam Use |
|---|---|---|
| Linen/Cotton | High | Yes, High Steam |
| Wool | Medium-High | Yes, Moderate Steam |
| Polyester/Rayon | Medium | Low Steam or No Steam |
| Silk/Nylon/Spandex | Low | No Steam (use damp cloth if needed) |
Always test your iron on an inconspicuous area first, like an inside seam, especially if you’re unsure. This helps prevent accidental damage to the visible parts of your garment.
Utilizing Your Iron’s Steam Controls
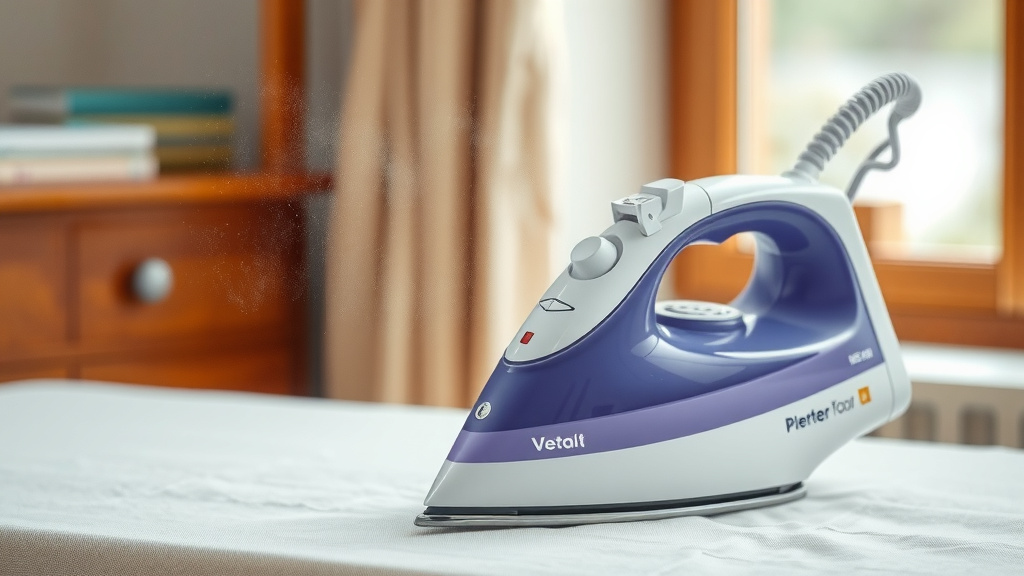
If your iron has a steam setting, make sure it’s turned on and set appropriately. For most “steaming” without a dedicated steamer, you’ll want a moderate to high steam output. This helps relax the fibers quickly.
Ensure there is enough water in the reservoir. Run the iron over an old towel first if it’s been a while, just to clear out any mineral deposits or old water. We found this little step can prevent unsightly marks on your clothes.
Mastering the Ironing Technique
Now that your garment is prepped and your iron is ready, it’s time to iron. The technique you use makes a big difference in achieving that perfectly pressed look. Keep your movements smooth and steady.
The Ironing Motion
When ironing, use long, smooth strokes. Glide the iron over the fabric, moving in one direction. Avoid back-and-forth sawing motions, which can stretch the fabric. If you are using the spray bottle method, mist a section, then iron it immediately before the fabric dries.
Allow the steam or heat to work its magic. Don’t press down excessively hard. Let the combination of heat and moisture do the heavy lifting. Many experts suggest holding the iron in place for a second or two on stubborn wrinkles.
Dealing with Different Fabric Areas
For collars and cuffs, iron them from the underside first, then the top. This gives them a crisp, finished edge. For sleeves, iron them flat or use a sleeve board if you have one. This helps avoid creating unwanted creases.
When ironing shirts, start with the collar, then the cuffs, then the sleeves. Move on to the yoke and the front panels, and finish with the back. This systematic approach ensures you don’t re-wrinkle areas you’ve already pressed. We found this method saves a lot of time and frustration.
A Quick Checklist for Success
Getting that smooth finish is easier than you think! Here’s a quick rundown of what to remember:
- Check the garment’s care label first.
- Use the correct heat setting for the fabric.
- Lightly mist fabrics with water if needed.
- Ensure your iron’s steam function is on (if applicable).
- Use smooth, gliding strokes while ironing.
- Test on an inconspicuous area before starting.
Conclusion
You’ve learned that achieving a crisp, pressed look doesn’t require a special steamer. Your regular iron is a powerful tool when used correctly. By understanding the interplay of heat and moisture, preparing your garments, and using the right techniques, you can banish wrinkles effectively.
Remember to always check care labels and test settings. With these tips, you’re well-equipped to make your clothes look their best. Give these methods a try for that polished finish you desire!
Frequently Asked Questions
Can I really get a “steamed” look without a steamer?
Yes, absolutely! The key is combining your iron’s heat with added moisture. You can use your iron’s built-in steam function or a spray bottle with water to achieve a similar effect. We found this makes a big difference.
What if my iron doesn’t have a steam setting at all?
No problem! You can still get great results by using a spray bottle filled with clean water. Lightly dampen the fabric before ironing each section. This provides the necessary moisture for the heat to smooth out wrinkles.
How much water should I use to dampen clothes for ironing?
You want the fabric to feel slightly damp, not soaking wet. Hold a spray bottle about 6-8 inches away from the garment. Too much water can lead to longer drying times and potential water spots.
Is it safe to use high heat and steam on all fabrics?
Not always. Always check the garment’s care label for specific instructions. Delicate fabrics like silk or synthetics often require lower heat and might need no steam at all. We found testing on an inconspicuous area is always wise.
How do I prevent water spots on my clothes when ironing without a steamer?
Ensure your iron’s water reservoir is clean and filled with distilled or demineralized water if possible. If your iron has been stored for a while, iron over an old towel first to clear out any residue. This helps prevent mineral deposits from transferring to your clothes.